Make your personalized headboard

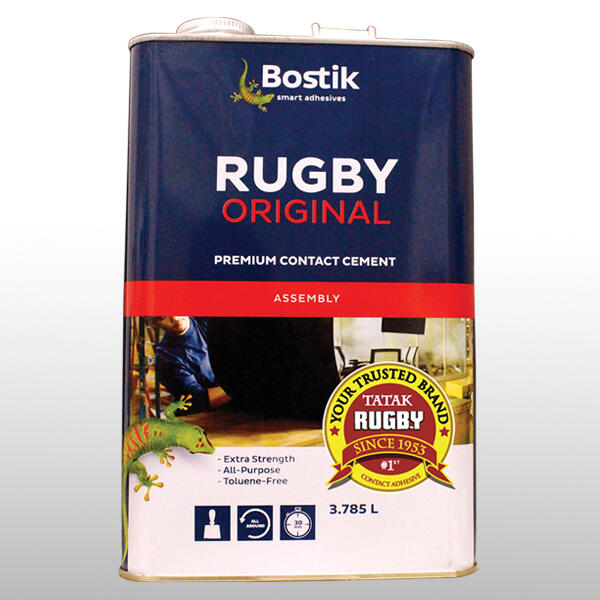
Transform your bedroom into a cozy, stylish retreat with this DIY Personalized Headboard project! Begin by cutting your fabric and foam to size, then use Bostik Rugby Original for a strong, reliable bond. Apply the adhesive to both surfaces, wait a few minutes until tacky, and press firmly together for a secure hold. Wrap the fabric smoothly around the canvas or board, making neat folds at the corners, and stick everything in place. The result is a cushioned, elegant headboard that brings comfort and a custom touch to your room. 🛏️

Instructions

Step 1: Measure

Measure the width of the bed and cut the craft board following this width.

Step 2: Wrap

Apply Bostik Rugby Original evenly on the edges of the craft board and on the back of the quilt. Let dry for 20–30 minutes before wrapping the quilt around the craft board.

Step 3: Hold

Press over the adhesive contact points of the quilt and board. You can use packing tape to temporarily hold the quilt in place while the rugby sets.

Step 4: Personalize

Using Bostik Rugby Original, stick your custom license plate on the headboard.

Step 5: Update

Enjoy your bed’s new look! You can update your headboard anytime by sticking other favorite items like pins and patches.

See all products