How to create your own wall art

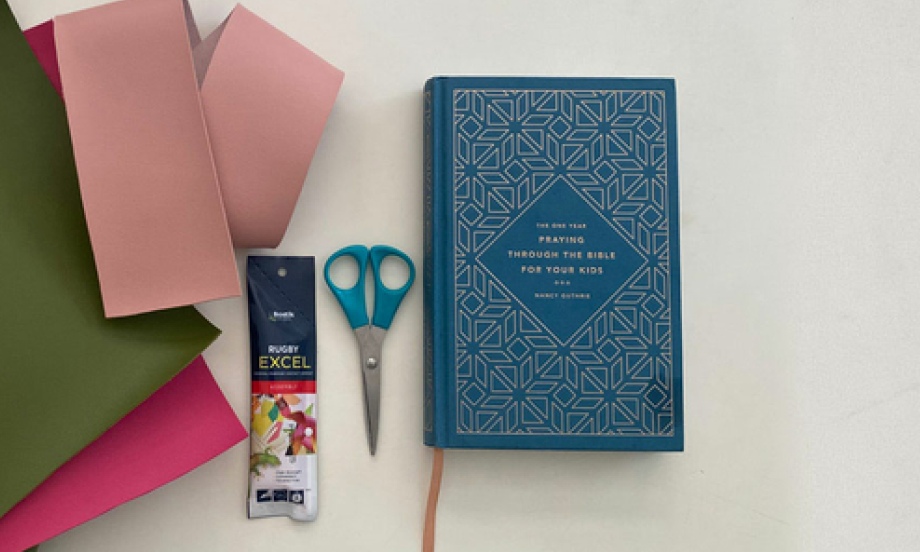
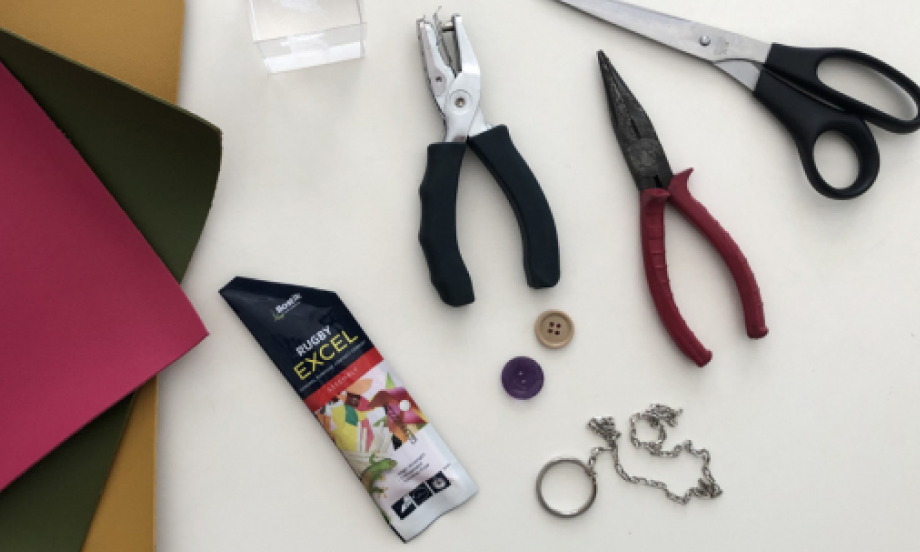
Add a burst of color and creativity to your space with this fun DIY wall art tutorial🌈 using Bostik Rugby Excel! Cut a sheet of 200gsm paper to fit your frame, then arrange rubber bands in rainbow order across the page—trimming excess to keep things tidy. Apply Rugby Excel to both the marked arcs and the bands, then wait for it to become tacky. Use tweezers to place each band precisely along the arc, then finish with cotton ball “clouds” at each end of your rainbow. Place it in a frame, set it on a shelf or hang it on the wall, and enjoy your cheerful, custom artwork!  🎨🏡

Instructions

Step 1: Cut

Cut your 200 gsm paper to the size of your picture frame.

Step 2: Lay

Pick the rubber bands you want to use. Cut them and lay them out on the paper in a rainbow pattern. Cut the excesses.

Step 3: Mark

Draw a rainbow, and mark the outer and inner edges. This will determine the space where you will apply the rugby.

Step 4: Apply

Put Bostik Rugby Excel on the marked paper and on the rubber bands, individually. Make sure you put a scratch paper underneath. Let dry for 20 minutes.

Step 5: Assemble

Using a tweezer, place the rubber bands on the paper one at a time. Don’t worry about Bostik Rugby Excel getting on your skin—it is non-toxic and easy to remove.

Step 6: Display

Stick a cotton ball on both ends of the rainbow. Put the artwork in the picture frame and display on your shelf or wall.

Tip

Rugby Excel is available in our ecommerce stores.

See all products