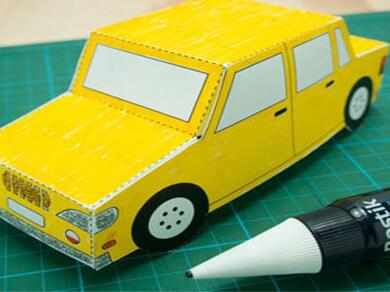
Bostik Car
Create a custom Bostik-themed car model! In this guide, we'll show you how to build and decorate a miniature car using Bostik’s reliable adhesives. Perfect for a fun, hands-on project, this craft will allow you to personalize your car with creative designs and details. Whether you're looking to enhance your DIY skills or create a unique display piece, our step-by-step instructions will ensure a smooth and enjoyable experience. Let’s get started and drive your creativity forward with Bostik!
Instructions
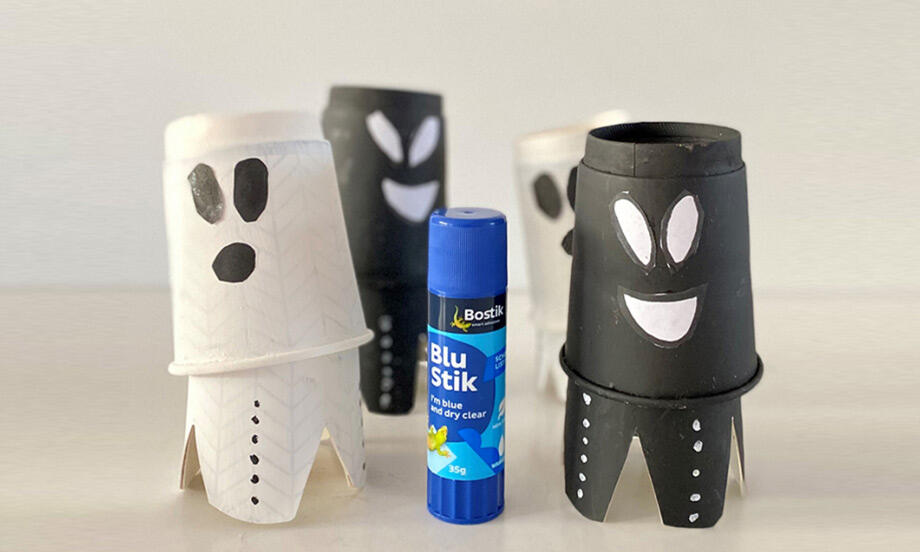
Bobbing Ghosts
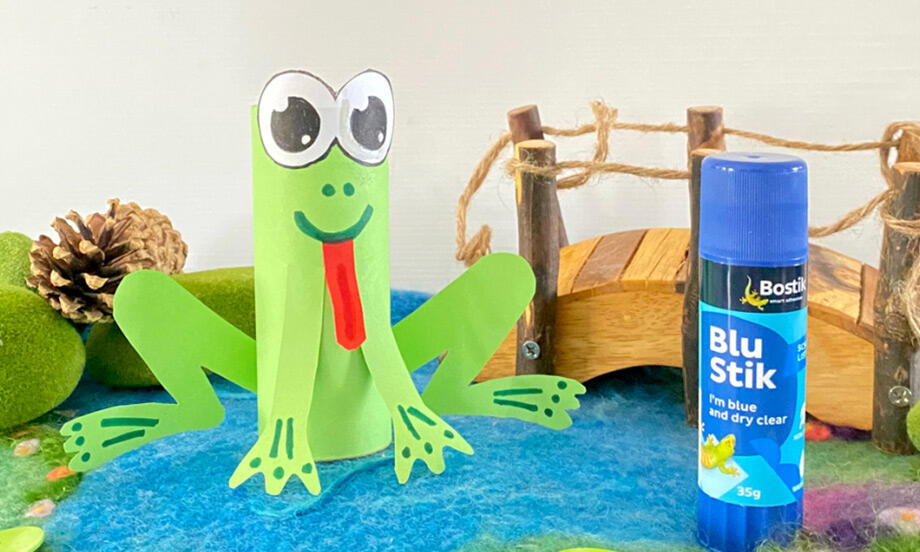
Bostik Frog
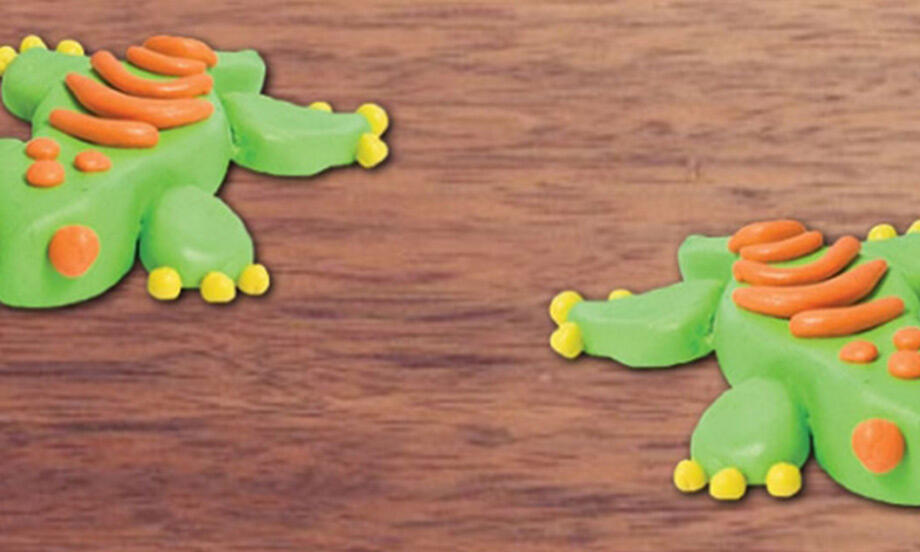
Bostik Gecko
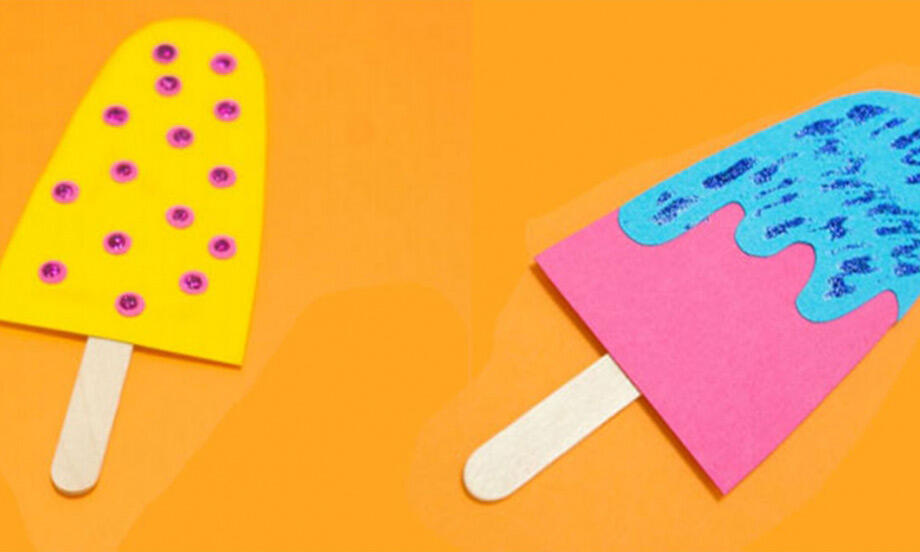
Bostik Icy Pole

DIY Bunting
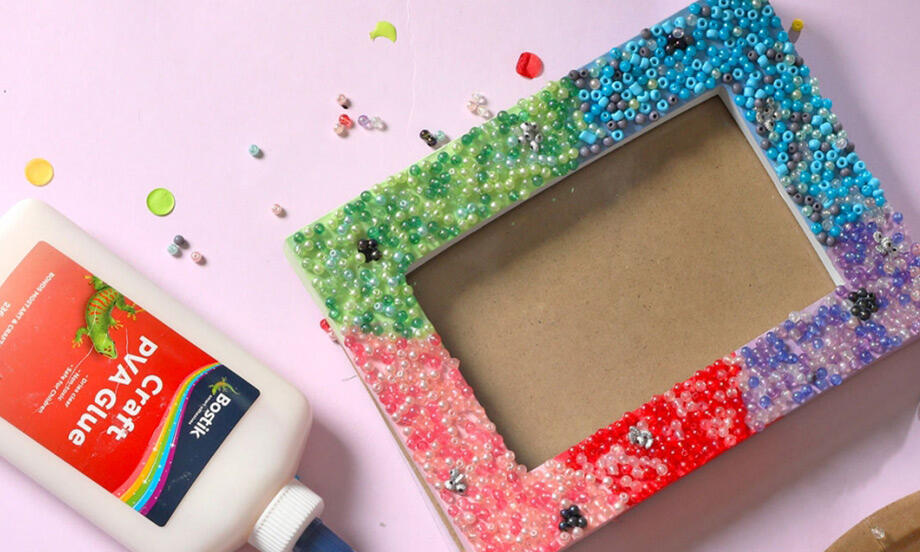
DIY Wall Art
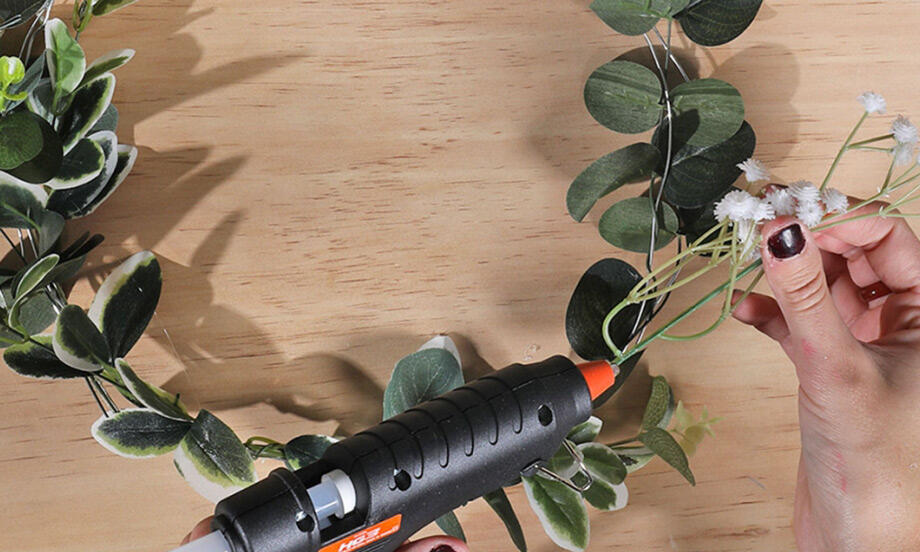
DIY Wreath
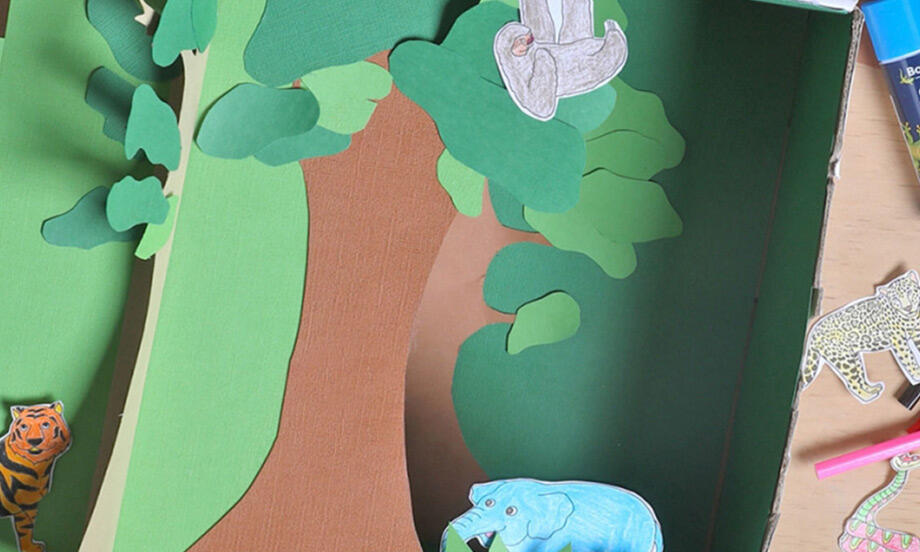
Tropical Rainforest Diorama

Butterfly Plate Life Cycle
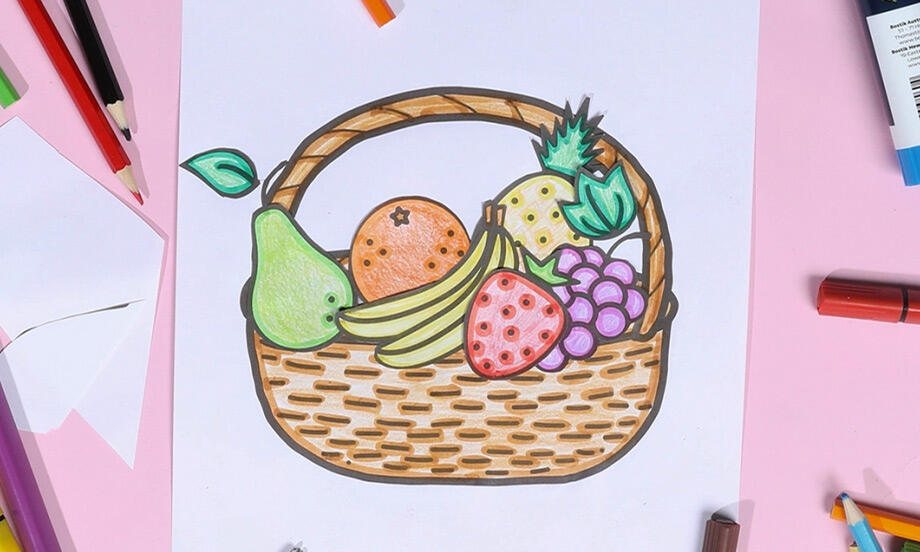
Fruit Basket
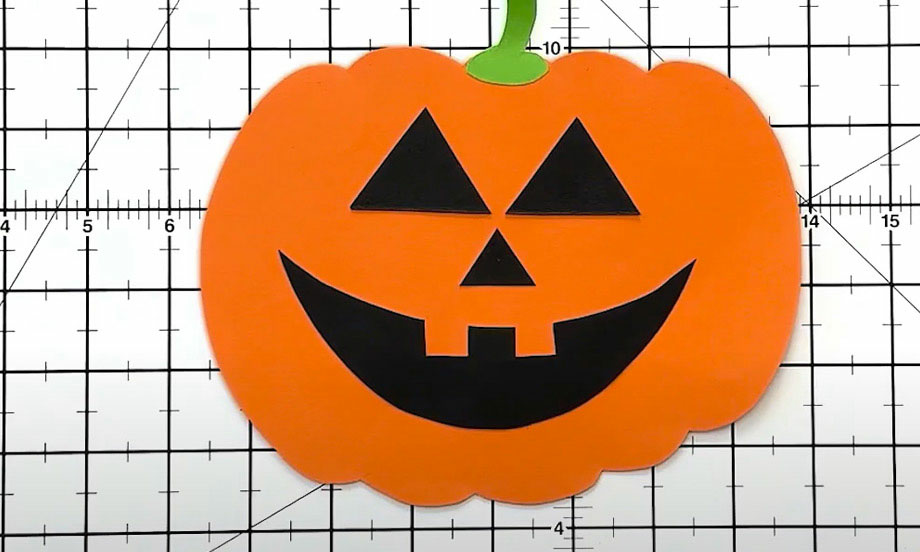
Halloween Decoration Pumpkin Craft
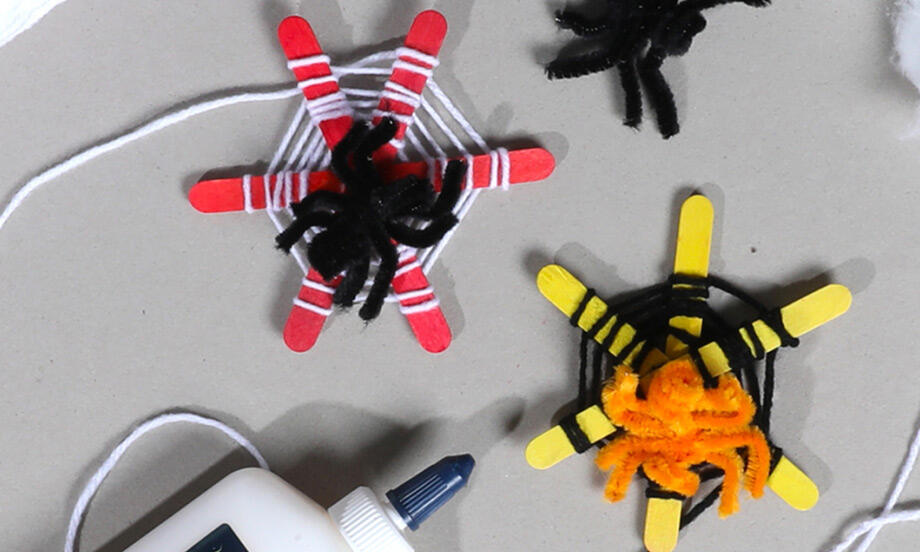
Halloween Spider Web
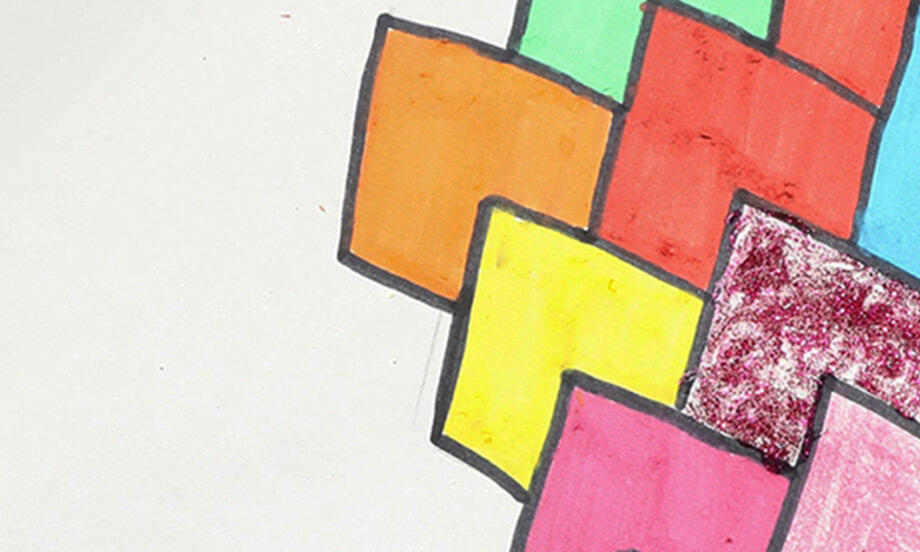
Heart Tessellations
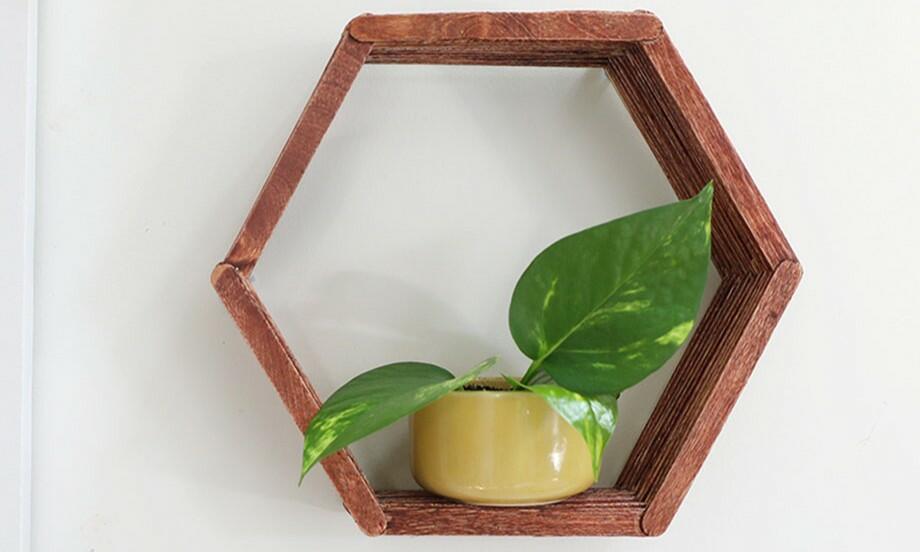
Hexagon Display Shelf
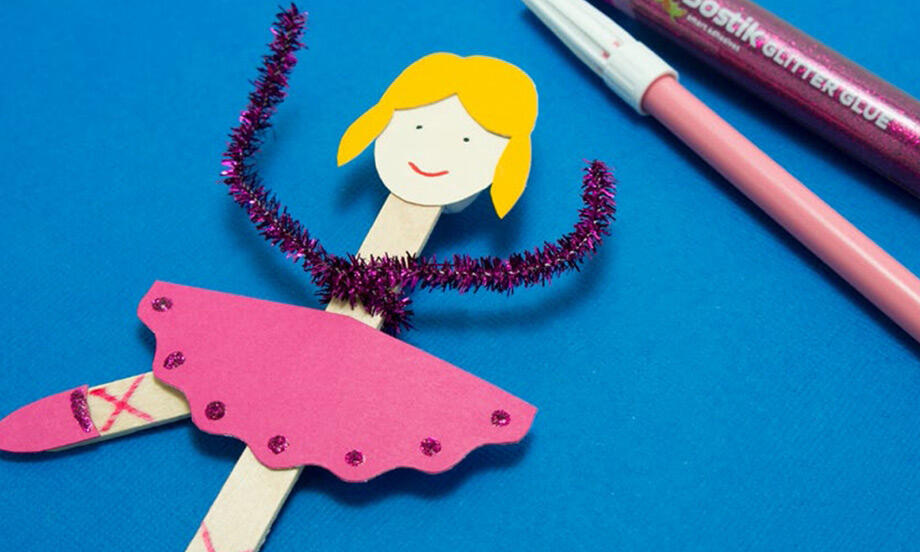
Mini Ballerina
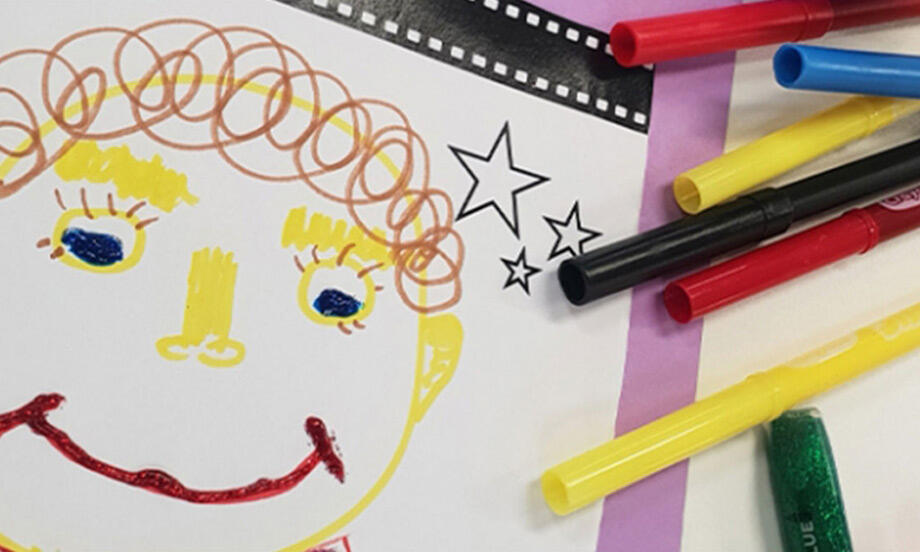
My Name Is

Round Of Applause Card Holder