How to create your own DIY ceramic plant pots
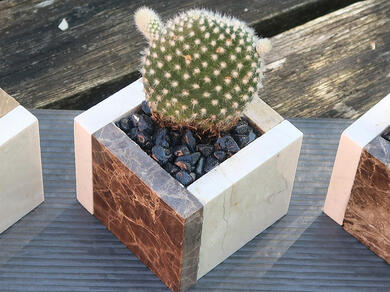
Need a new home for your cacti? Easily transform old ceramic tiles into unique, DIY plant pots to house your favourite succulents. Not only is upcycling your old tile cut offs a great way to avoid adding to landfill waste, choosing to reuse instead of buying new means it's cheaper for you too!
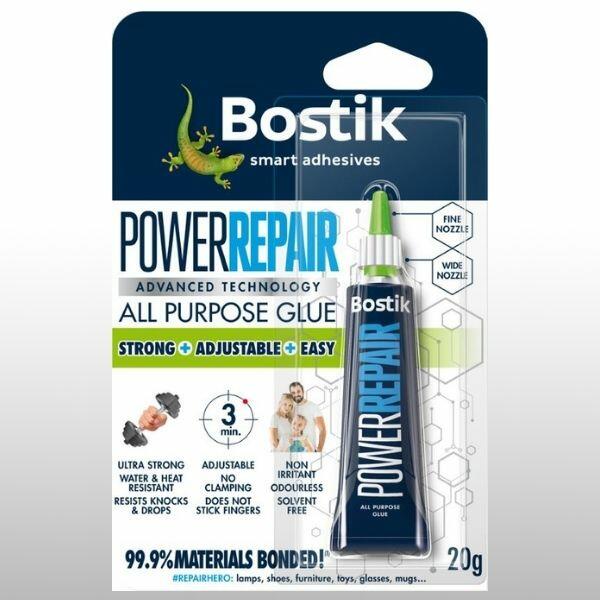
Ceramic tiles are often highly durable and offer good resistance to scratches, stains, fading and moisture, meaning your new ceramic mini plant pots will withstand the test of time. Plus, they can be put together in a matter of minutes using our ultra strong, Power Repair glue.
Discover how to create your own plant pots in just a few steps with this guide in collaboration with Craft Invaders.
What you will need
- 3 miniature plants
- 12 square ceramic tiles
- 1 rectangular ceramic tile (for the base)
- A marker pen
Instructions
Step 1: Prepare your tiles
If your tiles come as a sheet, start by removing them from the backing. Most tiles will pull away from their backing sheet easily, and the residue glue left behind can be washed off in warm water.
You will need 4 tiles to create one mini plant pot.
Tip
We recommend using square tiles so that your mini plant pot will have even length sides without the need for cutting the tiles.
Step 2: Apply the glue
Apply Power Repair glue in a line along one side of each tile using the precision nozzle. Then, start to attach all four of your square tiles together to create a cube.
Power Repair is a repositionable adhesive for up to 3 minutes, meaning you can stick all four sides in place before making any adjustments required to create the perfect cube.
Step 3: Leave to dry
Repeat step 2 until you have created three DIY ceramic plant pots. Then, leave them to dry for approximately two hours.
Once dry, Power Repair creates an ultra strong, long-lasting bond that is waterproof - the perfect choice for these small plant pots.
Good to know
Power Repair glue will fully set within 2 hours and the adhesive will achieve full strength after 24 hours.
Step 4: Stick onto your base tray
Now each plant pot is fully dry, position them onto the base tile as you feel best.
Once you're happy with the positioning, use a marker pen to trace the inside of each cube which you can use as a guide when sticking each plant pot down on the base.
Apply Power Repair in a line around the bottom of each pot and stick into place on the base tile. Again, allow the glue to dry for approximately 2 hours and the full bond strength will be achieved at 24 hours.
Step 5: Get planting
Before planting in their new home, give your plants a good drink of water. This helps soften the compost around the roots making it easy to insert them into the DIY plant pots.
A chopstick can be useful to push the miniature plants down into place and to firm the soil around them.
Tip
It is commonly advised to use a thin layer of gravel at the bottom of your pots when planting succulents to prevent excess water from escaping.
Step 6: Display the DIY ceramic plant pots
If you like, you can add a layer of decorative gravel on top of the base tray as a finishing touch. Your mini plant pots are now ready to be displayed on the windowsill so you can be sure they’re getting their much-needed sunlight!
Popular tutorials
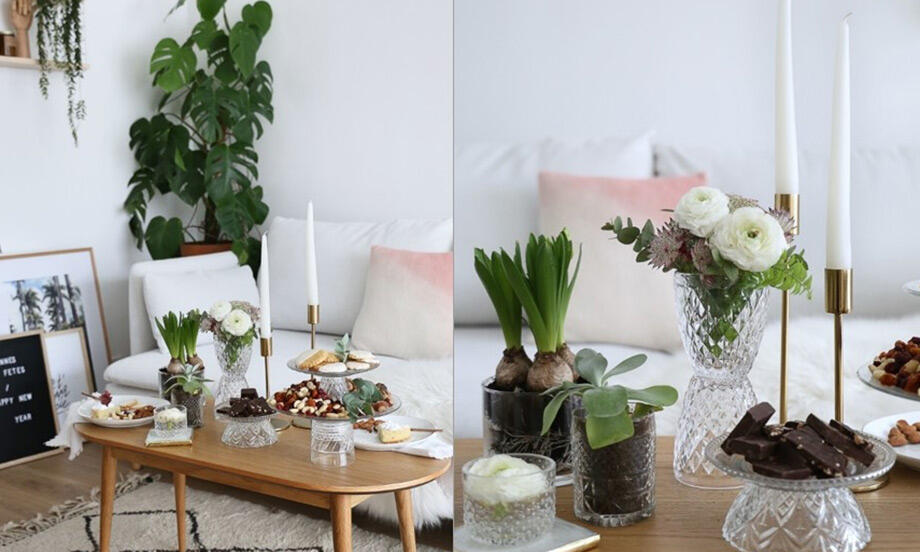
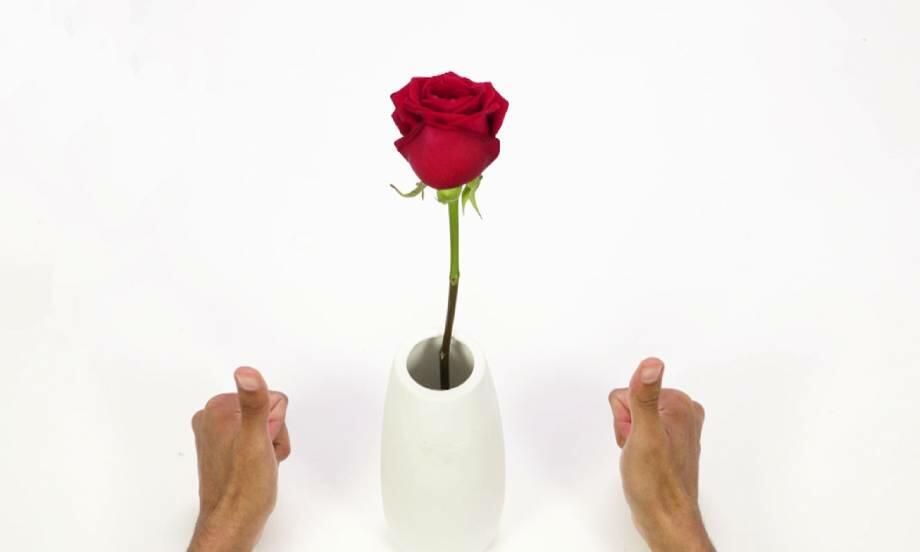
How to create a DIY cake stand or homemade vase
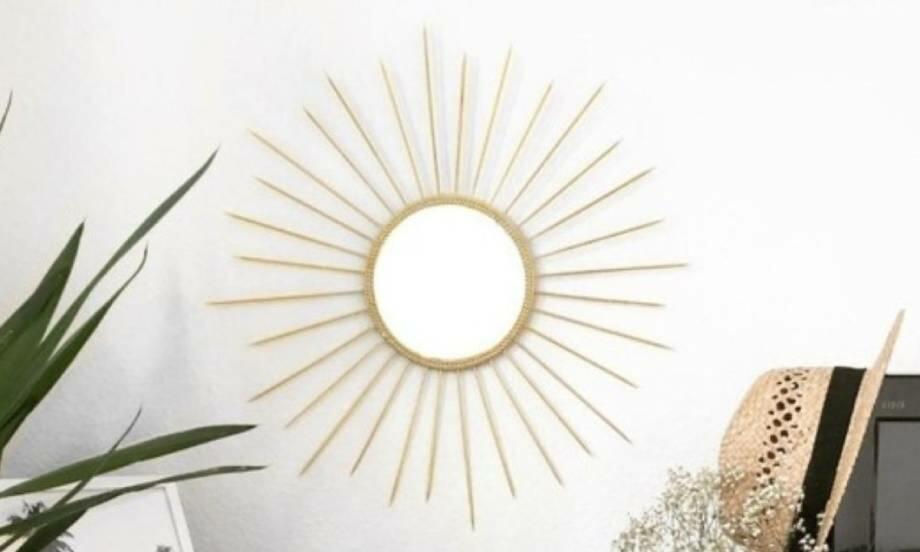
How to create a DIY sun mirror
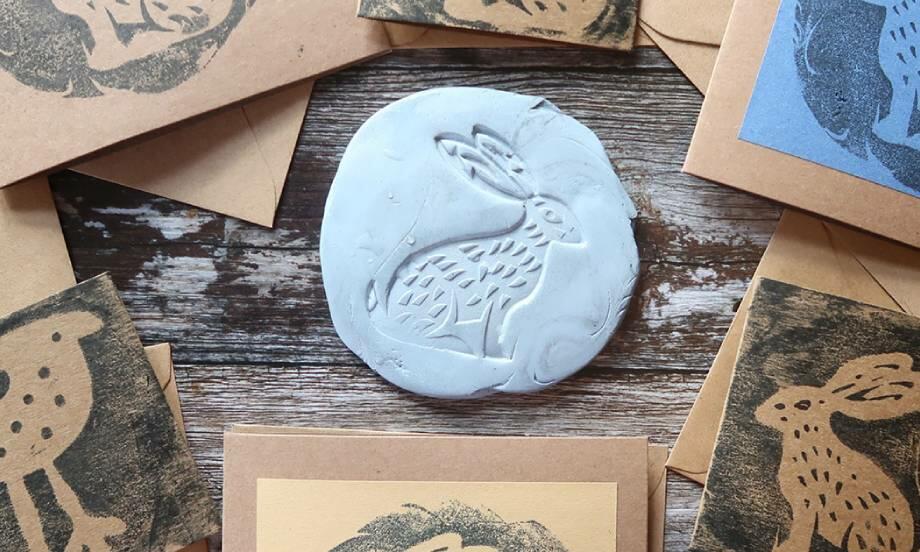
How to create reverse prints using Blu Tack®
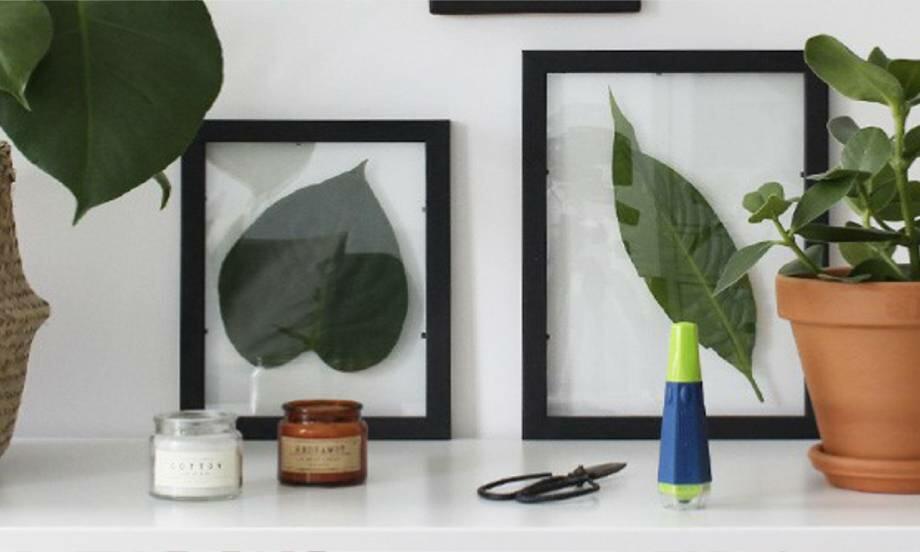
How to make a DIY plant frame
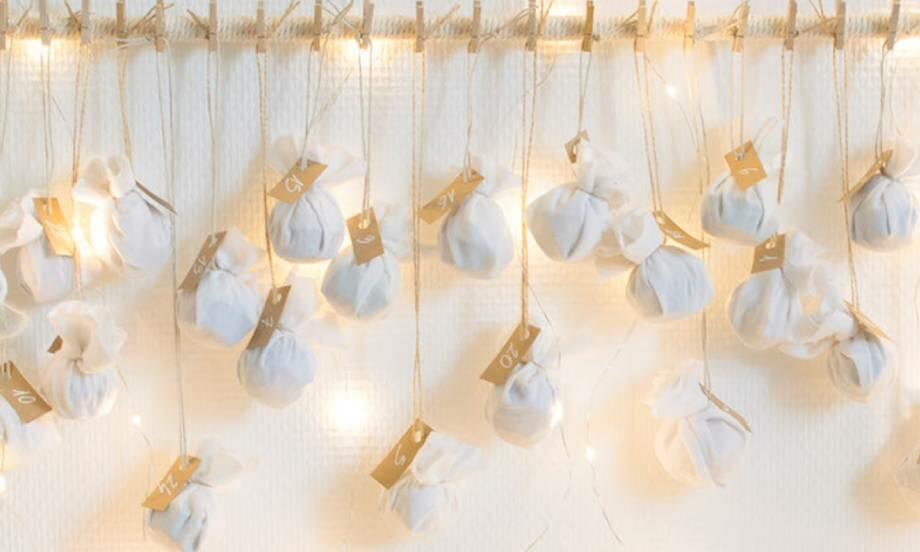
How to make your own advent calendar
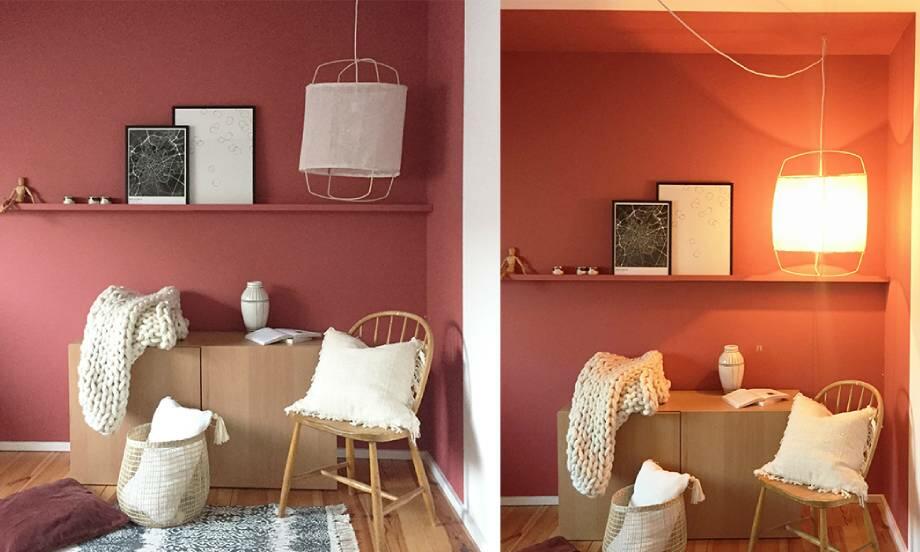
How to make your own pendant light
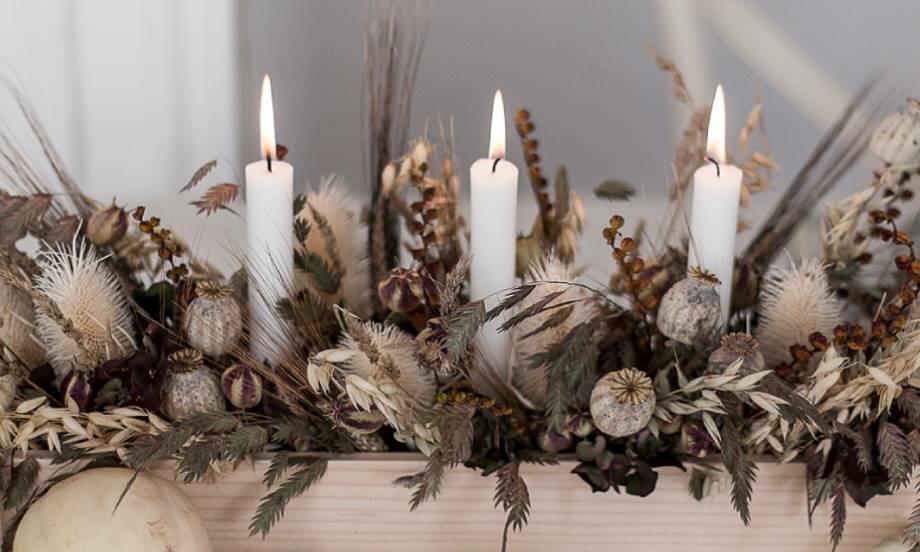
6 steps to create a DIY flower candle holder
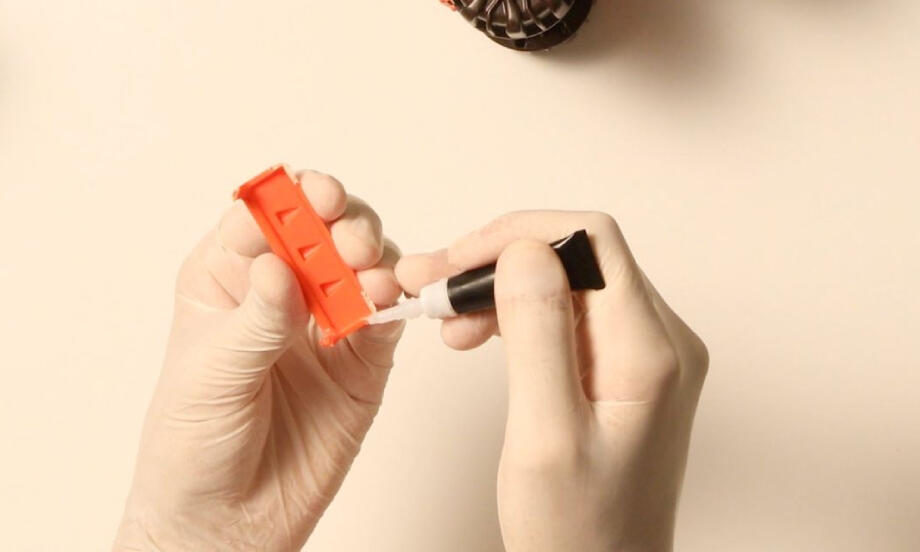
Everything you need to know: Super Glue
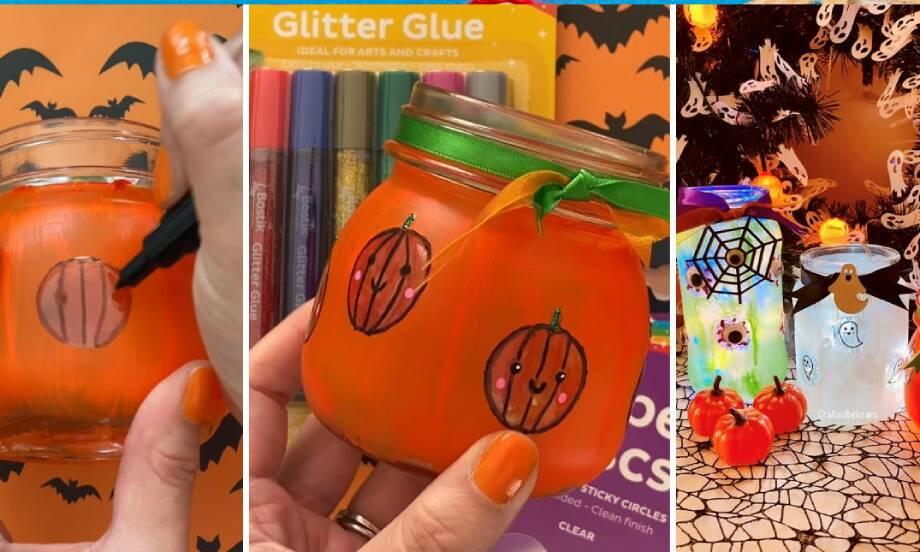
How to create DIY Halloween jar lanterns
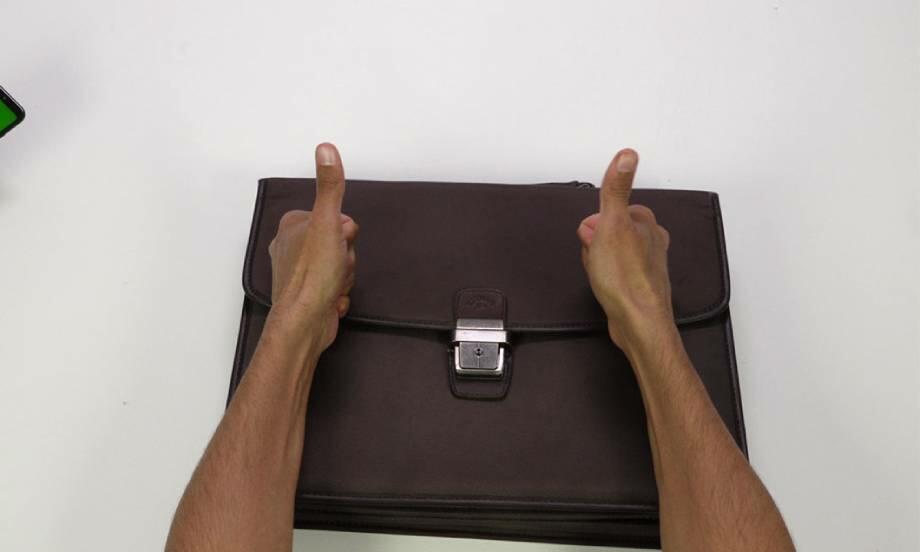
How to easily repair a fabric or leather bag clasp with super glue
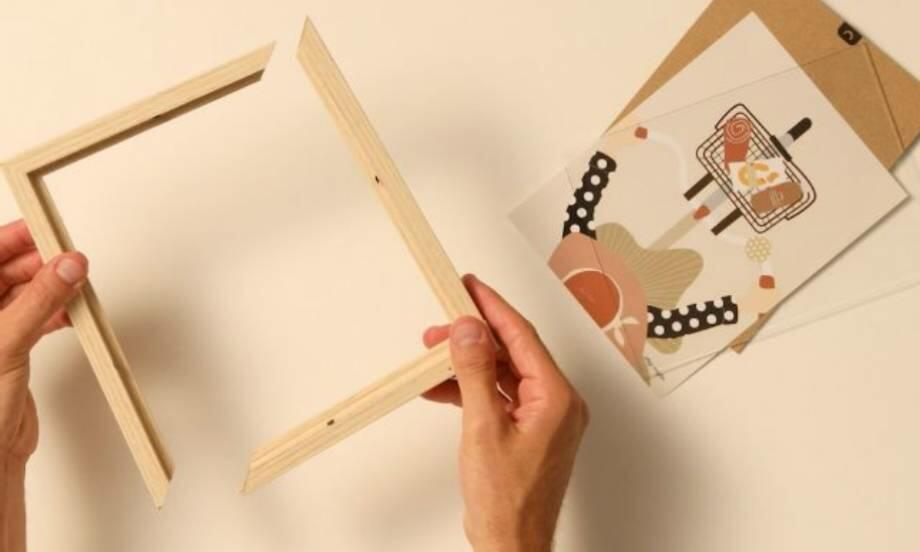
How to fix a broken picture frame with glue
How to fix broken hard plastic items
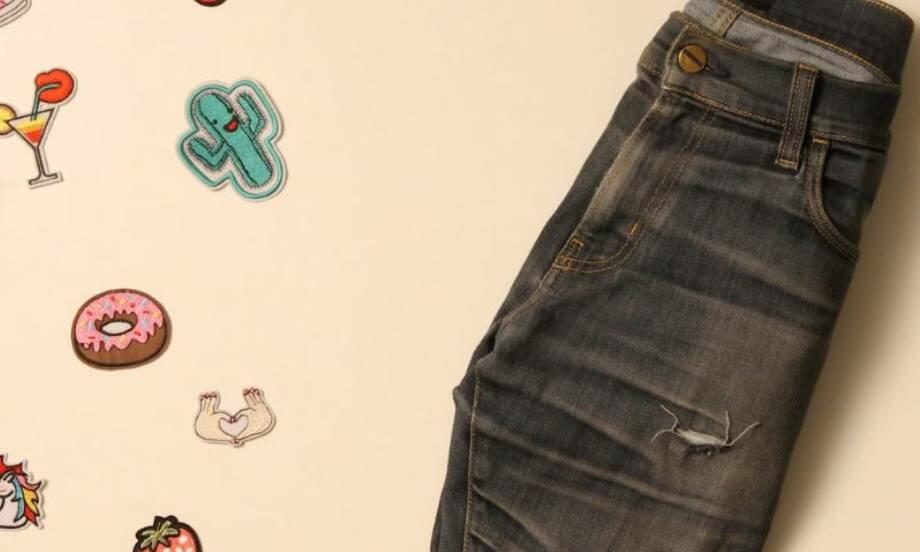
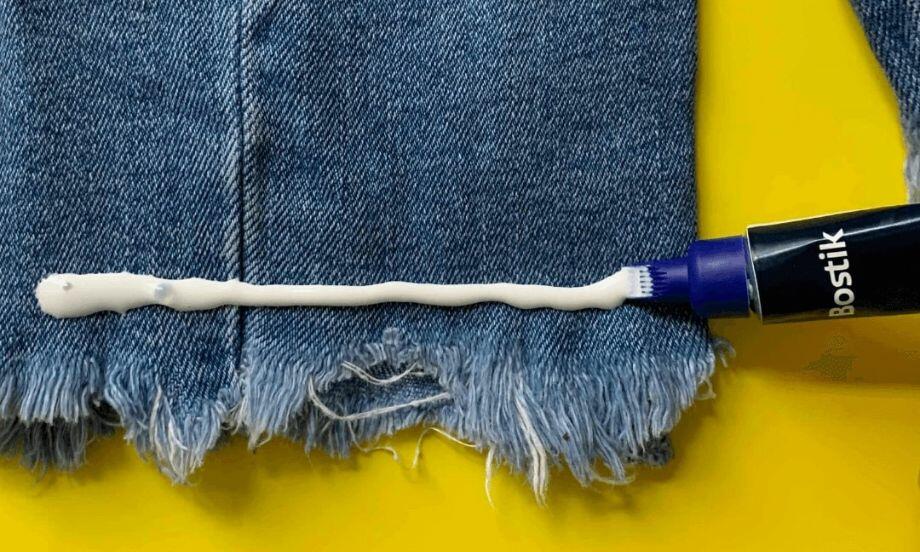
How to fix ripped jeans with fabric glue and a decorative patch
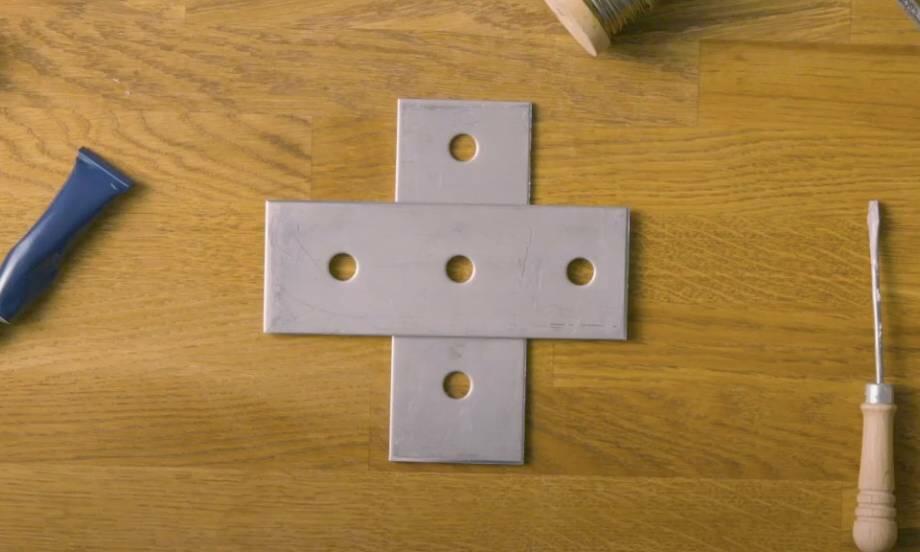
How to glue metal to metal
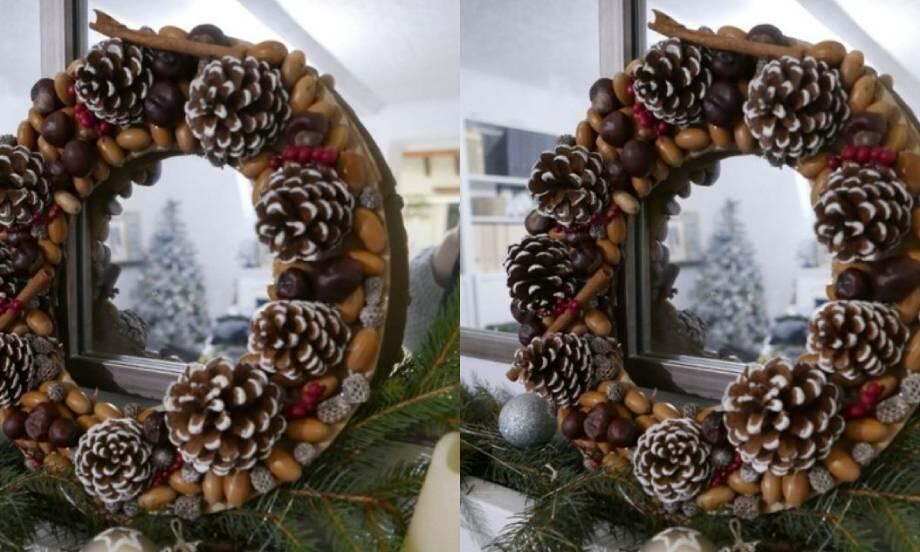
How to make a Christmas wreath at home
How to read hazard icons on glues
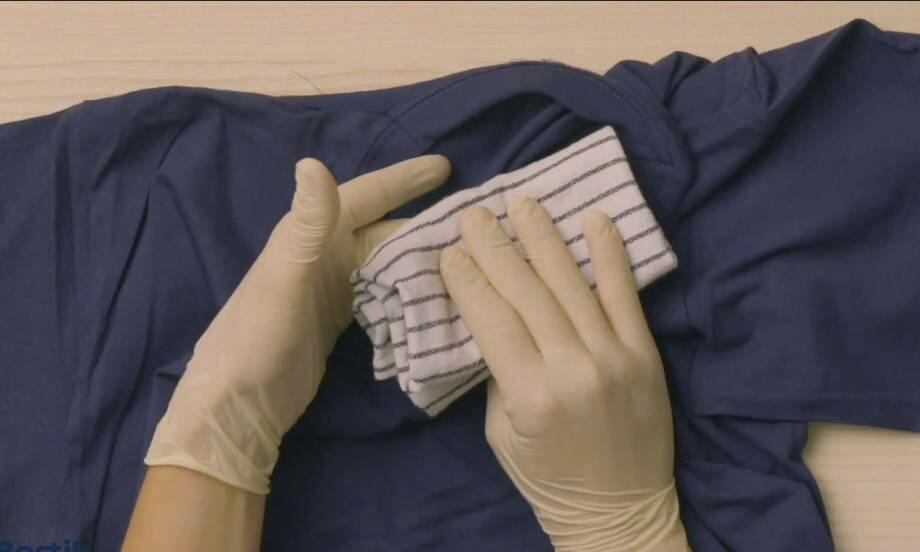
How to remove fabric glue from clothes
How to remove super glue from clothes
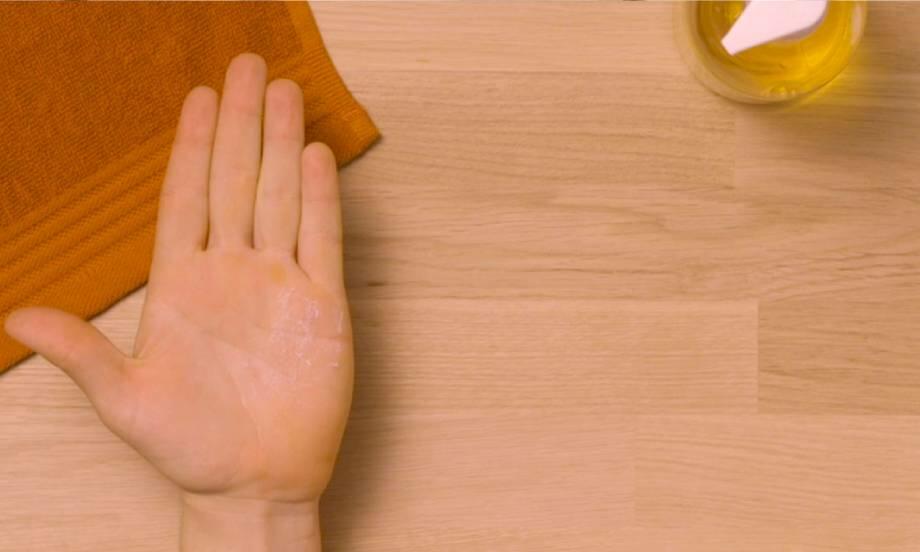
How to remove super glue from skin
How to repair a broken ceramic vase
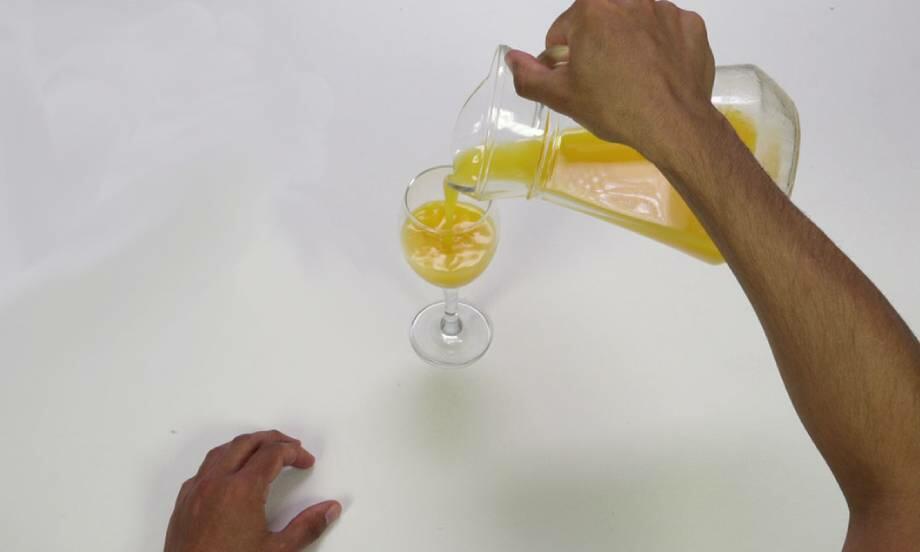
How to repair a broken glass
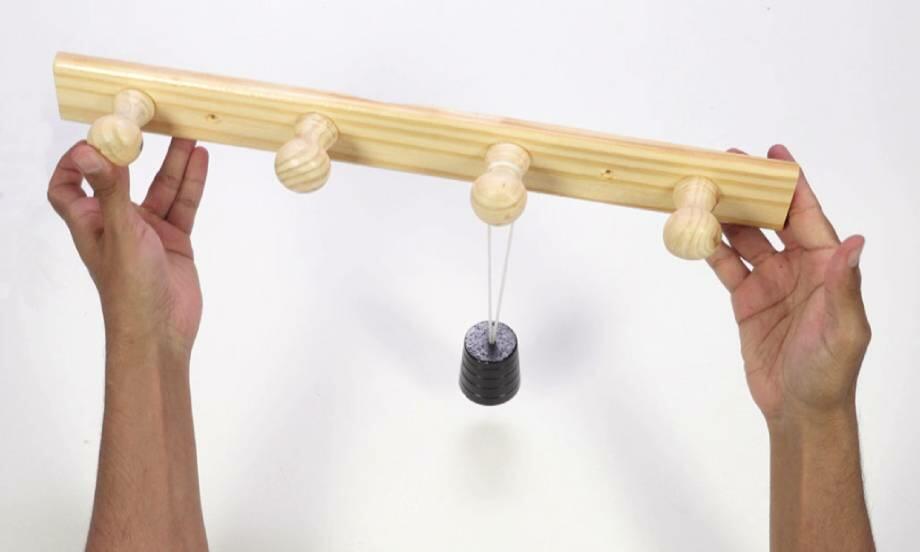
How to repair a broken wooden coat rack
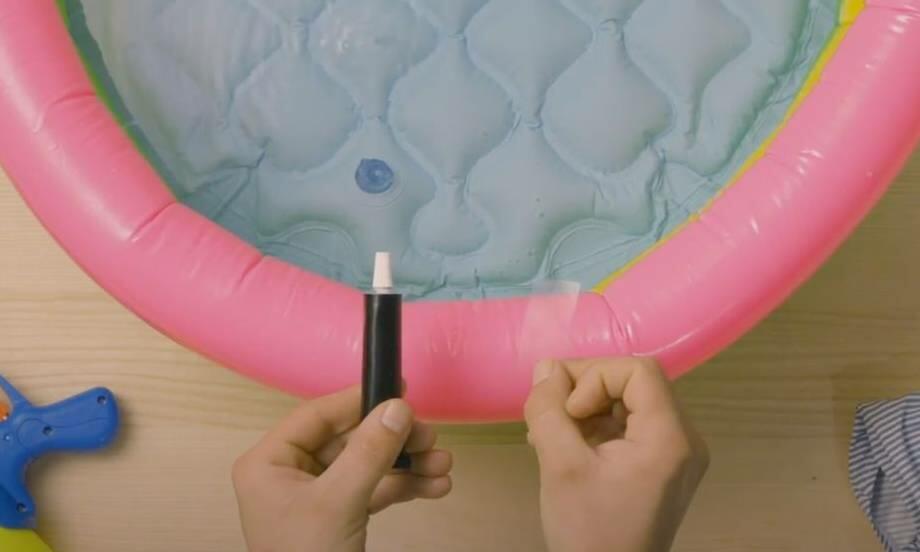
How to repair a child's paddling pool using plastic glue
How to repair a leather sofa cushion
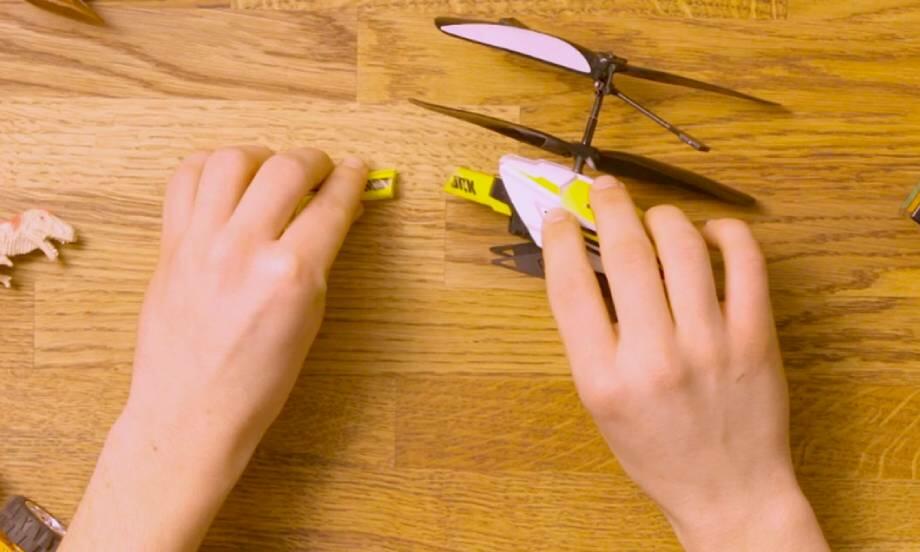
How to repair a plastic toy
How to repair a rubber bracelet
How to repair broken headphones
How to repair metal objects using super glue
How to repair the sole of your shoe