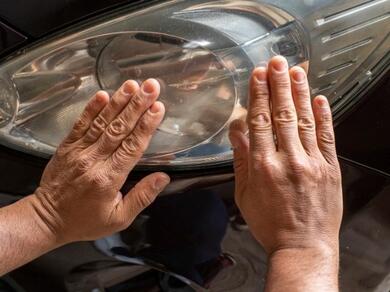
How to repair a cracked headlight with tape
A cracked car headlight can be a frustrating and potentially dangerous issue, especially when you're short on time or looking for a quick fix before a full replacement.
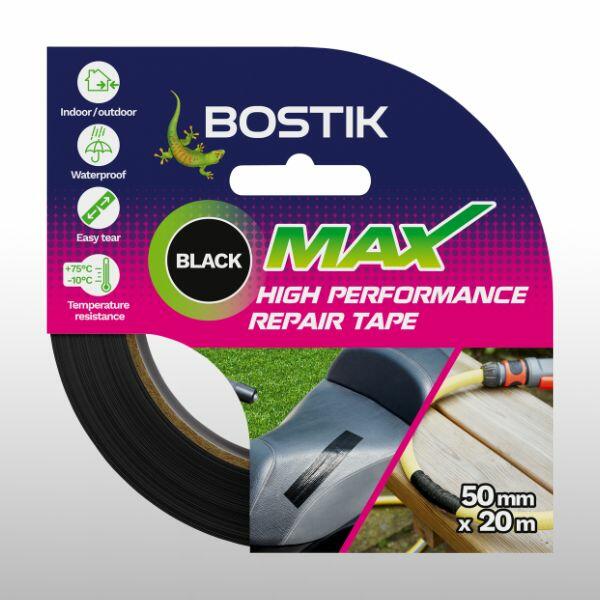
Whether you're dealing with a minor chip or a split lens, a temporary headlight repair can save you time, money, and a trip to the garage. Bostik Max Repair Tape Clear is a tough, weather-resistant tape that provides a strong seal to keep moisture and dirt out while restoring visibility - ideal for cracked headlight covers!
In this guide, we'll walk you through how to create a car headlight repair quickly and easily, with a piece of clear duct tape.
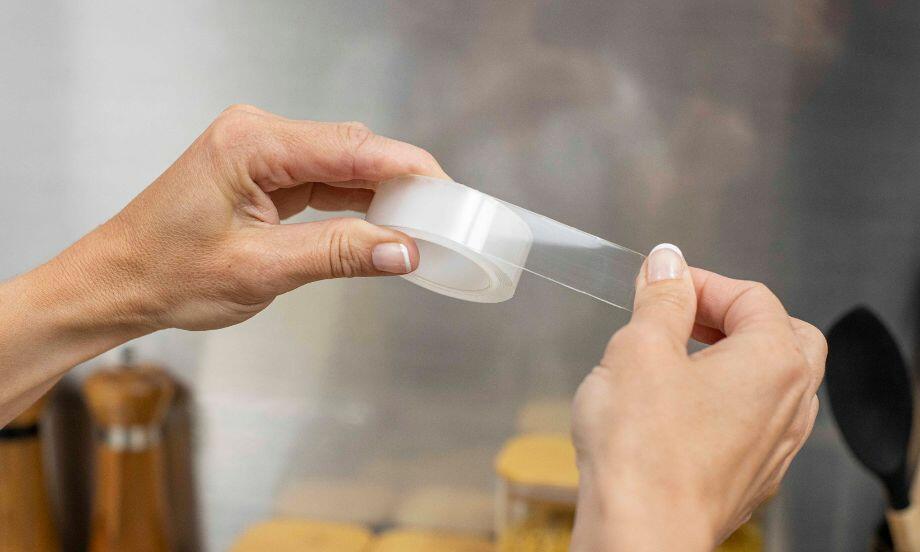
Why Max Repair Tape?
Bostik Max Repair Tape has an ultra-strong adhesive layer that can be applied on a variety of surfaces for indoor and outdoor repair projects - it's perfect for almost anything! The transparent nature of this high performance duct tape makes it ideal for repairing windows, windshields, headlights or even greenhouse covers. Plus, it is waterproof, can withstand temperatures ranging from -10°C to +75°C, is UV resistant and can withstand shocks and vibrations, making it super long-lasting and reliable.
Instructions
Final thoughts
Bostik Max Repair Tape isn’t just for cracked car headlights - it’s a versatile essential for a wide range of quick fixes around the home, garden, and garage.
From sealing leaking pipes to mending broken tool handles or fixing outdoor equipment, this ultra-strong, weatherproof tape is designed to withstand tough conditions both indoors and outdoors.
Whether you’re dealing with everyday wear and tear or unexpected DIY emergencies, keeping a roll on hand means you’re always ready to make strong, reliable repairs in seconds.