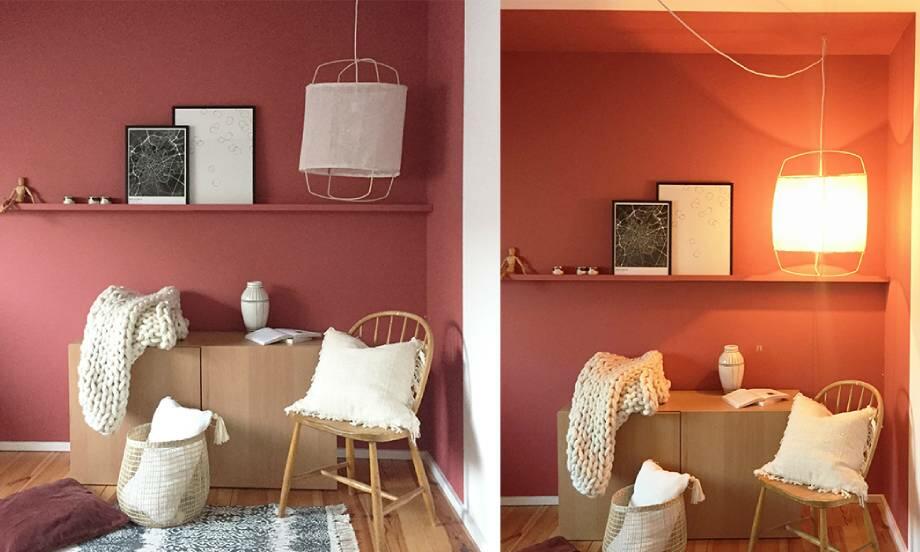
How to create a gallery wall
Learn how to create a gallery wall and turn blank spaces into masterpieces in just a few simple steps.
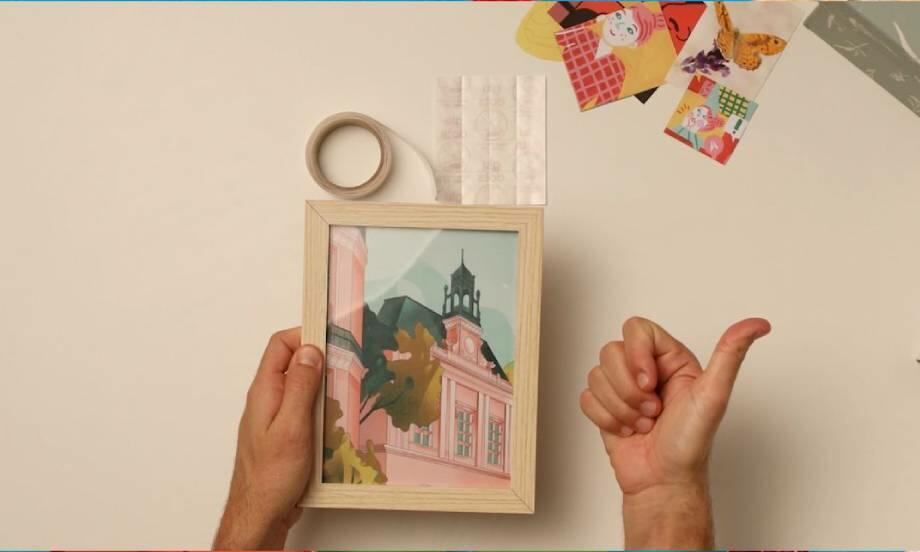
Creating a gallery wall is one of the easiest ways to add personality to your space - whether you're showcasing family memories, travel snaps, or your favourite art prints. Yet, if the idea of hammering nails into your freshly painted walls makes you break out in a sweat, don’t worry.
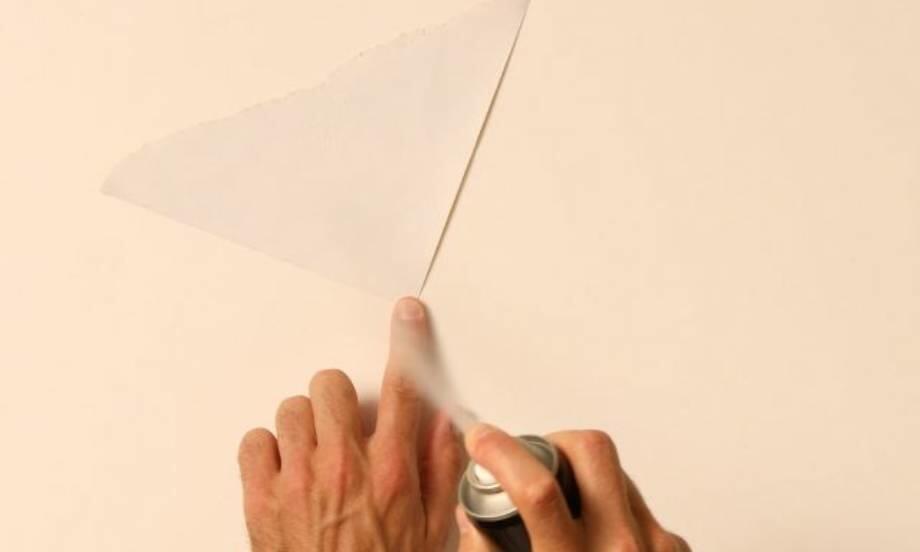
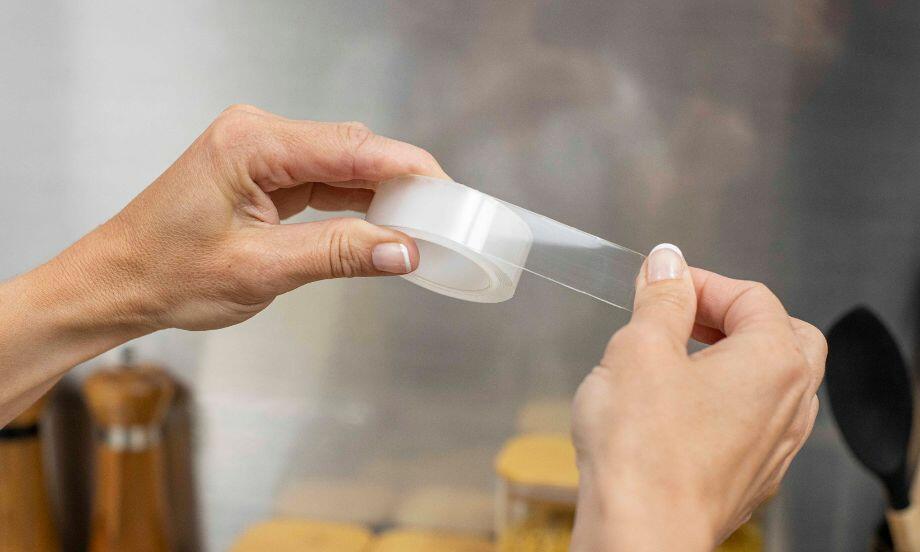
Read on to discover the best ways to hang pictures without nails thanks to our innovative mounting tape and other Bostik products, and get ready to make your gallery wall of dreams!

Instructions
Final thoughts
Whether you're a seasoned DIYer or just dipping your toes into home decorating, Bostik’s range of clever adhesives makes creating a gallery wall easy and enjoyable. With Blu Tack® for planning, Glu Dots for securing, and Miracle Tape for hanging, you’ve got everything you need to turn your wall into a masterpiece—without ever picking up a hammer.
#BluHacks around the home

3 simple things to make with lolly sticks
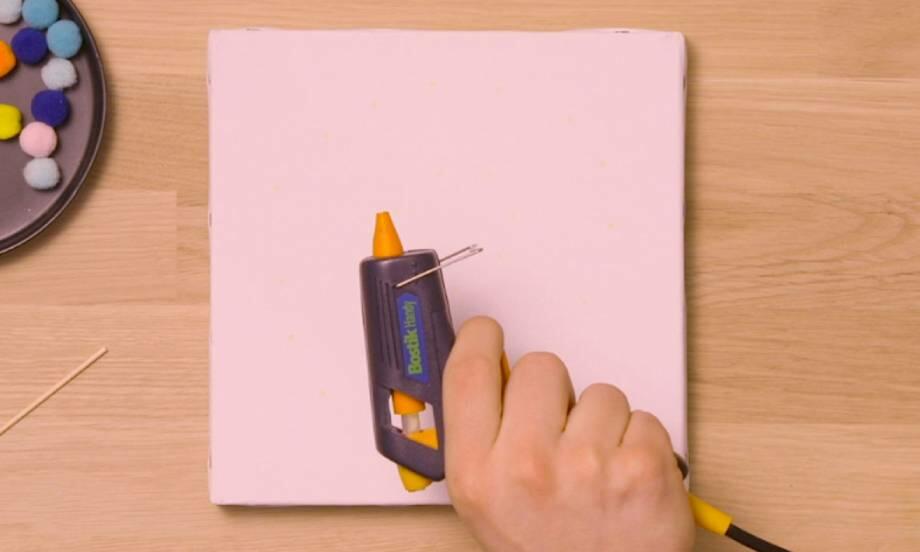
6 simple hot glue gun crafts to do at home
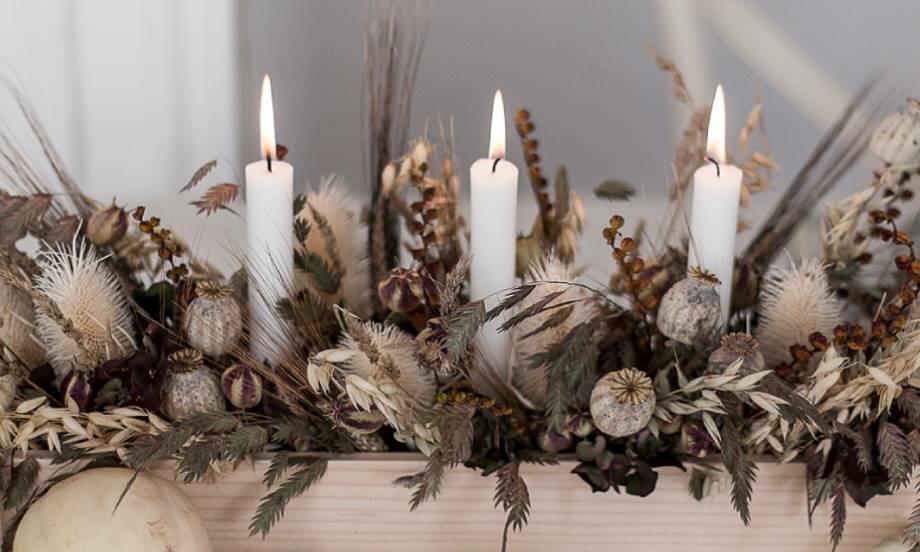
6 steps to create a DIY flower candle holder
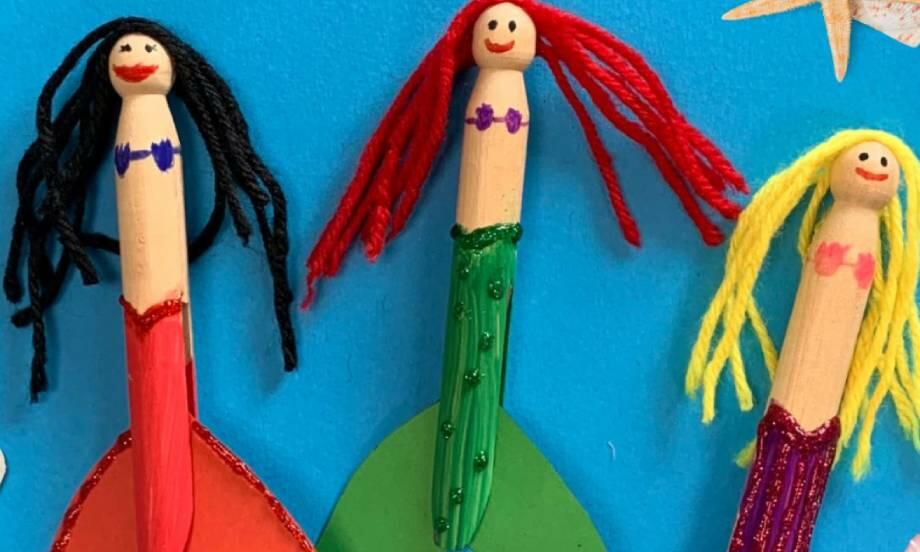
Easy mermaid craft using wooden clothes pegs
Everything you need to know: Glu Dots
Everything you need to know: Tapes
How to build your own DIY cardboard dollhouse
How to create a DIY cake stand or homemade vase
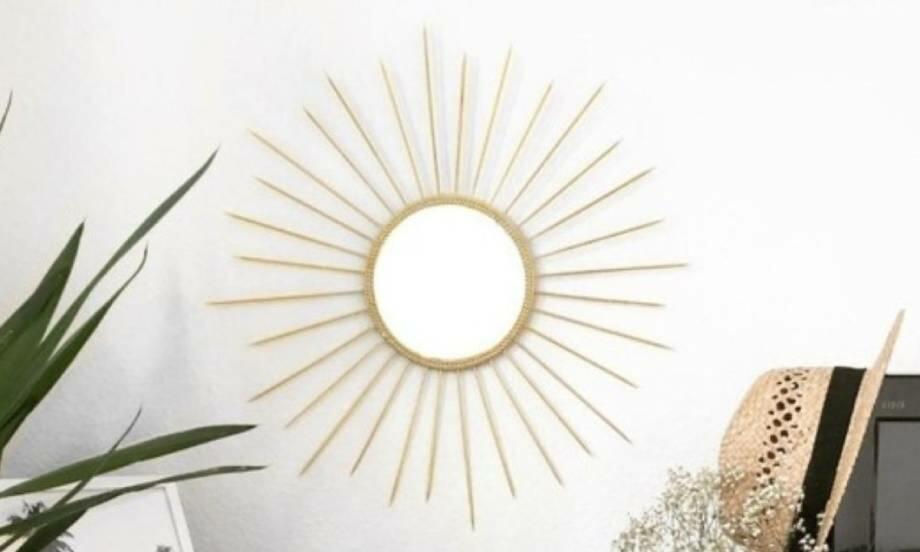
How to create a DIY sun mirror
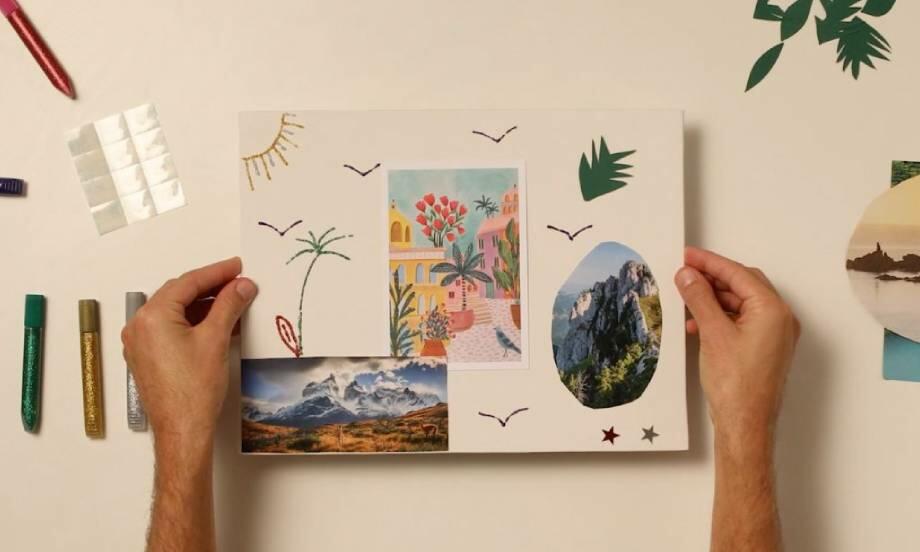
How to create a mood board in 5 simple steps
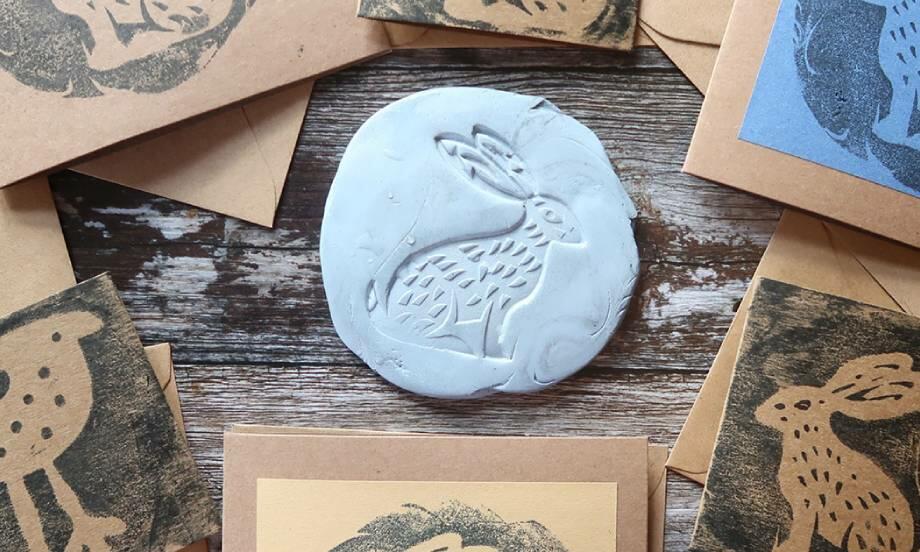
How to create reverse prints using Blu Tack®

How to make animal pencil pot holders
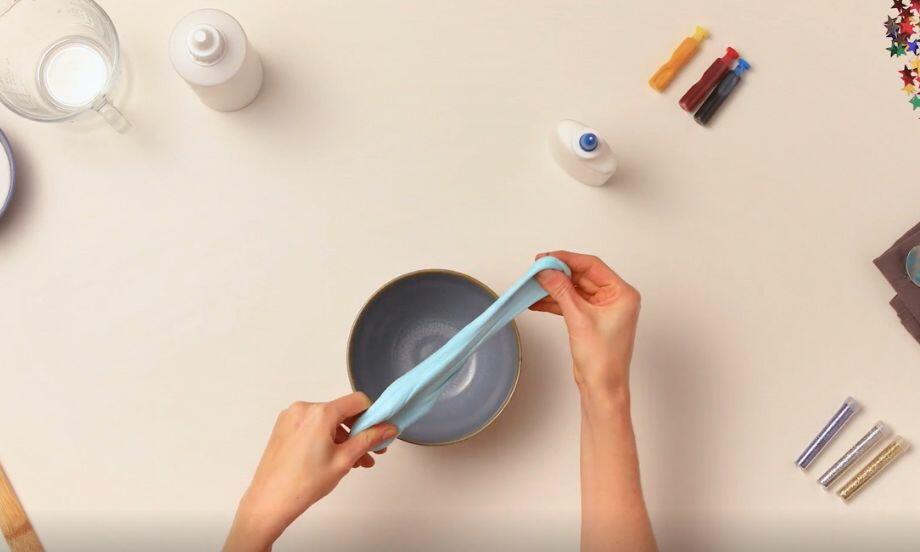
How to make slime using PVA glue
How to make your own pendant light
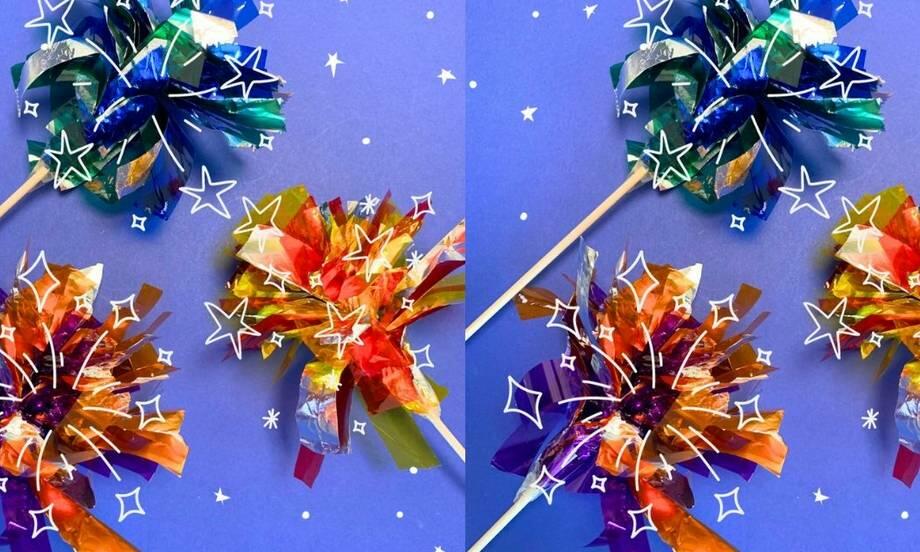
How to make your own sparklers