Bostik Hot Air Balloon

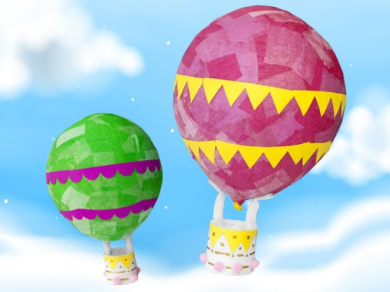
Embark on a delightful journey of creativity with our Bostik Hot Air Balloon project. This tutorial will guide you through crafting a charming and whimsical hot air balloon using Bostik’s reliable adhesives and simple materials. Whether as a decorative piece for a child’s room, a centerpiece for a themed party, or a weekend activity, this DIY project offers endless possibilities for personalisation and fun. Follow our step-by-step instructions to construct and decorate your own hot air balloon, exploring different colors and designs to make it truly yours. Let’s elevate your crafting experience with Bostik and bring the magic of hot air ballooning into your home!
Instructions

Step 1: MAKE THE BASKET

Cut up a strip of foam sheet. Staple the ends together. Cut the pipe claner into two short lengths. Then sticky tape them to the foam basket. Decorate the basket with Bostik Glitter Glue and pom poms.

Step 2: PAPIER MÂCHÉ YOUR BALLOON

Blow up a balloon. Cut up your coloured tissue paper into small pieces. Use Clag Paste to stick layers of coloured tissue papers to a balloon.

Step 3: CREATE FLAGS

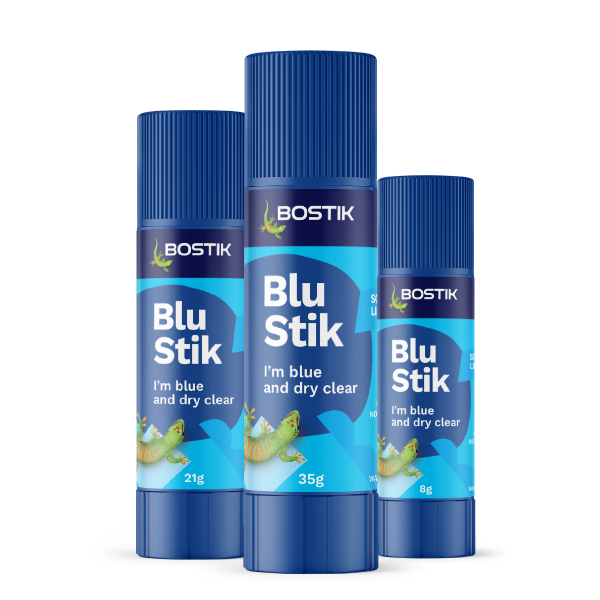
Once the papier mâché dries, cut up some flags from the template provided. Use Bostik Blu Stik to glue the flags to the papier mâché balloon.

Step 4: ATTACH BASKET TO BALLOON

Attach the basket to the balloon. For a finishing touch, print and cut out the picture of Belle from the template and attach to the basket.

See all products