Bostik Rocket

Embark on a thrilling DIY adventure with our Bostik Rocket project! This tutorial is your gateway to creating an exciting and customisable rocket using Bostik’s high-quality adhesives and craft materials. Whether for a school project, a space-themed party, or simply for imaginative play, this project promises hours of creative fun. Follow our step-by-step instructions to build and decorate your own rocket, exploring different designs and personalising each detail. Let your imagination soar with Bostik as you launch into a world of creativity and exploration with our DIY Rocket project.

Instructions

Step 1: PRINT TEMPLATE

Print the template and find a clean surface to work on. Make sure you have everything you need.

Step 2: CREATE THE ROCKET BASE

Cut a piece of coloured paper to the same height as the roll. Make sure it is long enough to wrap around the roll and overlap a little at the end. Use the Blu Stik and glue it to the roll. Ask a parent to cut four 2cm long slits (using the craft knife) at one end on the roll. The slits should be spaced evenly around the edge.

Step 3: MAKE THE TOP AND FINS

Blu Tack the cone template to a piece of coloured paper. Cut around the template. Once cut out, remove the template and Blu Tack. Do the same with the fins. Trace a 20 cent piece 3 times on some coloured card to create the windows. Cut out.

TIP

On the template the dashed lines are fold lines and the solid lines are to be cut out.

Step 4: PUT TOGETHER

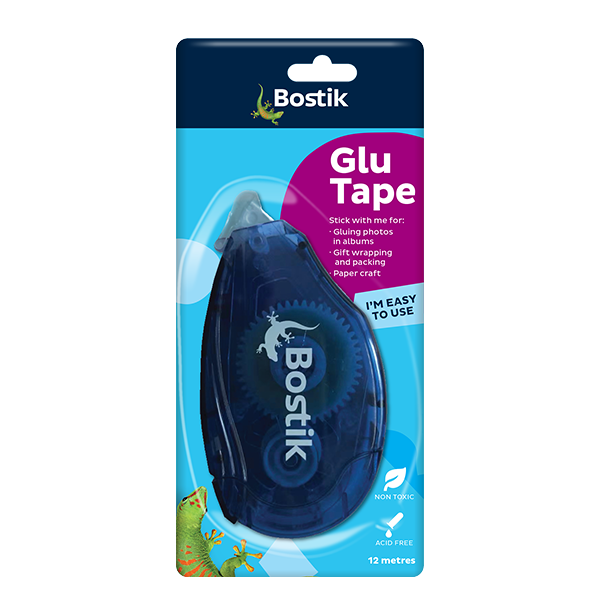
Align the slits on each fit and fit together. Then insert the fins into the slits at the bottom of the roll. Glue on the 3 windows with the Blu Stik. Apply Glu Tape to the tab on the cone, roll and attach to form a cone. Then put Clag Kids PVA glue along the top edge of the roll and place the cone on top. Leave to dry.

Step 5: DECORATE

Decorate with Glitter Glue, then it’s... 3... 2... 1.... BLAST OFF!

See all products