Simple Reverse Prints

Discover the art of creating stunning reverse prints with our Simple Reverse Prints project! This tutorial will guide you through a creative process using Bostik Blu Tack®. Perfect for adding a unique touch to your home decor or as personalised gifts, this DIY technique allows you to explore the beauty of negative space and intricate designs. Follow our step-by-step instructions to master the art of reverse printing, transforming ordinary surfaces into eye-catching artworks. 

Follow this step-by-step tutorial from our friends at Craft Invaders.
Instructions

STEP 1 : Moulding

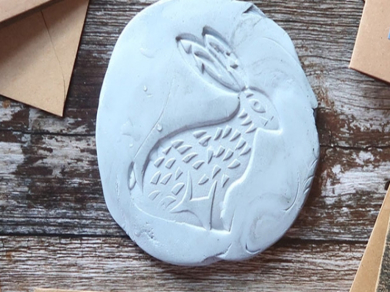
To begin, mould some Blu Tack® into a ball and then roll it out into a circular shape.

STEP 2 : Stamping

Press your decorative stamps into the Blu Tack® circle to imprint. Now peel the Blu Tack® circle away to expose the reverse print pattern.

STEP 3 : Colouring

Use an ink pad or sponge to colour your Blu Tack® circle pattern.

STEP 4 : Printing

Press the paper or card down on to the coloured stamp and rub across its surface. If you are making cards, ensure you are printing the right way up!

STEP 5 : Peeling back

Peel back the card to reveal your print. Making a reverse print really is as simple as it looks.

STEP 6 : Decorate

Use your reverse prints on homemade greeting cards and wrapping paper for an elegant look. You can even use them on DIY Christmas decorations.

See all products