Easter egg basket

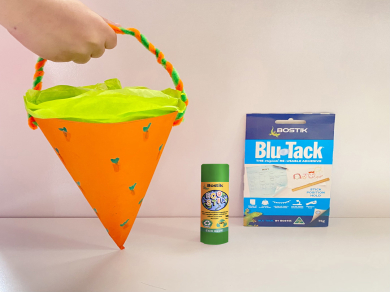
Discover how to create a delightful Easter Egg Basket with Bostik's easy-to-follow tutorial! Whether you're planning a festive Easter gathering or simply want to add a touch of handmade charm to your home decor, this step-by-step guide will show you how. Using Bostik's premium adhesives, you'll learn to craft a sturdy and stylish basket that's perfect for holding Easter treats. Join us as we explore creative techniques and tips to personalize your basket, making it a centerpiece of seasonal joy. Let's embark on this crafting journey together and bring the spirit of Easter into your home with a beautiful handmade basket.
Instructions

Step 1: Squaring your cardboard

Using the ruler, measure a 21cm square on the orange cardboard. 

Step 2: Draw your basket

Draw a quarter circle from one edge to the opposite edge of the square on the orange cardboard. 

Step 3: Cut your basket

Cut along the drawn circle.

Step 4: Ready your basket

Measure 1cm from one straight edge of the circle and draw a straight line along it.

Step 5: Final basket prepping

Fold in and press down along the drawn straight line.

Step 6: Readying your tissue paper 

Place the tissue paper over the basket and cut to fit along the straight edges adding 5cm along the circular edge. 

TIP

The folded 1cm straight line on the orange cardboard is not to be covered with green tissue paper as this will be used to glue the cone together

Step 7: Attach your tissue paper  

Glue the tissue paper to the basket using Bostik Blu Stik.

Step 8: Decorate your basket 

Flip the basket over and decorate your basket using felt tip pens or pencils.

Step 9: Make your basket 

Glue along the top of the folded orange line using the Bostik Blu Stik. Attach this glued line over to the other straight side to form a cone. 

Step 10: Hole punch the basket 

Using the hole puncher, create 2 holes - 1 on either side of the basket about 1.5cm down from the orange edge.

Step 11: Ready the handles 

Twirl together the green and orange pipe cleaners.

Step 12: Attach the handles 

Insert the handles into the holes on either side of the cone. 

Step 13: Secure the handles 

Using 2 small balls of either Bostik Blu Tack® or Bostik Blu Tack Colour®, secure the inside of the pipe cleaner handles.

See all products