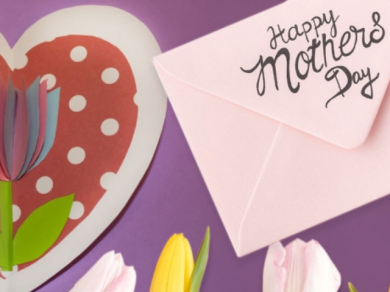
Mother's day card

Celebrate Mother's Day with creativity and heartfelt charm with Bostik's DIY Mother’s Day Card! Discover how to craft personalized cards that express your love and gratitude perfectly. Whether you're a seasoned crafter or trying your hand at DIY for the first time, our step-by-step tutorials showcase the best adhesive techniques to ensure your cards are both beautiful and enduring. Dive into our inspiration and create memorable moments with Bostik this Mother's Day.
Instructions

STEP 1: PRINT AND CUT

Download and print the template onto regular print paper. Cut out all the shapes to use as stencils. You could also print the template directly onto thicker paper and use coloured markers to decorate.

STEP 2:TRACE AND CUT

Trace and cut out the big heart on paper of your choice. Trace, cut out and paste the smaller heart onto the inside of your big heart.

STEP 3: CUT AND FOLD

Trace & cut out the stem and the leaves. Using Bostik Pink Stik, glue the stem inside the inner heart, on the bottom at the middle. Glue the two leaves to the bottom of the stem. Let the glue dry. Fold the heart in half. If any of the stem pieces come loose, just reapply the glue to strengthen the stem.

STEP 4: MAKE THE FLOWER

Trace the tulip flower shape on paper. You will need to trace it a few times, the more shapes the better (we had 6). You can use the same colour for all of them, or make it multicolour. Cut out all the tulips. Once all of them are cut, fold them in half. Glue each halve on top of the other.

STEP 5: GLUE

Once you have all of them glued together, apply glue on one end (half) of the tulip. Press it down into the card. Apply Bostik Pink Stik on the other half of the card and close the card for the glue to set. Once dry, it should open with a fan effect. You can now write your little message for mum!

See all products