Tropical rainforest diorama

Create the lush beauty of the tropics with our Tropical Rainforest Diorama project! This tutorial invites you to craft a miniature rainforest scene using Bostik’s reliable adhesives and basic materials. Perfect for educational displays, school projects, or simply as a decorative piece, this DIY project offers a glimpse into the diverse flora and fauna of tropical regions. Follow our step-by-step instructions to construct and embellish your own rainforest diorama, capturing the essence of this vibrant ecosystem in a creative and immersive way. Let’s embark on a journey with Bostik and bring the wonders of the tropical rainforest to life right at home!
Instructions

Step 1: Create your base

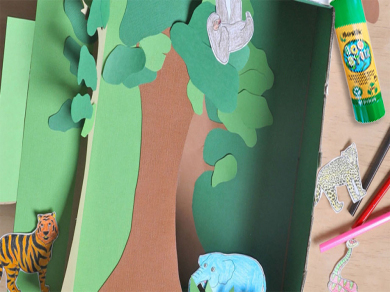
Cover the inside of the shoebox and shoebox lid with green paper.

Step 2: Draw trees

Draw half of a tree trunk, aligning with the long edge of the paper and branching out. Leave a 2cm space along the edges to create tabs. Cut out the tree.

Step 3: Glue to box

Fold the tabs and glue them to the edges of the box.

Step 4: Add leaves

Cut foliage out of green paper and glue to the branches and to the edges of the box. For a 3D look, use crumpled green crepe paper.

Step 5: Add frens

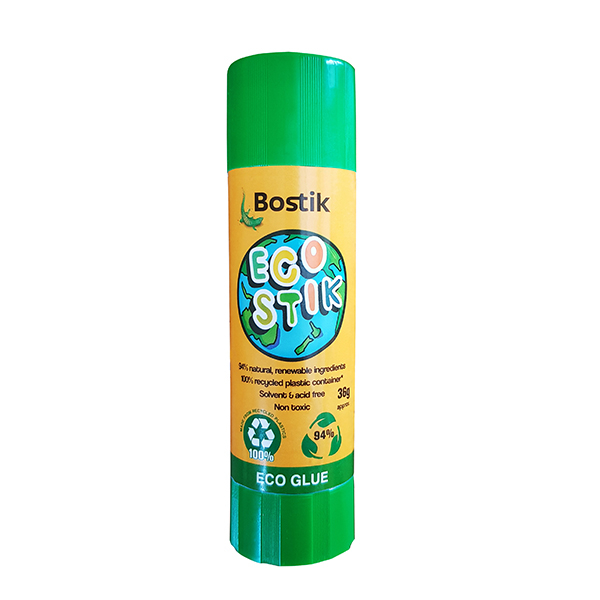
Create some ferns and other rainforest plants using plain paper or crepe paper. Glue the plants to the box using a Eco Stik.

Step 6: Add wildlife

Draw rainforest animals or cut them out from old magazines.

Step 7: Move them in

Position the animals inside the diorama. You can glue them onto tree branches, behind the trees, or even on top of the canopy.

See all products