How to create your own wall art

Here’s an inspiring tutorial on creating your own wall art! Unleash your creativity and transform any space with personalized artwork that reflects your style and personality. In this step-by-step guide, we'll explore innovative techniques and materials to design and assemble stunning wall art pieces using Bostik Rugby Excel. Whether you're a seasoned artist or just starting out, this DIY project offers endless possibilities to adorn your walls with captivating designs!

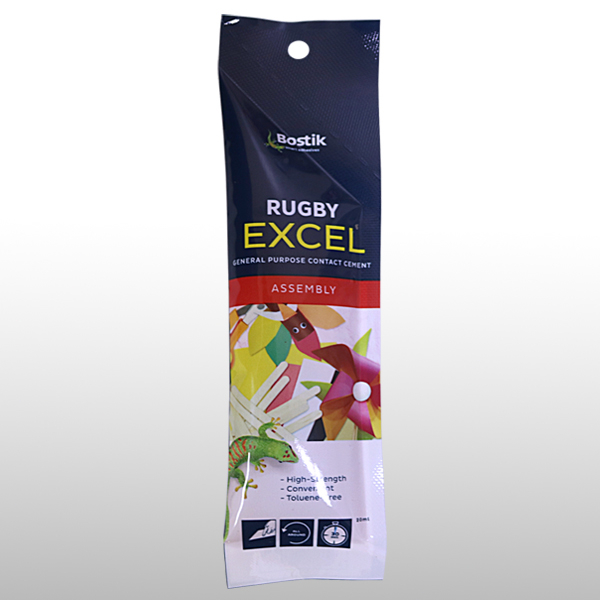
Instructions

Step 1: Cut

Cut your 200 gsm paper to the size of your picture frame.

Step 2: Lay

Pick the rubber bands you want to use. Cut them and lay them out on the paper in a rainbow pattern. Cut the excesses.

Step 3: Mark

Draw a rainbow, and mark the outer and inner edges. This will determine the space where you will apply the rugby.

Step 4: Apply

Put Bostik Rugby Excel on the marked paper and on the rubber bands, individually. Make sure you put a scratch paper underneath. Let dry for 20 minutes.

Step 5: Assemble

Using a tweezer, place the rubber bands on the paper one at a time. Don’t worry about Bostik Rugby Excel getting on your skin—it is non-toxic and easy to remove.

Step 6: Display

Stick a cotton ball on both ends of the rainbow. Put the artwork in the picture frame and display on your shelf or wall.

Tip

Rugby Excel is available in our ecommerce stores.

See all products