How to make a stool with no more nails

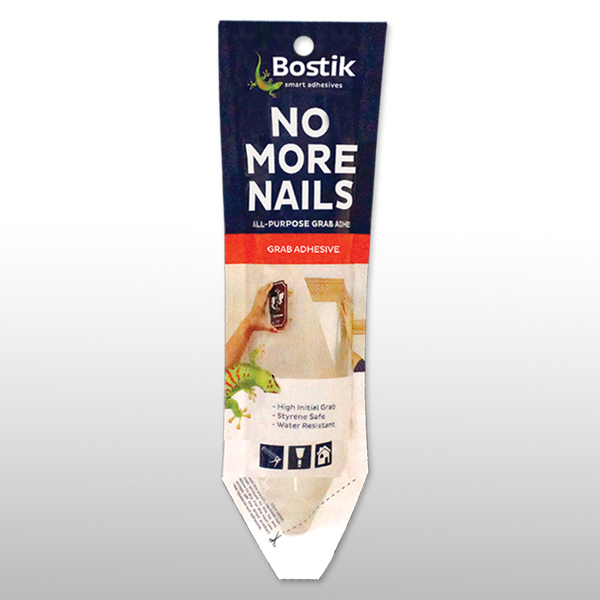
Want to create a stool without the need for nails? Elevate your DIY skills and furniture collection with this practical project designed to enhance your home decor. In this comprehensive guide, we'll walk you through the process of constructing a sturdy and stylish stool using Bostik No More Nails for a reliable hold. Whether you're a novice or experienced crafter, this step-by-step tutorial offers valuable insights and techniques to create a functional piece of furniture without the hassle of nails.

Instructions

Step 1: Measure

Measure 12–15 inches on the flat wooden palette. Cut with an electric or regular saw.

Step 2: Mark

Lay the flat wood horizontally. Measure 1 inch from each side and 3/4 inch from the top. Mark where you will drill holes, which should be the same size as your hole saw (32 mm).

Step 3: Chisel away

For the stool’s legs, measure 5 inches each on the 2 x 2 wood. Using a saw, cut the wood at a slight angle. Match the height of the round peg with the thickness of your flat wood. Be sure to use a bigger-sized hole saw (38 mm). Chisel away at the wood around the round peg.

Step 4: Plug in

Put Bostik No More Nails all over the round pegs of the stool’s legs. Plug the legs into the holes, slightly slanted outward.

Step 5: Sand down

Sand down rough areas and paint the stool, or keep it rustic.

Step 6: Liven up

Use the stool for dad’s stuff.

Tip

Sprucing up your home should be easy with No More Nails. No More Nails is available in our ecommerce stores.

See all products