How to repair hard plastic with glue

Life can be messy, complicated, imperfect. Things break, but that doesn’t mean they should be tossed into the trash. Some objects have huge sentimental value, and we’d all prefer not to waste money and resources. People are mindful of not sending more to landfill than we have to. And let’s not underestimate the sense of achievement that comes with fixing something – that warm glow pride when we become a #repairhero! Luckily jobs don’t get much easier than repairing hard plastic with glue.
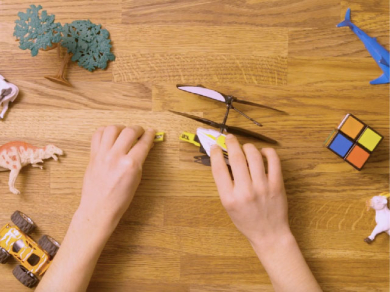
Picture the scene, it’s another hectic day of family life, when your sobbing child breaks their favourite toy. It might seem easy to wait until your little one is not around and simply throw the toy away, but you don’t want to risk more tears. Plus of course, we’re all learning to avoid unnecessary waste.
So why not be a hero in your family’s eyes – a #repairhero?
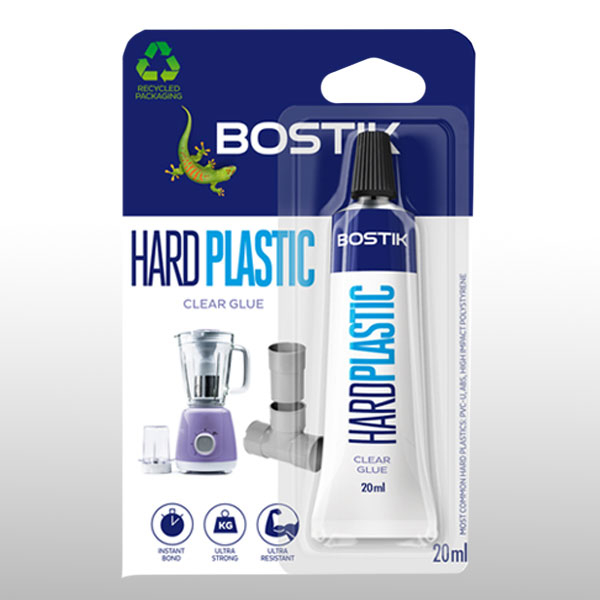
Becoming a repair hero is easier than it sounds. It only needs the right glue for the job. Bostik has a glue for every need. To repair hard plastic, there’s Bostik Hard Plastics Clear Glue. It’s ultra-strong and long lasting so you know your repair will stand the test of time. And it’s fast setting too, so it’s quick and simple to use.
How to repair hard plastic with Bostik Hard Plastics Clear Glue - a step by step guide
Step 1: Be prepared
Before you repair hard plastic, remember that all glues need a clean, dry surface if you want the glue to work properly. So check the damaged area for dust, dirt, grease or any other contamination. If necessary, give your hard plastic item a quick clean with an alcohol-based cleaner and let it dry.
Step 2: Get gluing
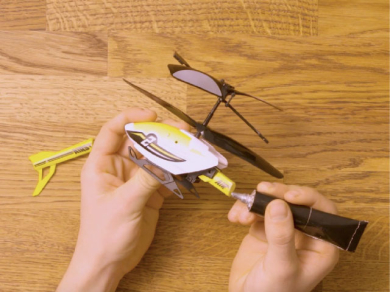
Once your broken hard plastic item is ready to glue, put it on a flat surface. You may want to lay it on an old newspaper or something similar. Then unscrew the glue cap and simply spread an even line of glue onto both damaged surfaces of the broken material.
Step 3: Take a break
Put the pieces of your hard plastic item down and wait for the glue to become nice and tacky. Allow four minutes – that’s the perfect amount of time at normal room temperature. So set a timer and take a coffee break!
Step 4: Time to stick your hard plastic item
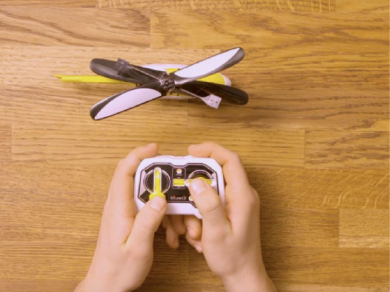
Carefully line up the pieces and gently press them together. They will stick immediately but maximum bond strength is achieved after around 12 hours, so store your item laying on one side for the very best results. And that’s it! Your hard plastic toy is fixed, you’re an official #repairhero.


Essential:
You might also want:
- old newspaper or similar
- alcohol-based cleaner
- a clean, dry cloth
- nail polish remover or acetone
Made a little mess?
Bostik Hard Plastics Clear Glue can be removed before it sets using nail polish remover or acetone. Solvents like these can damage some surfaces so carry out a test to be certain.
Everything you might need to repair hard plastic with glue
When to use Bostik Hard Plastics Clear Glue?
Whether you’re fixing a toy, a tool or a television remote, Bostik Hard Plastics Clear Glue is perfect for all tough jobs that need an ultra-strong, long-lasting or fast-setting water-resistant glue. This is the choice when you need to repair most clear, rigid or hard plastic, including PVC-U, ABS and High Polystyrene, as well as other materials including wood, metal and leather. Keep it handy to repair hard plastic around the home, garage and workshop – for fixing so many of life’s essential bits. You can also assemble things, not only repair or even use it for craft.


