Be inspired by our craft and DIY glue gun ideas
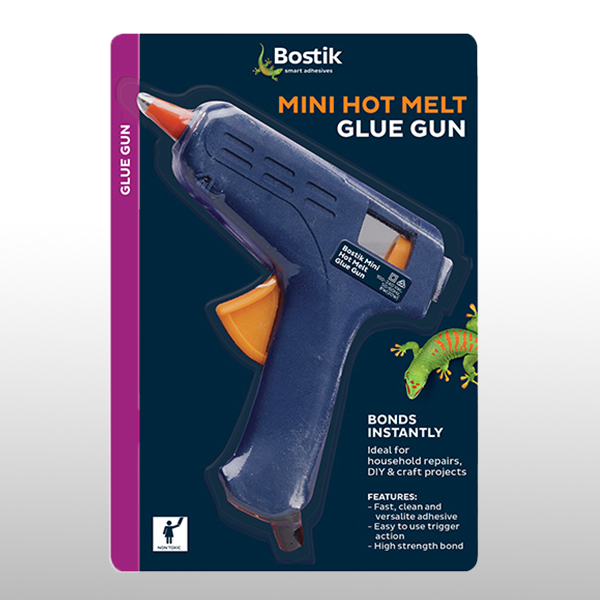
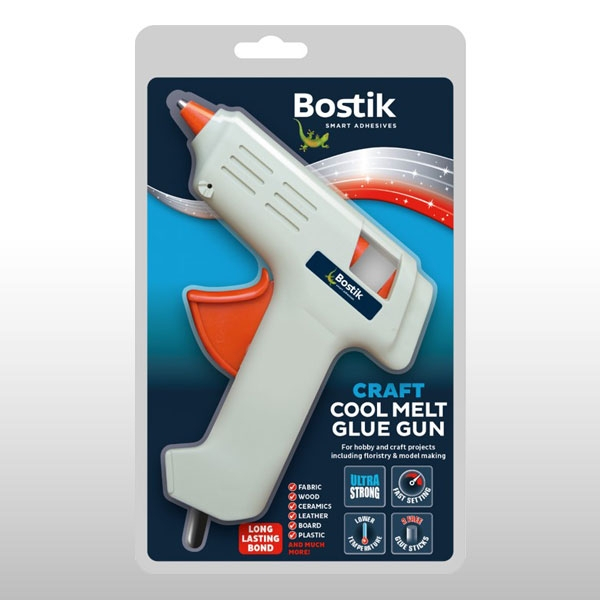
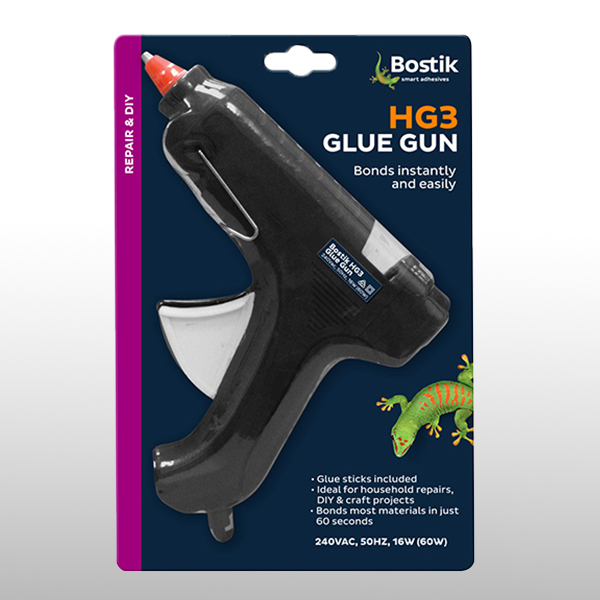
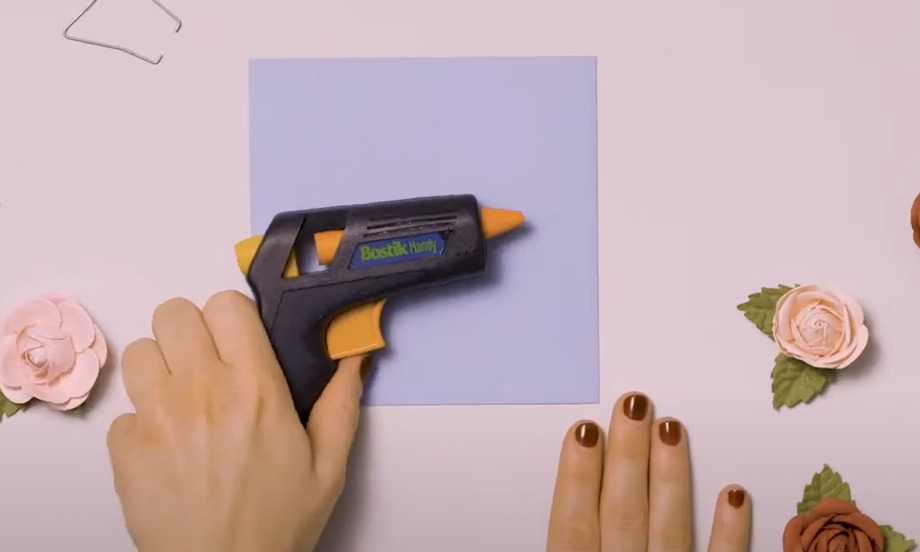
Be ready for anything with a Bostik Handy Hot Melt Glue Gun
Life is hectic, complicated, even a little crazy sometimes. There are so many demands on our time; with a never-ending to-do list of jobs to be done – as well as finding time for the activities we enjoy. But having the right tools, hacks and routines in place can make a big difference. Whether that’s an up-to-date family organiser or a drawer full of useful kit – staying on top of things gives us all a buzz. It’s a good feeling to know that you’ve got the right tools for any job. When you’ve got a glue gun like the Bostik Handy Hot Melt Glue Gun in your home, you feel like you’re ready for anything; whether you need to repair a favourite piece of pottery, help your child with a school craft project or perhaps express yourself with something artistic. Check out these ultra-simple ideas for some inspiring new ways to use your Bostik Handy Hot Melt Glue Gun.

Art, craft and DIY: Six quick and easy glue gun ideas
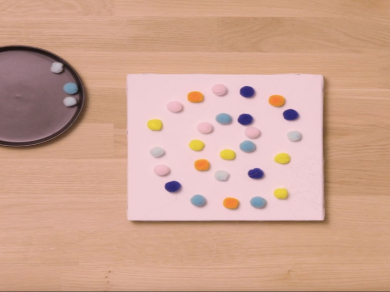
ART GLUE GUN IDEA: Create a collage canvas
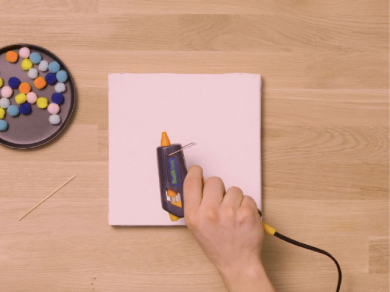
Take a small, square artists’ canvas and whatever materials inspire you, it might be colourful badges, buttons or ribbons – or natural materials like tiny shells, dried flowers or leaves. Spend a little time arranging them on the canvas and then lift each one to add a dot of glue to the canvas underneath from the Bostik Handy Hot Melt Glue Gun. Then press each object into place. And voila, your very own miniature work of art!
REPAIR GLUE GUN IDEA: Fix a leather strap
The Bostik Handy Hot Melt Glue Gun is great for minor household repairs and works brilliantly on leather. So, if your purse, wallet or watch strap is starting to fray, it’s easy to keep it in place. Just run a fine line – or dots – of glue along the underside of the stitched area and press the leather back into place. And your leather goods live on!
CRAFT GLUE GUN IDEA: Glam it up
Reach for the Bostik Handy Hot Melt Glue Gun when you want to liven up your accessories – it’s great for most fabrics. Turn a plain bag into something far more attention-grabbing by adding some fun plastic jewels or gems. Place your bag flat on your work surface and spend some time laying your jewels out, perhaps in a heart shape or a simple circle. Then lift each one to add a dot of glue from the Bostik Handy Hot Melt Glue Gun to the bag before pressing each piece into place. And you’ve just created your own bespoke bag!
REPAIR GLUE GUN IDEA: Save a heirloom
Bostik Handy Hot Melt Glue Guns work brilliantly on ceramics, so when someone has knocked a piece out of your favourite hand-me-down pottery bowl, just run a fine line of glue around one broken edge, line up the pieces and press them together for a few seconds. And you’ve just saved a family treasure for the next generation!
ART GLUE GUN IDEA: Personalise your post.
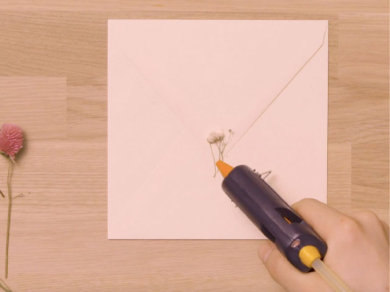
Create a beautiful and unique adornment for special cards and invitations by placing a dried flower or two onto the flap of a sealed envelope. Then place a generous blob of glue over the flower and press it down with a metal wax stamp. And you’ve just made your mark on something!
CRAFT GLUE GUN IDEA: Colour the rainbow
Get playful with your glue gun - choose a selection of your favourite shades of colouring pencil and carefully position them in a row. Use the Bostik Handy Hot Melt Glue Gun to place two or three lines of glue across the row of pencils to join them – going back and forth to create thick lines of glue. And you’ve created some colourful fun!
Need-to-know info for the Bostik Handy Hot Melt Glue Gun
Bostik Handy Hot Melt Glue Gun - why we love it
The Bostik Handy Hot Melt Glue Gun is safe and easy-to-use so it’s perfect for arts and crafts, as well as light household repairs. It’s compact and comes with a retractable stand and safety warning light. The trigger control delivers a consistent application while the Handy Hot Melt Glue Sticks are ultra-strong and fast setting, for a long-lasting bond.
Before you glue: need to know tips
- Fit the metal stand onto the slots by the nozzle at the front of the gun.
- Load a Bostik Handy Hot Melt Glue Stick through the grip ring at the rear of the gun.
- Press the trigger several times until the stick is positioned firmly in the gun.
- Plug in the gun and a light will come on at the rear to indicate that it is in operation.
- Rest the gun on its stand and allow it to warm up for around five minutes.
Good gluing
- Ensure the surfaces to be bonded are clean and dry. Surfaces should also be at room temperature to prevent the adhesive from cooling too quickly.
- Press the trigger until glue flows from the nozzle.
- Apply the adhesive to the surface that is the most difficult to bond (metal, hard and smooth surfaces are generally more difficult to bond than rough, porous surfaces). There’s no need to spread the glue.
- Press the surfaces together as soon as possible after application (within 15 seconds for best results), and apply pressure.
- To ensure a continuous flow of glue, insert further glue sticks into the rear of the gun and wait a few minutes until the stick has heated to the correct temperature – never force the trigger.
After you’ve glued
- Unplug the gun when you’re finished and allow it to cool before storing.
- Don’t pull the glue stick from the rear of the gun, as damage may occur. Surplus glue stick may be trimmed off using a sharp knife. The glue will set as soon as it has cooled and appears dry and hard. However, you may want to put your items aside for a couple of hours to ensure maximum adhesion.
- Excess glue can be removed mechanically once dried by scraping carefully with a blade edge. A residual thin film may remain, which can then be removed using a solvent cleaner.
- Sensitive surfaces may be damaged by the hot adhesive or by the solvents used in the cleaning process. Always carry out a test before use.

