How to build your own DIY cardboard dollhouse
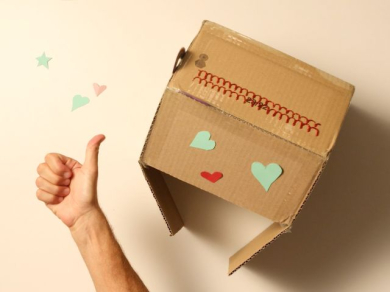
Children learn through play, which is why play houses are so appealing to them – a little world of their own to have fun in. If you want to make your kids’ dreams come true or just to buy yourself some time without spending too much money, then it’s time to get crafty and make your kids their very own dream doll’s house – in cardboard.
A cardboard dollhouse will help keep children entertained - you could encourage them to change its use every couple of days; to a shop, or a vets, or a café and get your kids enthusiastic all over again.
With Bostik’s key items of kit; Bostik Sticky Tape, Bostik Glu Dots and Bostik Glitter Glu pens, creating a DIY cardboard dollhouse is simple and straightforward, and something even the little ones can get involved in! They’ll certainly have fun moving in their favourite dolls and teddies and giving them a safe home to sleep.
Before you discover how to make your own dollhouse, it's important for any cardboard house creator to understand the core building materials…
What is Sticky Tape?
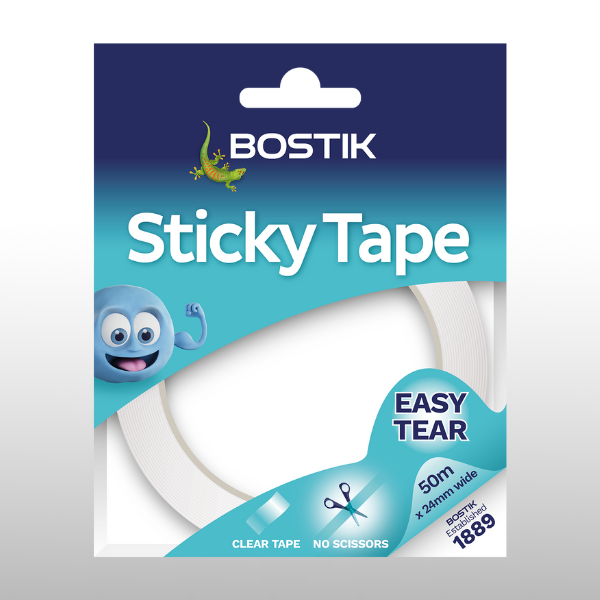
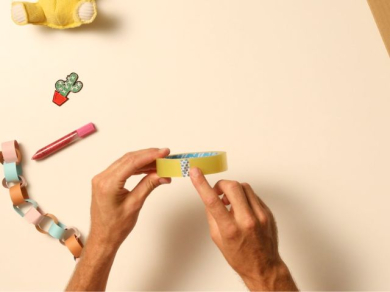
Bostik Sticky Tape is a high-quality, strong, clear sticky tape, suitable for everyday use around the home, office and school. It's clean, easy-to-tear and can be used on almost anything including paper, card, gift wrap and much more.
Our handy 50 micron sticky tape provides strong and clean adhesion and each roll also features a visible end tab, so no frustrating starts.
What are Glu Dots?
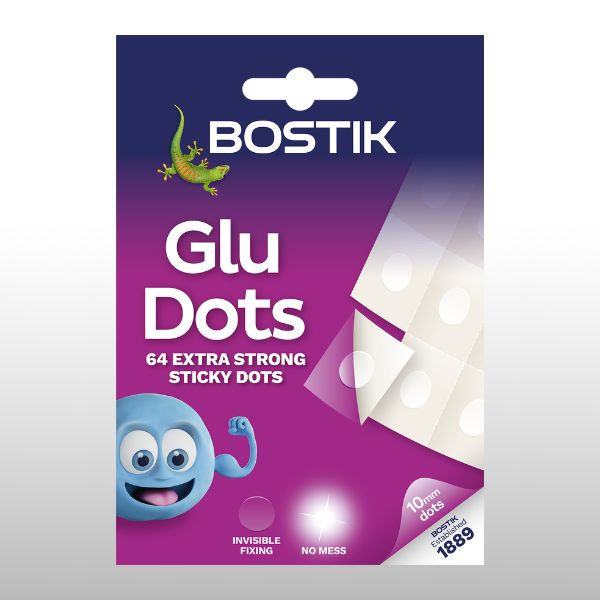
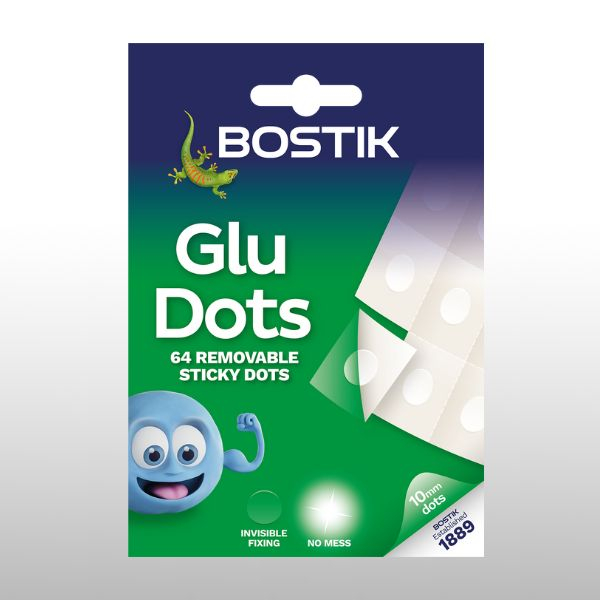
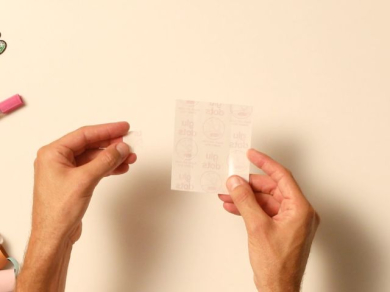
Bostik Glu Dots, also commonly known as sticky dots and glue spots, are available as extra strong and removable glue dots.
Removable Glu Dots
- Removable Glu Dots are clear, double-sided sticky dots that stick to almost anything, but can be removed if necessary.
Extra Strong Glu Dots
- Extra Strong Glu Dots are clear, double-sided sticky dots that stick to almost anything and provide a more permanent solution.
Both types of Bostik Glu Dots stick to paper, wood, plastic, metal, glass and painted surfaces – perfect for instant fixing and crafts. They’re easy-to-use and mess free, plus they’re acid and lignin-free and non-yellowing too, so they’re ideal for gift wrapping, photo albums, craft projects, hanging posters and so much more.
What are Glitter Glu pens?
Art and craft projects often involve a little mess, but if you’ve ever used pots of regular glitter, you’ll know that this sparkly stuff can take mess to a whole new level, with tiny specks of it getting everywhere and taking months to disappear. Yet, it’s always a trade-off because glitter brings that sparkling finishing touch.
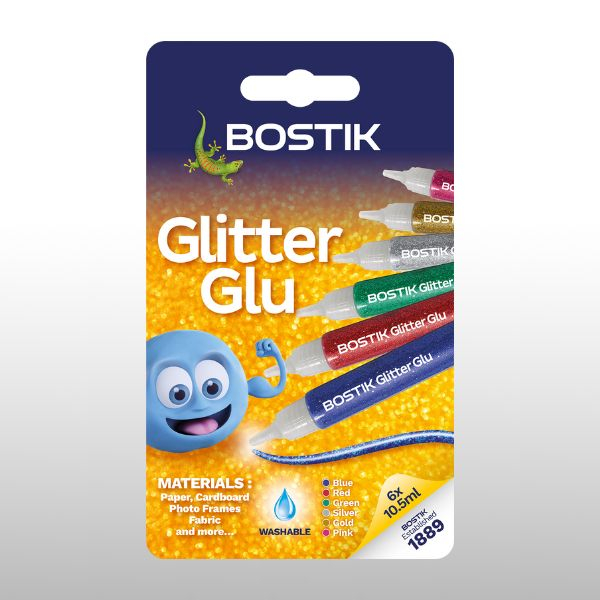
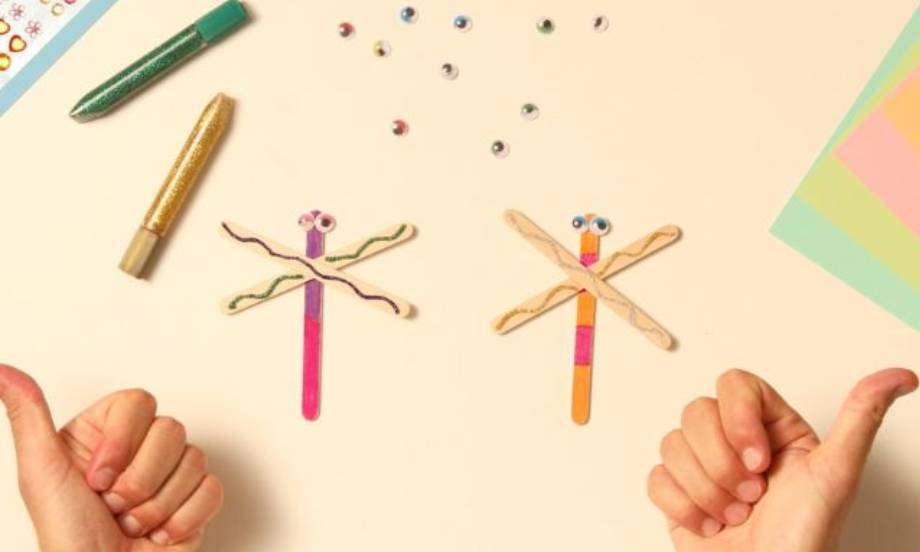
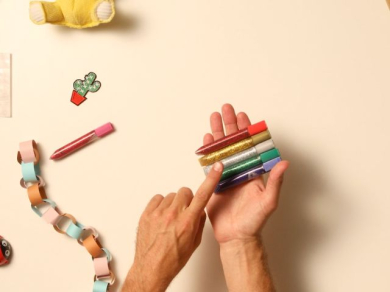
Glitter Glu pens, a collection of six fine-tipped glitter glues in blue, pink, red, green, gold and silver, are the perfect solution. The flakes of glitter are suspended inside the glue, so there’s no mess to sweep up - the best glitter glue for a tidy craft space!
Plus, the glitter glues have a precision nozzle for a neat finish and are a brilliant way to add sparkle to cards, pictures, posters and much more – you can use them to fill shapes, write words, draw fancy borders and lots more – and they’re great for adults and children alike.
Step-by-step to make your own cardboard dollhouse
In order to make your own dollhouse, you will need the following:
- Sticky Tape
- Extra Strong Glu Dots
- Glitter Glu
- Large pieces of cardboard
- Pieces of thick coloured A4 card to cut into decorative shapes
- Craft scissors
- Craft knife with safety cap
- Old newspaper or similar
Before starting the build for your cardboard box dollhouse, you must ensure surfaces are clean, dry and free from any dust or loose material.
Step 1: Create a plan
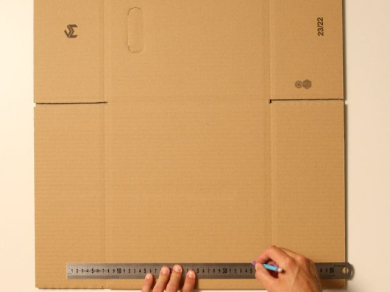
Map out your DIY house plan on a piece of paper so it is unique to your pieces of cardboard. It is important to remember to include some flaps within your cardboard playhouse that will be useful for holding your structure together.
Step 2: Draw out your cardboard dollhouse
Draw out your house design on the cardboard using a pencil and ruler. You will need two roof panels, two walls - one wall cut in half to create two large doors and two smaller walls for the ends of your homemade dollhouse.
Tacky's tip: Double doors will make it easier to get in and out and prolong the life of the house. A flip-open window or two will provide endless opportunities for playing shop and similar.
Step 3: Get cutting
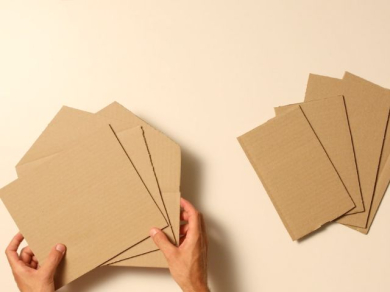
Cut out the pieces with scissors or a craft knife.
Tacky's tip: Be sure to place on your safety cap when you are no longer using the craft knife. If you are using scissors, you can always cover the sharp ends with a blob of Blu Tack®.
Step 4: Score your edges
Lightly score the edges of the flaps with a craft knife so that they fold back.
Step 5: Assemble the cardboard dollhouse
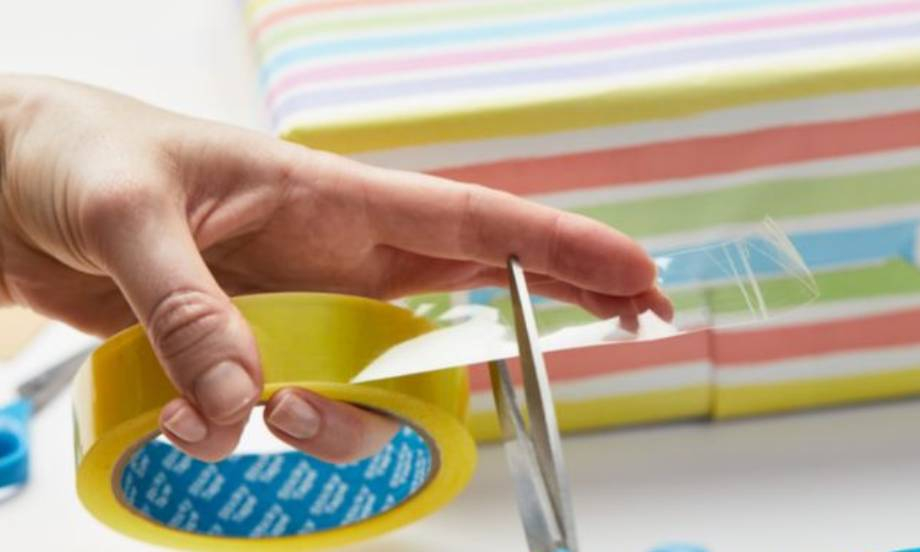
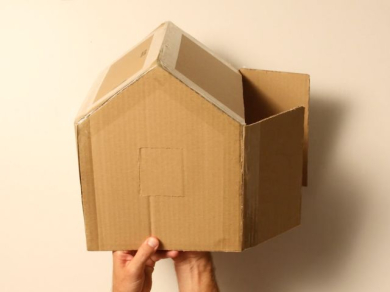
Use lengths of clear sticky tape to assemble the house.
Tacky's tip: Sticky Tape is an easy tear tape meaning you don't need to cut it with scissors. Simply rip and stick in place.
Step 6: Cut your shapes
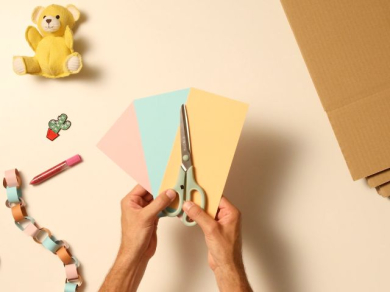
Using scissors, cut shapes out of thick coloured cards such as fluffy clouds, raindrops and a sun. We also recommend cutting triangles or circles to represent bunting. Your shapes will be used to decorate the cardboard playhouse, so be creative and show your personality!
Step 7: Decorate your shapes
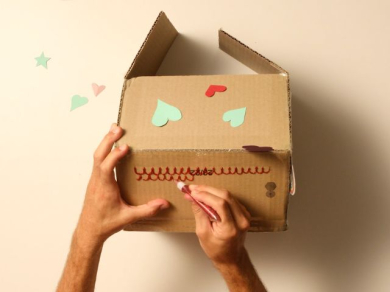
On a sheet of old newspaper, gently squeeze the Glitter Glu pens to apply the glitter glue and decorate the shapes. We suggest using a different colour of the Bostik Glitter Glu pens for your different shapes.
Use silver glitter glue to decorate your clouds, blue glitter glue on the raindrops, gold glitter glue on the sun and go multicoloured on the bunting. Allow the decorations to dry.
Step 8: Attach your decorations
Finally, attach the coloured card decorations to the DIY cardboard dollhouse using the Bostik Extra Strong Glu Dots. If sticking up bunting shapes, draw a line in pen or glitter glue on the cardboard house to represent the ribbon. And that’s it, you’re done!

Cleaning up
We know that accidents can happen so if they do, we've got you covered...
- Bostik Sticky Tape can be carefully peeled away from a hard surface.
- Bostik Extra Strong Glu Dots can be carefully and very slowly peeled away from the surface.
- Bostik Glitter Glu pens should have the nozzle cleaned before replacing the cap. Excess adhesive may be wiped off with a damp cloth before it dries. Spills can be washed out of clothes before the adhesive is dry.
For full cleaning information, please refer to the technical data sheets for Bostik Sticky Tape, Bostik Extra Strong Glu Dots and Bostik Glitter Glu.
Bostik offers a wide range of stationery and craft adhesives, so no matter how complicated your next craft project may be, there's a stationery glue at hand to help.
Plus, if you're looking for some inspiration, whether that's easy glitter glue crafts, making paper mache with PVA glue or how to use a glue gun, you can browse our blog and filter #CraftWithBostik for all arts and craft projects!

