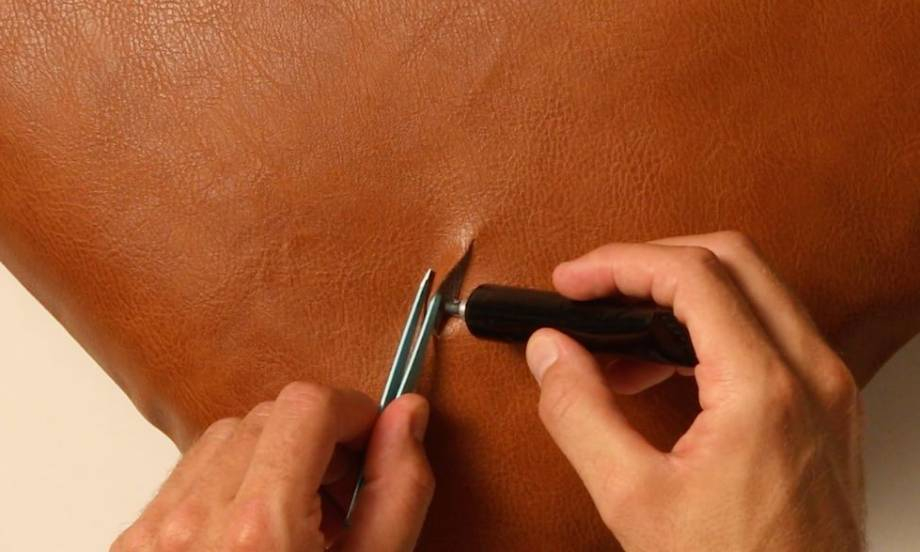
How to fix a broken picture frame with glue
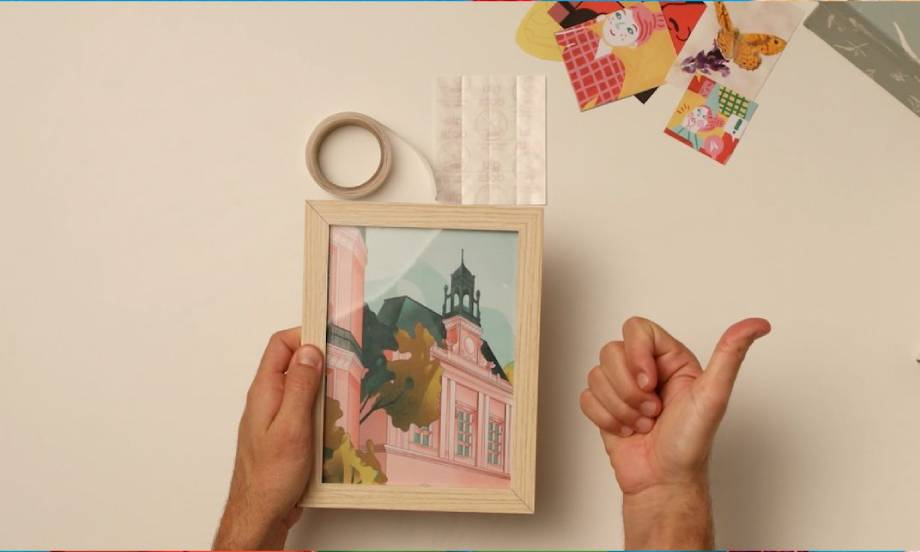
Photo frames are the perfect way to display your happiest memories, proudest artwork and general lifetime achievements around your home, office or anywhere. If you need to repair a damaged photo frame, it is important that your repair is ultra strong, long-lasting, goes unnoticed and can be done quickly.
Our contact glue is the perfect photo frame adhesive, whether it is falling apart at the corners or has a crack or split in the wood, one or two drops can bring it back to life.
Before we get into our four simple steps for how to fix a broken picture frame, it’s important to know what is the right glue for the job.
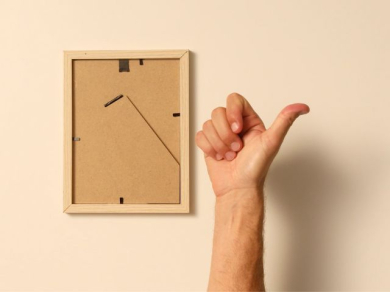
What is contact glue?
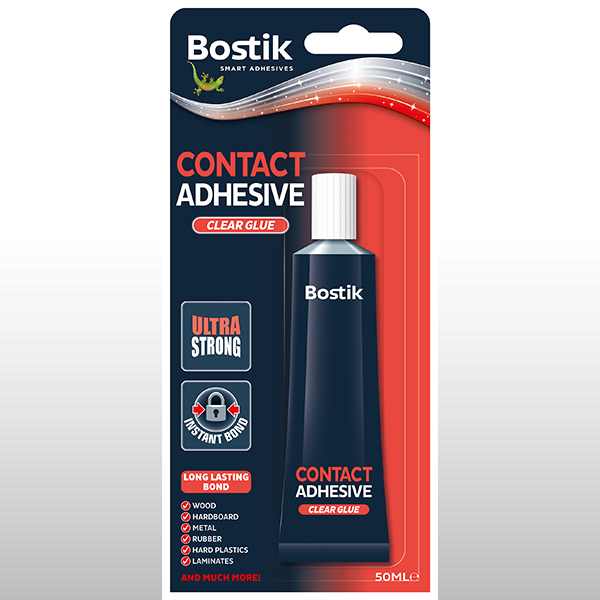
Bostik Contact Adhesive, also referred to as instant glue, acts as our essential photo frame glue with an instant bond on contact to a wide range of materials. Materials include wood, hardboard, metals, some rubber, hard plastics, laminates, leather and more.
Plus, it is water-resistant, quick-drying and clear, so you can achieve a seamless finish when you repair a broken picture frame, making it look brand new again.
When to use Bostik Contact Adhesive?
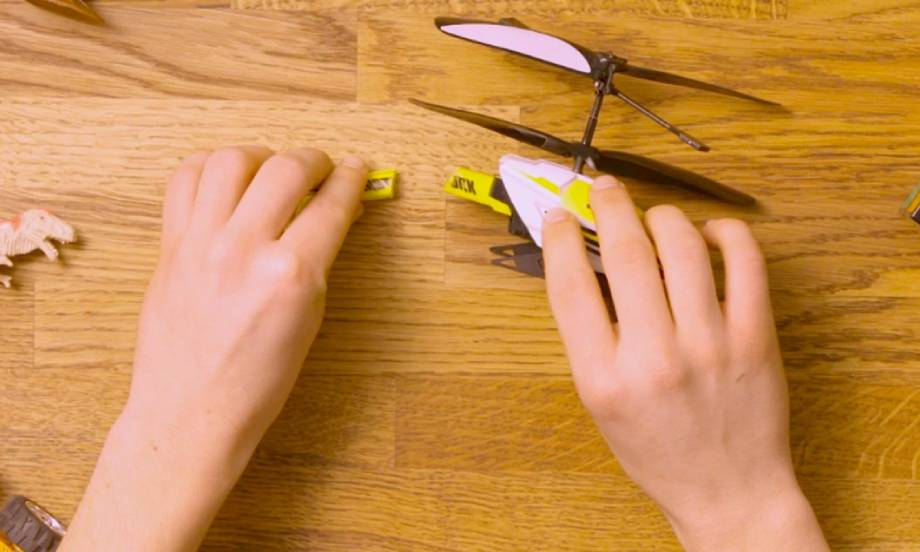
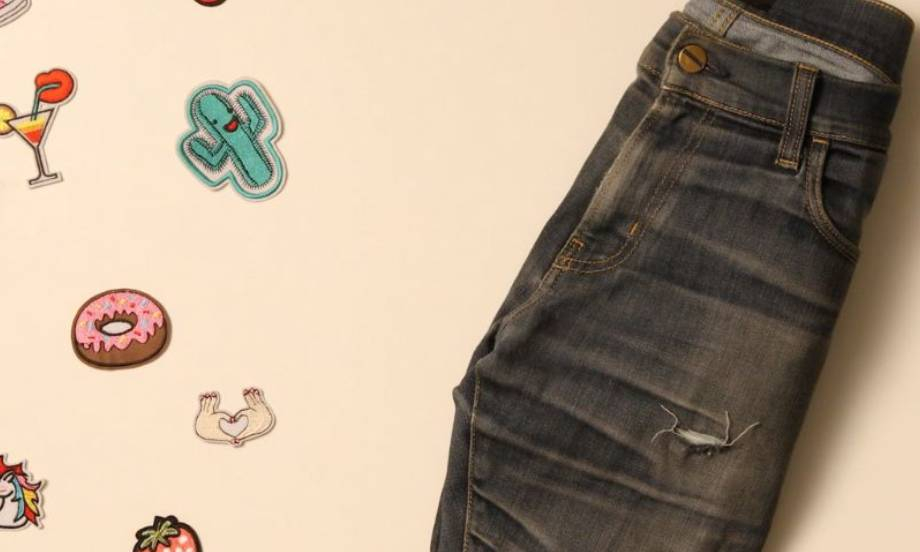
Bostik Contact Adhesive repairs much more than broken photo frames or toys. It is suitable for many DIY and household repairs on pretty much anything, making it the perfect instant glue to have at home, or in the office, garage or workshop.
So, now you know what contact adhesive is and the type of repair you can create with it, discover our step-by-step guide for how to fix a broken picture frame.
Everything you need to repair a picture frame
Essential:
- Bostik Contact Adhesive
- Broken picture frame or a different broken item
You might also want:
- Old newspaper or similar
- A clean, dry cloth
- Alcohol-based cleaner or acetone
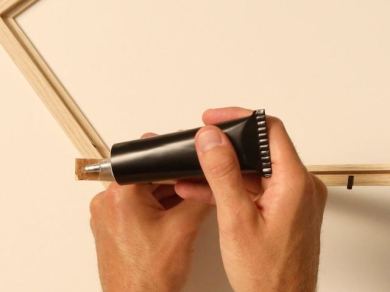
Step 1: Prepare your surfaces
Check the surfaces to be bonded for dust, dirt and grease. If necessary, give your damaged photo frame a quick clean with an alcohol-based cleaner and let it dry.
Step 2: Apply your photo frame adhesive
Once your photo frame is dry and ready to be glued, place it on a flat surface laid with an old newspaper. This will protect the work surface underneath from any accidental spillages.
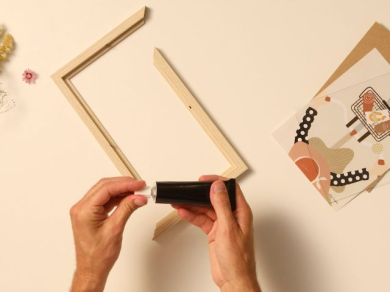
Always point the tube of glue away from you when opening and don’t squeeze. If it’s your first time using the contact adhesive, use the top of the cap to pierce the seal.
Then, carefully squeeze the tube and apply the glue over both of the broken corners to be bonded.
Step 3: Wait 4 minutes
Once you’ve applied the photo frame glue, wipe the nozzle with a cloth and screw the cap back onto the tube and set aside. Ensure that the cap is screwed on tightly to avoid the contact adhesive from drying out so it’s ready for your next repair job.
Then, leave the coated surfaces until the adhesive is just tacky - it should take around 4 minutes at normal room temperature.
Step 4: Press to bond
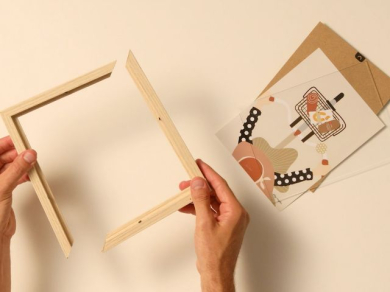
Pick up the broken corners of your photo frame and ensure the surfaces are accurately aligned. Then, press firmly together to form an immediate bond.
That’s it! You’ve discovered how to fix your broken picture frame and it’s as good as new. You’re now an official #REPAIRHERO - don’t bin it, fix it!
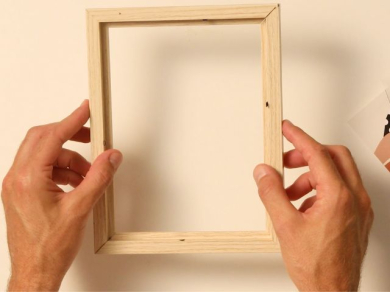

Clean up
If you accidentally spill Bostik Contact Adhesive, it can be removed using acetone before it has set. However, solvents in the acetone can damage some surfaces, so carry out a test on a small area first before applying all over.
For full information for removing contact adhesive, please see the technical data sheet.

