How to repair a rubber bracelet

Rubber band bracelets are popular for many reasons. Some people wear them as an accessory to their outfit, for sentimental reasons, or because they are promoting an important charity or cause.

Rubber bracelets are often referred to as silicone bracelets, jelly bracelets and rubber bands. They are made from silicone and they’re perfect for people of all ages.

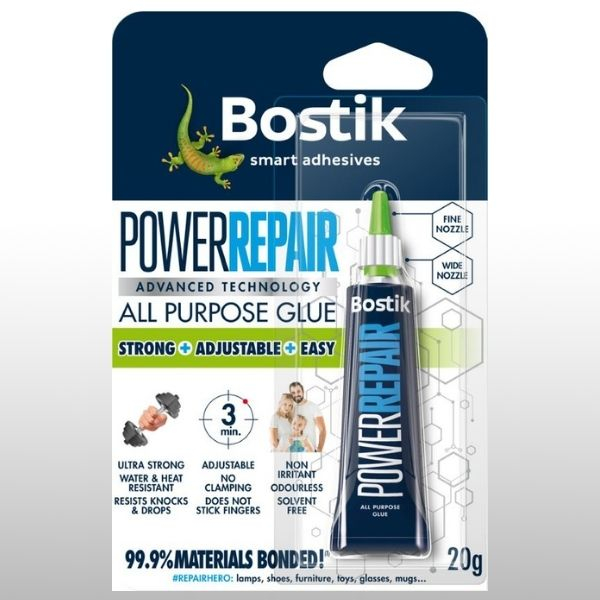
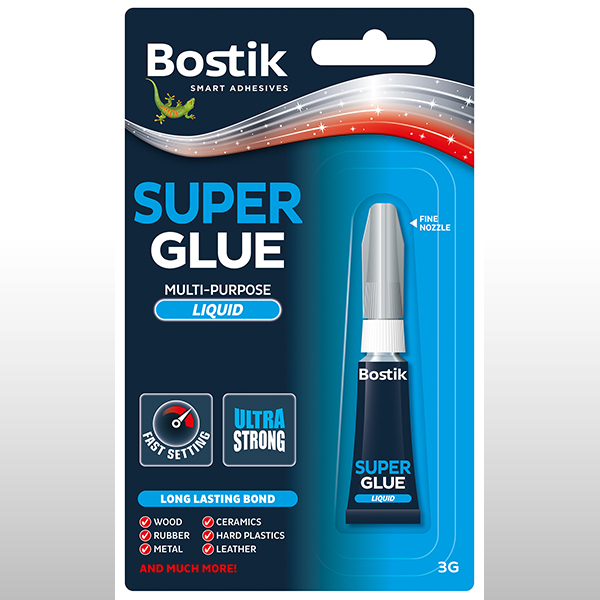
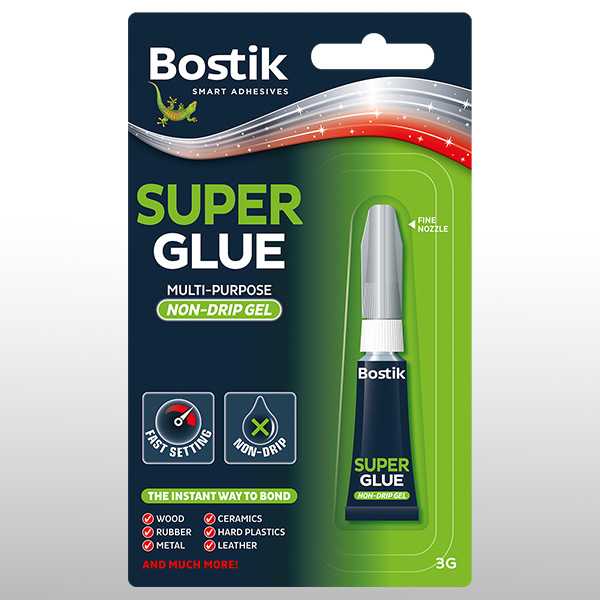
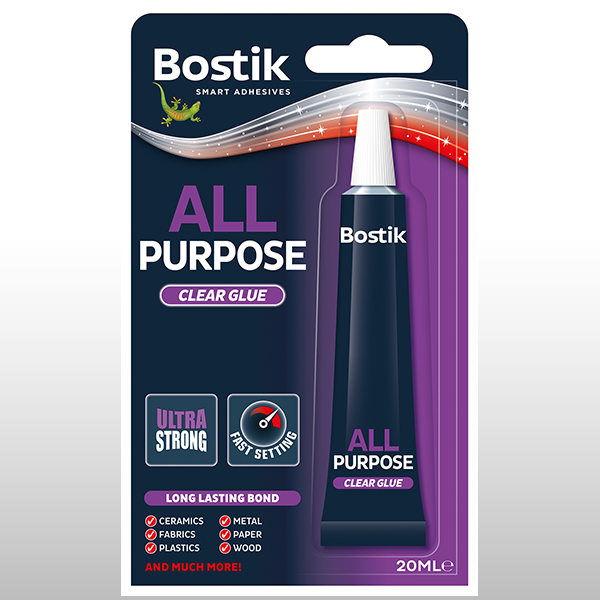
Broken your rubber bracelet? You can easily learn how to repair a rubber bracelet in six, simple steps using our best glue for rubber, Fix & Glue. Don’t bin it, fix it and become an everyday #REPAIRHERO!

Instructions

Disclaimer

Please note this guide features images of an adhesive that is now discontinued, however, the step-by-step tutorial is correct to the new product.

Step 1: Clean your rubber bracelet

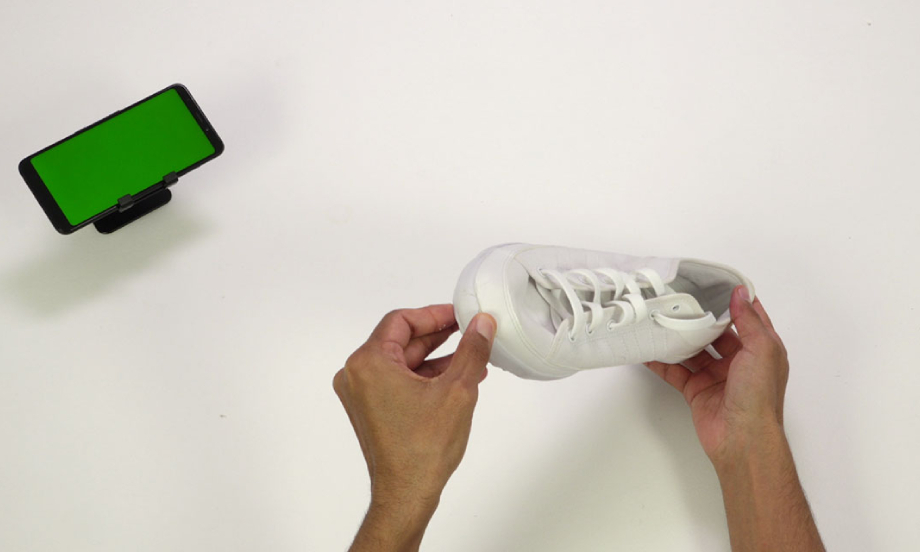
Examine the broken rubber bracelet to be repaired. Clean and dry it, if necessary, to ensure it’s free from dust, dirt or grease.

Step 2: Apply rubber glue to broken ends

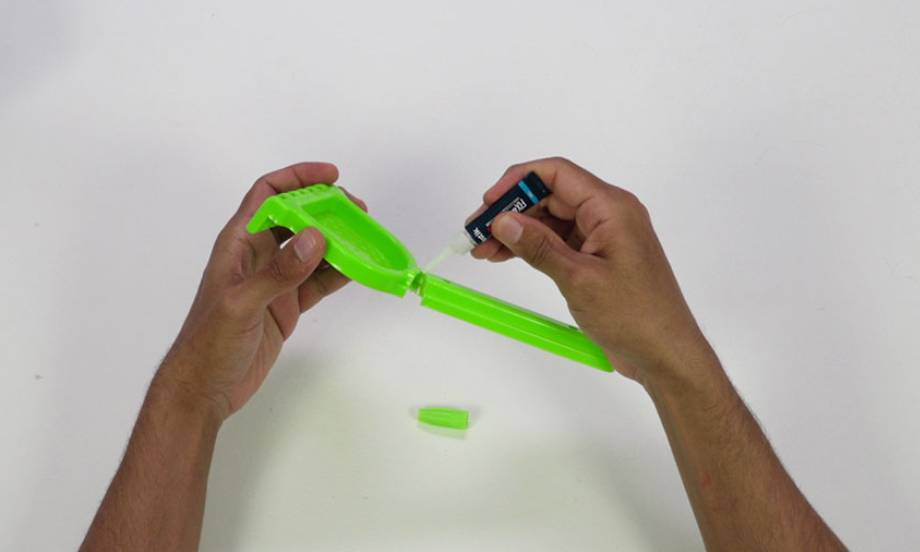
Apply a thin layer of Bostik glue to one of the sides to be fixed.

Step 3: Join bracelet ends together

Squeeze both the sides of the silicone bracelet together and hold them in place. Depending on your Bostik glue, it forms a bond in as little as 5 seconds.

Step 4: Leave to dry

The glue will dry in as little as one minute, resulting in a strong and flexible bond.

Step 5: Test your repair

Pull on the rubber band bracelet to test that the sides are stuck together.

Step 6: You've fixed your broken rubber bracelet

You’ve now learnt how to repair a rubber bracelet and you can wear it like you normally would. You’re an official #REPAIRHERO!

See all products