Winter mitten craft
Here's a great craft idea for little kids. It's easy and will keep them entertained.

What you will need
- 2 Sheets coloured A4 cardboard paper
- Decoration craft shapes (hearts, stars etc.)
- Cotton Balls
- 15cm Piece of String
Instructions
STEP 1: Draw & Cut Mitten Shapes
Pick a colour sheet for your background and another one for your mittens. We went with blue for the background and yellow for the mittens. Take the yellow paper, fold it in half, and draw the shape of a mitten along the folded edge. Just draw one side – that's all you need. After that, cut along the outline and you'll have two mittens that are the same shape and size.
STEP 2: Apply Glue
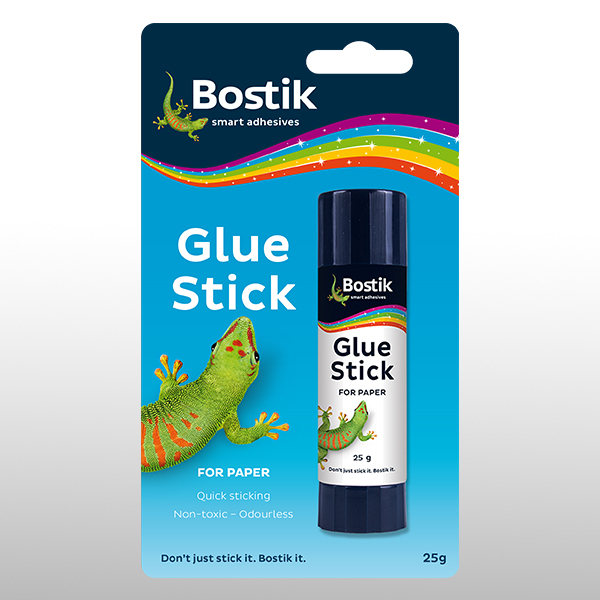
Use Bostik Glue Stick to glue the mittens onto the background. Put one mitten at the top left corner and the other at the opposite bottom corner. Remember, point the thumbs inward toward each other.
STEP 3: Add Decorations
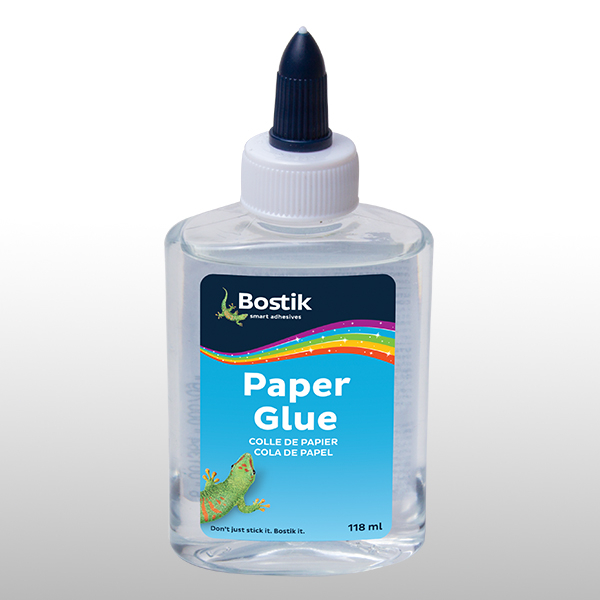
Use Bostik Paper Glue to glue down your decorations.
STEP 4: Add Cotton Balls & Attach String
Use Bostik Paper Glue to stick the cotton balls onto the bottom of each mitten. Also, use it to attach the string that connects the two mittens together.
Paper Glue

