How to use Bostik Fix & Flash to repair wood
Introducing Bostik Fix & Flash
Bostik created Fix & Flash to solve an issue that many of us experience, when using ultra strong adhesives. These glues work so well and so quickly, that sometimes, there isn’t enough time to get the objects we’re sticking into the perfect position, before the bond is achieved. And that can lead to not-quite-perfect results. But Bostik Fix & Flash takes the pressure off, because it’s fully repositionable. Simply apply the glue with the high-precision nozzle, then take time to position and reposition whatever you are repairing. You get to decide when you’re ready to set the glue, because Fix & Flash won’t bond until you shine the device’s UV light onto your repair. Then you enjoy all the benefits of a super-fast glue because, once activated, Bostik Fix & Flash bonds in seconds. And it's designed to bond 99.9% of materials, sticking almost anything, including wood, porcelain, ceramics, glass, mirrors, leather, paper, card, metal, fabrics, hard plastic, concrete and brick. Bostik’s advanced technology even allows the glue to set between opaque materials, since the UV light cures the glue right into the core. Bostik’s innovative light activated glue offers new levels of flexibility to stressed-out #repairheroes everywhere.


Repairing wood with Bostik Fix & Flash
Fix & Flash is easy to assemble. To get started, simply screw on the nozzle to pierce the seal. Make sure the two parts are well attached and that the led is by your side. That’s it, you’re ready to glue!
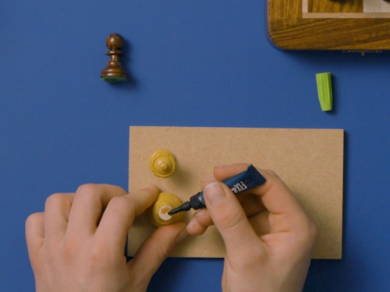
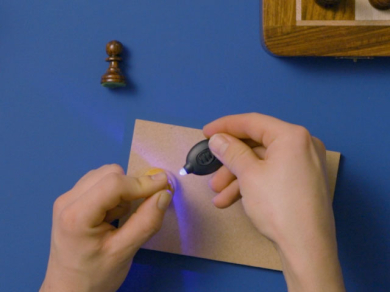
Discard the first few drops of glue onto a piece of paper. Then apply a continuous bead of the Bostik Fix & Flash to one surface of the broken wooden object only. When you’re finished gluing, clean the nozzle and replace the nozzle cap tightly. Because Bostik Fix & Flash is repositionable, it gives the user time to get the position right and choose when they are ready to set the glue before applying the light. Once you have your wooden pieces positioned correctly, just switch on the LED, then shine it around all the edges of the joint for 15 seconds, remembering to turn the light off when finished. And you’re done!
How to repair wood with Bostik Fix & Flash - your simple step by step guide
1: Do the preparation
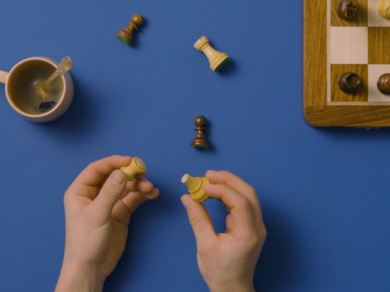
Protect your work surface and make sure that the wooden surfaces to be glued are clean and dry, with no dust or grease.
2: Assemble & test the light Screw on the nozzle to pierce the seal. You can test the UV light by pushing the switch below the bulb. Don’t look directly into it and keep at a distance of 2cm.
3: Make a start
Discard the first few drops of glue onto a piece of paper.
4: Apply the glue
Apply a small amount of the glue to create a continuous bead. Clean the nozzle and replace the nozzle cap tightly.
5: Adjust
You have time to reposition your pieces, if you do this quickly you should wait at least three seconds to achieve an initial tack before applying the light.
6: Flash light to set
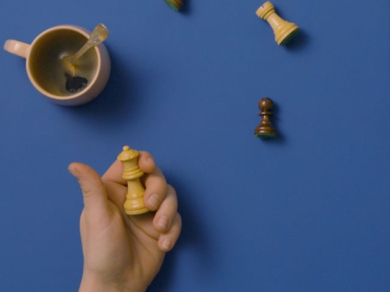
Switch on the light, then shine it around all the edges of the join for 15 seconds, turning the light off when finished. And you’re done!
Had a spill?
Remove any unset glue with a dry cloth and acetone, or remove dry glue by sanding.


All about Bostik Fix & Flash
Bostik Fix & Flash is better
- Bonds 99,9% of materials
- Bonds opaque surfaces
- Does not stick to fingers instantly
Bostik Fix & Flash is fast
- Adjustable until you shine the light
- Good initial tack
- Shine the light to set instantly
Bostik Fix & Flash is strong
- Ultra strong lasting bond
- Water resistant
- Temperature resistant from -20°C to +80°C
Bostik Fix & Flash is easy
- Solvent free
- Non-hazardous
- Non-irritant
What can Bostik Fix & Flash be used for?
Bostik Fix & Flash bonds, sticks and repairs 99.9% of materials, including lamps, shoes, furniture, toys, glasses, cups… Without harming the environment!
DON’T BIN IT, FIXT IT! Use Bostik’s Fix & Flash repositionable, UV-activated glue to become a #REPAIRHERO
To find out more about Bostik Fix & Flash
