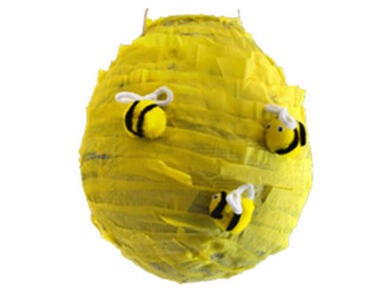
Bostik bee hive

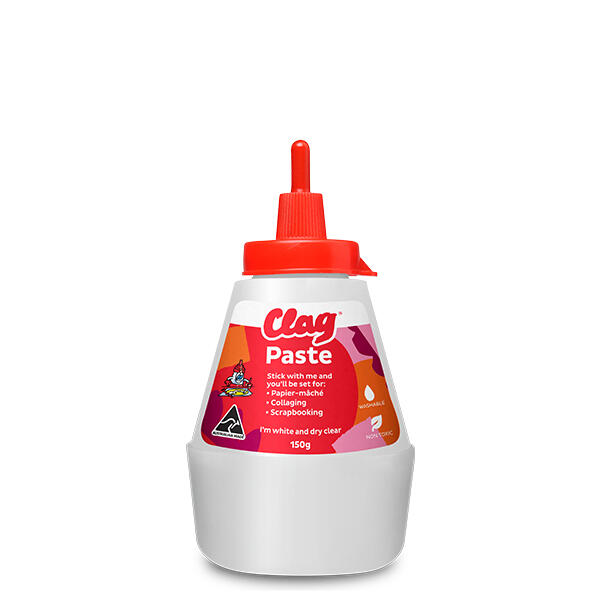
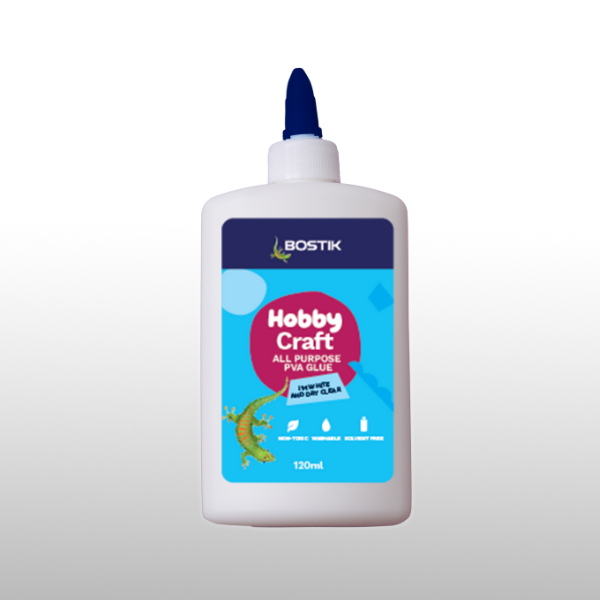
Create a buzz around your craft table with this delightful DIY Bostik Bee Hive build! 🐝 Start by papier-mĂąchĂ©ing a balloon using ClagÂź Paste and newspaper strips to form the hive structure; let it dry and pop the balloon to reveal your hollow shape. Cover the surface with overlapping strips of yellow crepe paper using ClagÂź Paste for that cozy, layered honeycomb look. Then, make playful bees by wrapping black pipe cleaners around yellow pom-poms, adding wings from white pipe cleaners and googly eyes with Clag Kids PVA Glue, and finally sticking them onto the hive. This charming project is ideal for classrooms, eco-themed dĂ©cor, or a whimsical learning display that’s both educational and hands-on. It’s a sweet and sticky (literally!) way to build creativity, learn about nature, and invite a hive full of smiles.

Instructions

Step 1: BLOW UP BALLOON

Blow up the balloon and tie the end.

Step 2: PREPARE YOUR PAPIER MÂCHÉ

Shred the newspapers into long strips. Empty the Clag into a bowl. This will make the glue easier to apply.

Step 3: APPLY CLAG AND NEWSPAPER

Apply Clag to the surface of the balloon and stick down the newspaper strips and make sure they are smooth. Continue this process until the entire balloon is covered. Repeat step 3 twice - you’ll need at least three layers of paper. Leave the bee hive to dry for 48 hours.

Step 4: POP THE BALLOON

Check the bee hive is dry and pop the balloon with the pin. Decorate the bee hive with overlapping strips of crepe paper and Clag.

Step 5: MAKE THE BEES

Twist a black pipe cleaner around a yellow pom pom to create the bee’s stripes. Twist a white pipe cleaner through the bee’s stripes - this will form the wings. Use Clag Kids PVA Glue to stick the eyes to the bee’s face

Step 6: ADD BEES TO HIVE

Use Clag Kids PVA Glue to stick the bees to the hive. Buzz, buzz!

See all products