How to create a simple, ergonimic footrest with No More Nails
Elevate your seating comfort with this smart DIY Ergonomic Footrest🦶 project! Cut six wooden planks to 14 inches and shape a sturdy base from a wood block using a gentle 10° angle. Smooth all surfaces with sandpaper, then apply Bostik No More Nails to each plank’s end. Position the planks on the angled base, spacing them evenly, and let the adhesive set securely. In just about an hour, you'll have a durable and stylish footrest that encourages better posture—no nails, no fuss.
Instructions
6 easy glitter glue craft ideas
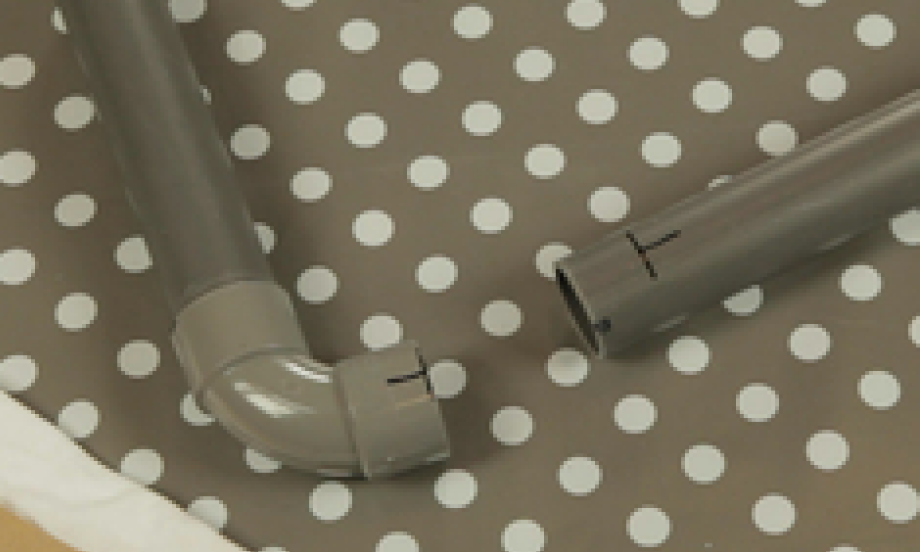
Be a repair hero: how to repair a hard plastic object with glue
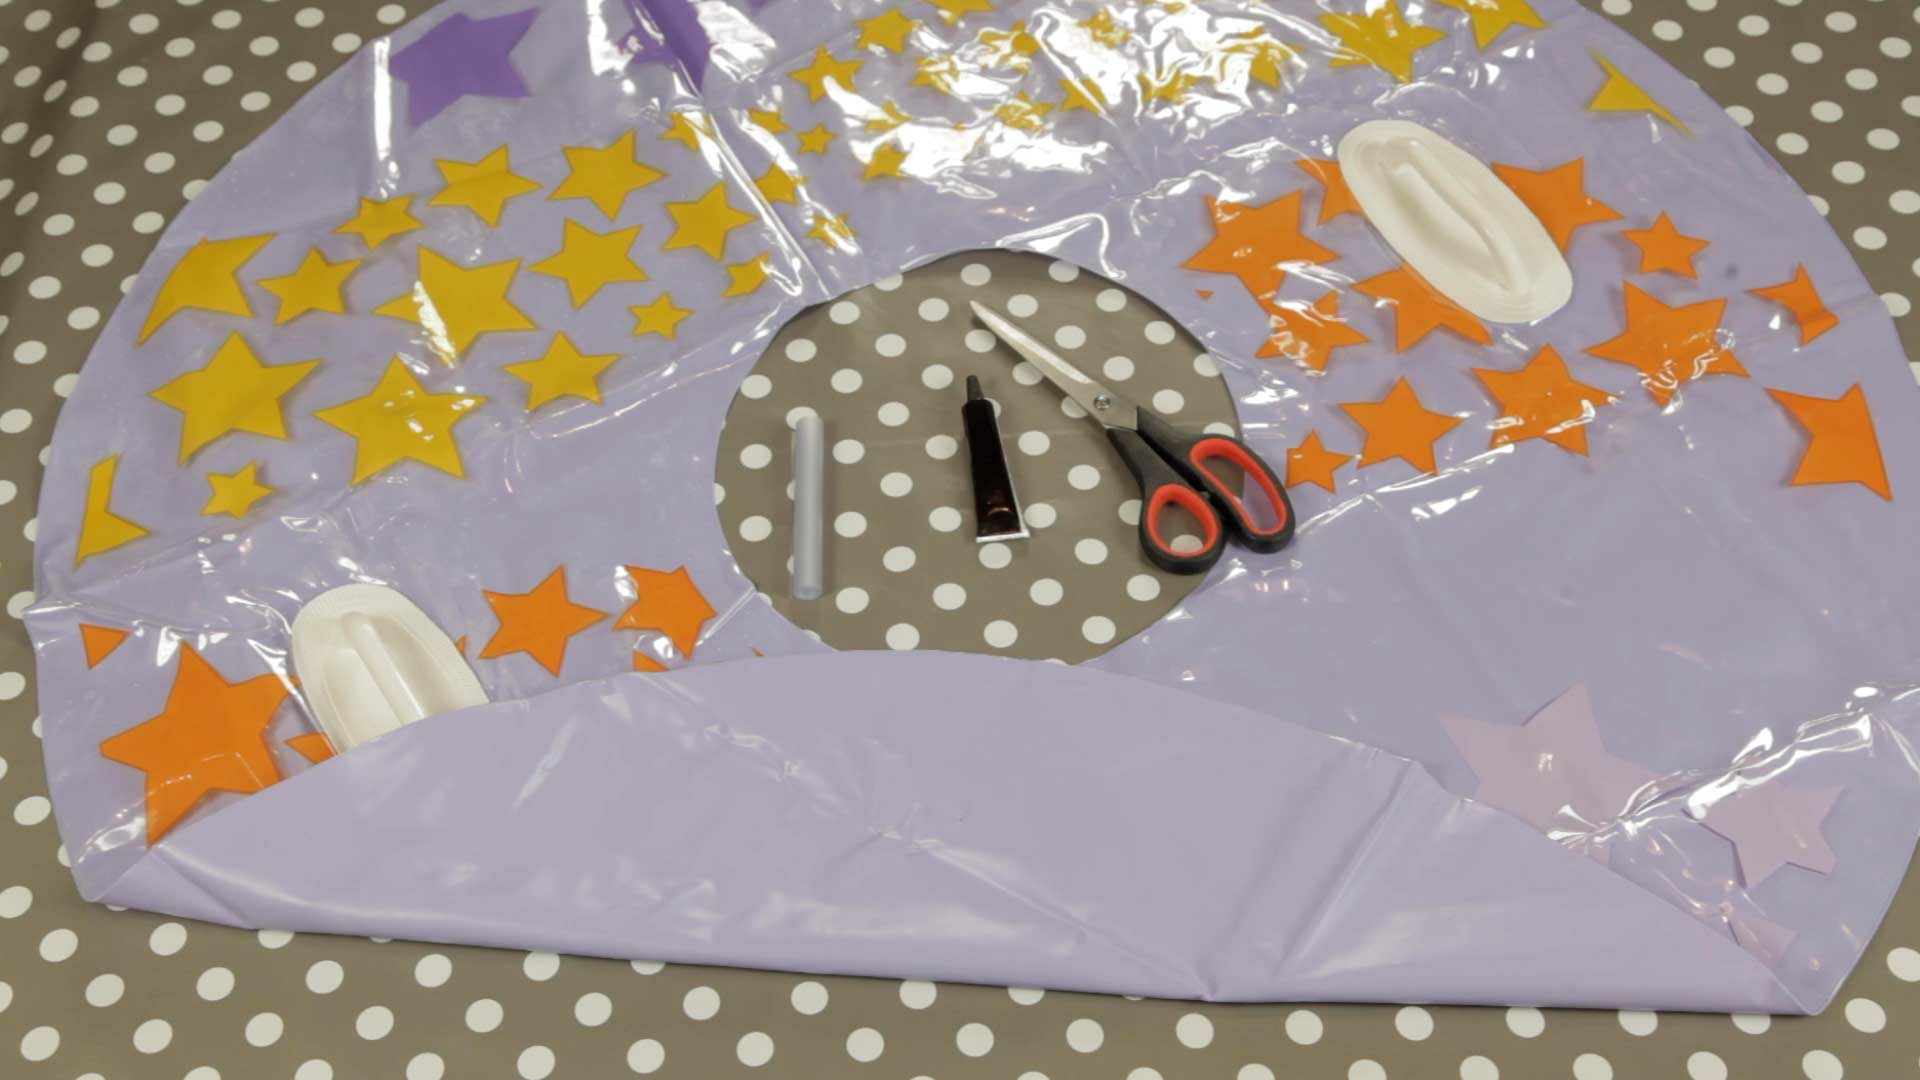
Be a repair hero: how to repair an inflatable buoy with plastic glue
Be inspired by our craft and DIY glue gun ideas
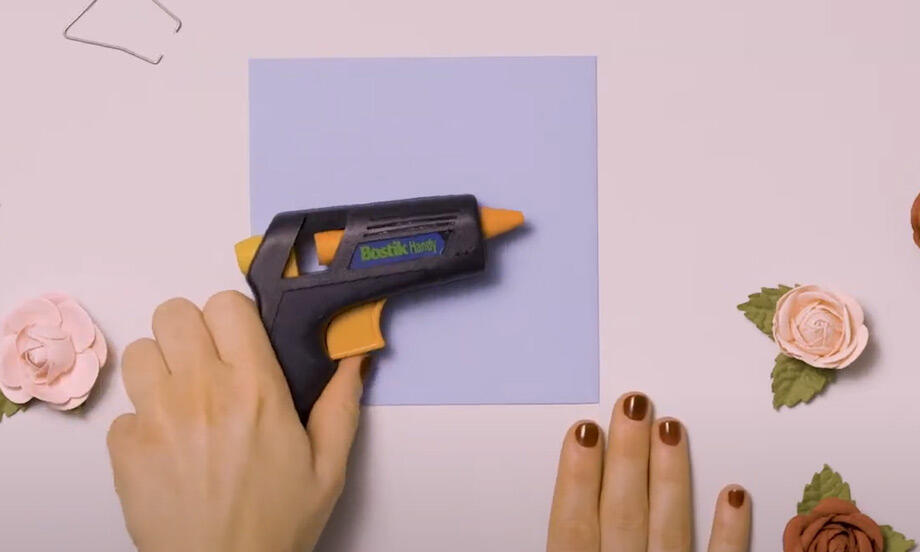
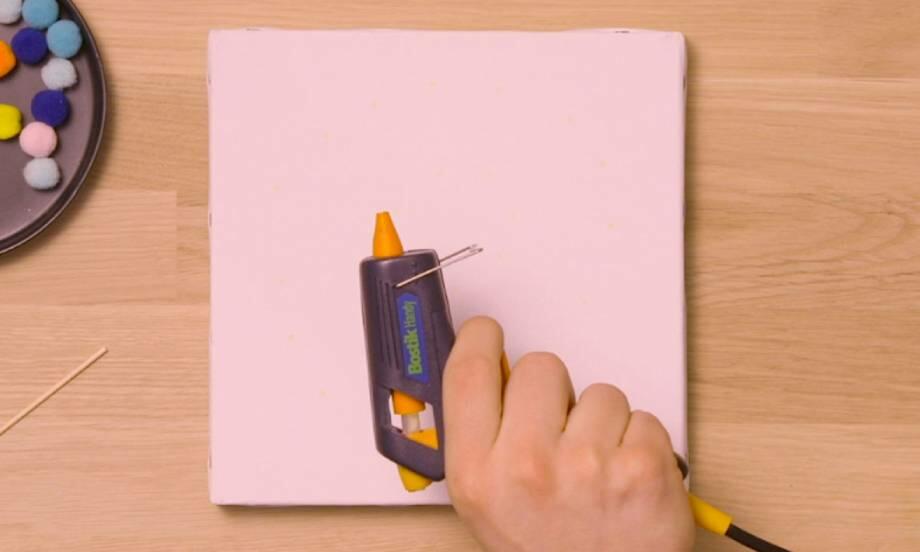
Discover how to use a glue gun with our simple step-by-step guide
How to make a stool with No More Nails
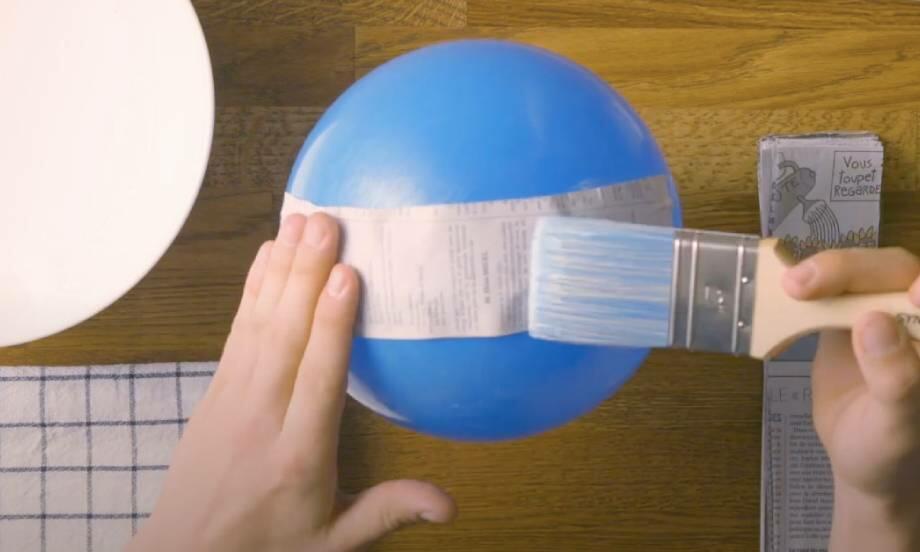
How to make paper maché with Bostik PVA glue

How to remove super glue from clothes
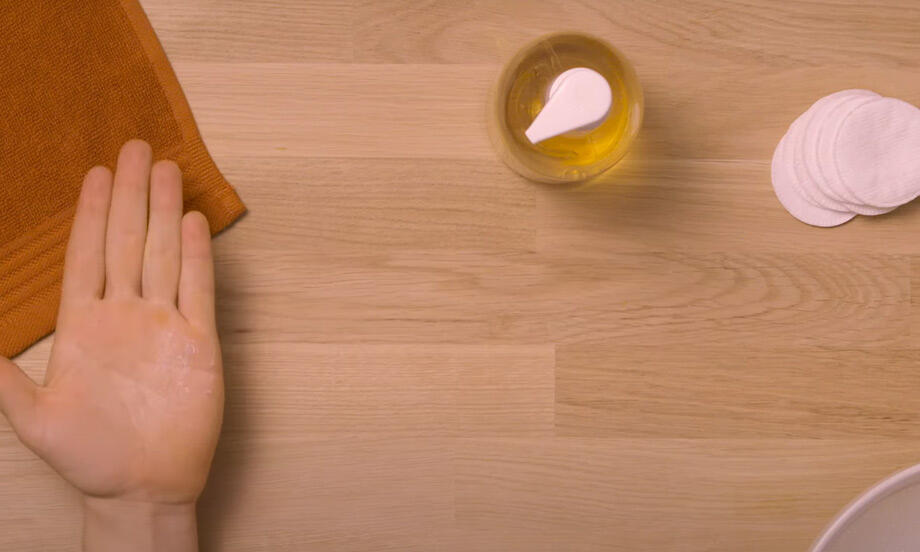
How to remove super glue from skin
How to repair hard plastic with glue
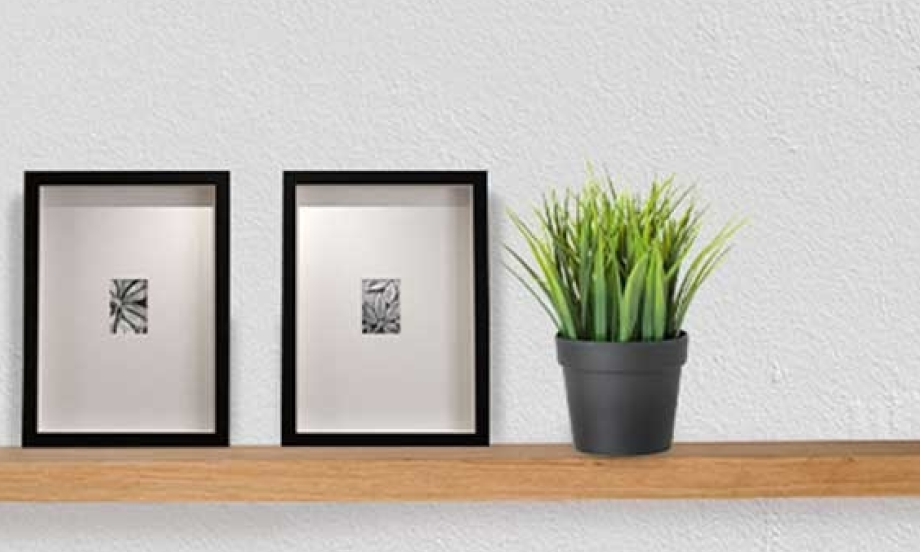
How to install floating shelves with No More Nails
