How to make your own hanging sign
Craft your very own hanging sign with Bostik No More Nails! Add a personal touch to your space with this DIY project that combines functionality and style. In this step-by-step guide, we'll explore innovative techniques and materials to design and assemble a custom hanging sign using Bostik No More Nails for a secure and long-lasting hold. Whether you're sprucing up your home, office, or event space, this project offers endless possibilities to showcase your creativity.
What you will need
- Bostik No More Nails
- Old cardboard
- 2x1 Wood
- Cotton rope
- Poster or acrylic paint
- Barbecue stick
- Scissors
- Ruler
- Pencil
- Saw
- Drill with 7-8 mm drill bit
- Tape
Instructions
Step 1: Cut
Cut the wood into three equal lengths, around 14 inches, using a saw.
Step 2: Drill
Mark 1.5 inches from both ends of each of the three pieces of wood, making sure that the marks line up when the pieces are stacked. Drill holes on the marks.
Step 3: Thread
Tape the barbecue stick to the rope. Using the stick, thread the rope into the holes of the stacked wooden pieces. Continue threading through to the other side, leaving about 20 inches of rope in the middle, for hanging.
Step 4: Apply
Apply Bostik No More Nails on the parts of the wooden pieces facing each other. Stack, stick, and tightly hold the pieces together using a clamp or rope. Unclamp or unwind after 30 minutes.
Step 5: Wrap
Knot the ends of the rope at the bottom, and cut off excess. Wrap the tips of the knots with tape to prevent unraveling.
Step 6: Spell out
For the word PEACE, cut the letters out of old cardboard. You can cut freehand, or trace and draw each letter first before cutting. You can also use other sturdy boards in lieu of cardboards.
Step 7: Paint
Paint the cardboard letters. Let dry. Stick the letters onto the wood using Bostik No More Nails. Place a heavy weight on the letters to help them adhere.
Step 8: Hang
Hang on your door or anywhere in your home!
Related Tutorials
6 easy glitter glue craft ideas
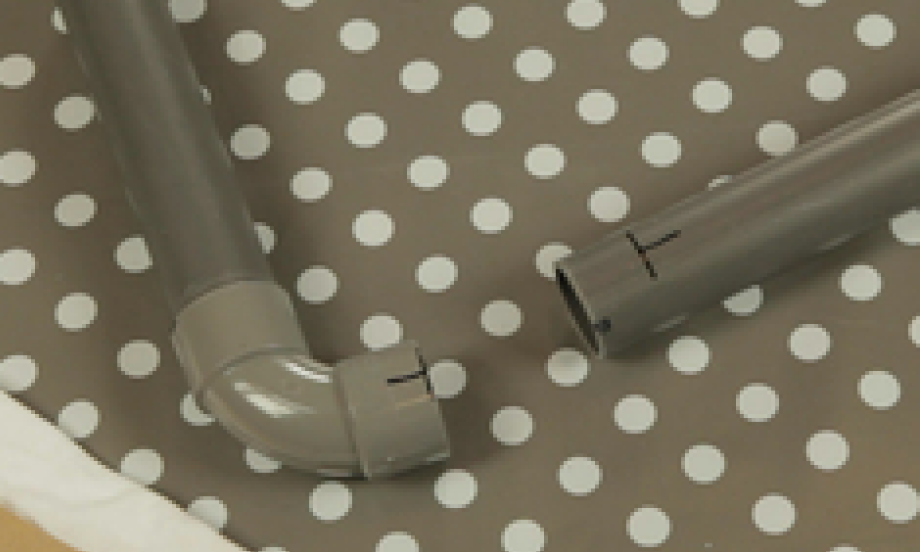
Be a repair hero: how to repair a hard plastic object with glue
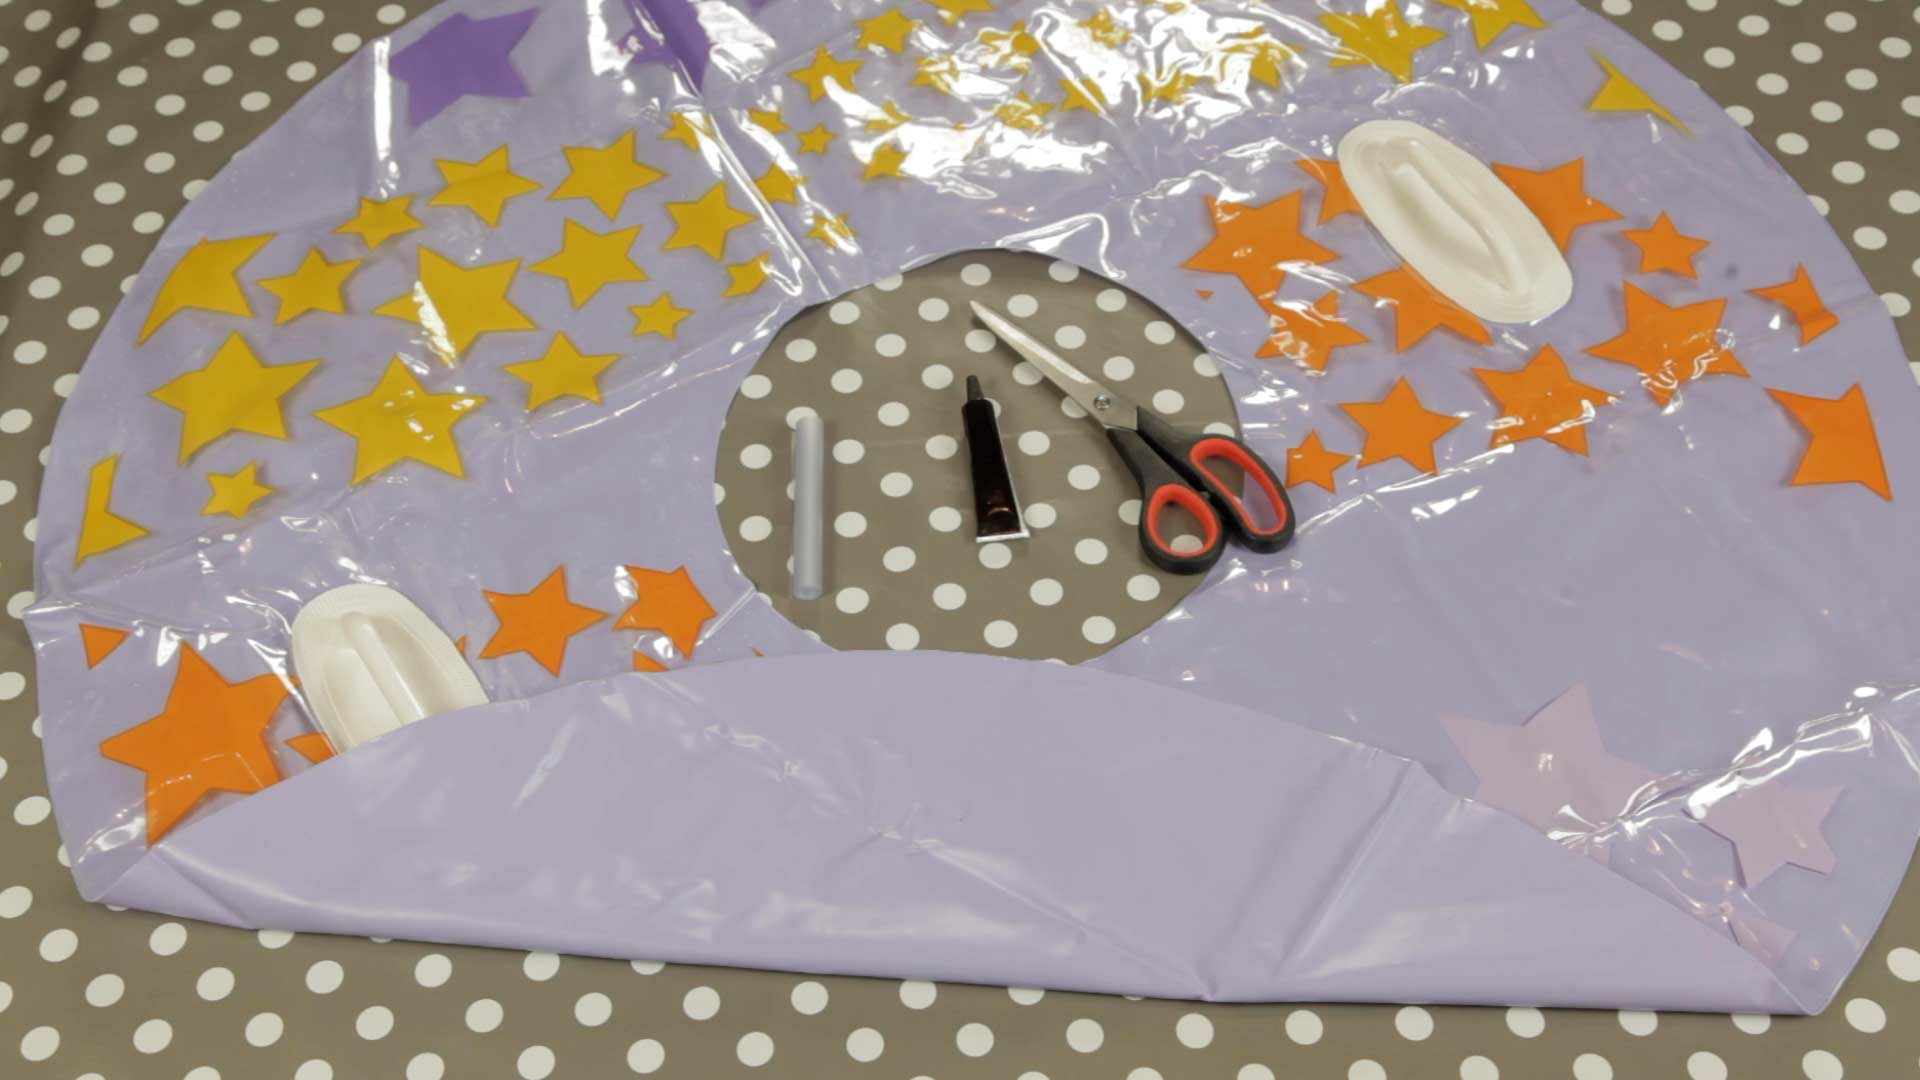
Be a repair hero: how to repair an inflatable buoy with plastic glue
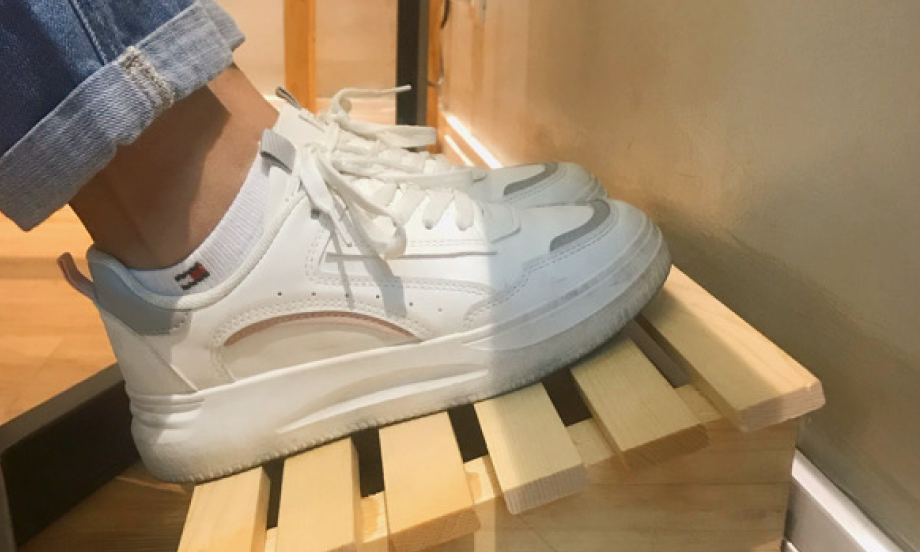
How to create a simple, ergonimic footrest with No More Nails
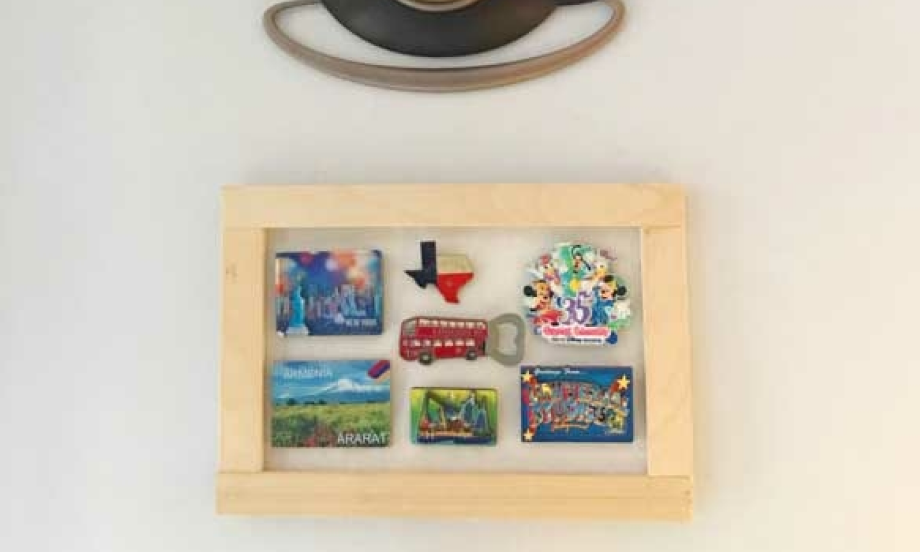
How to create your own decorative magnetic board
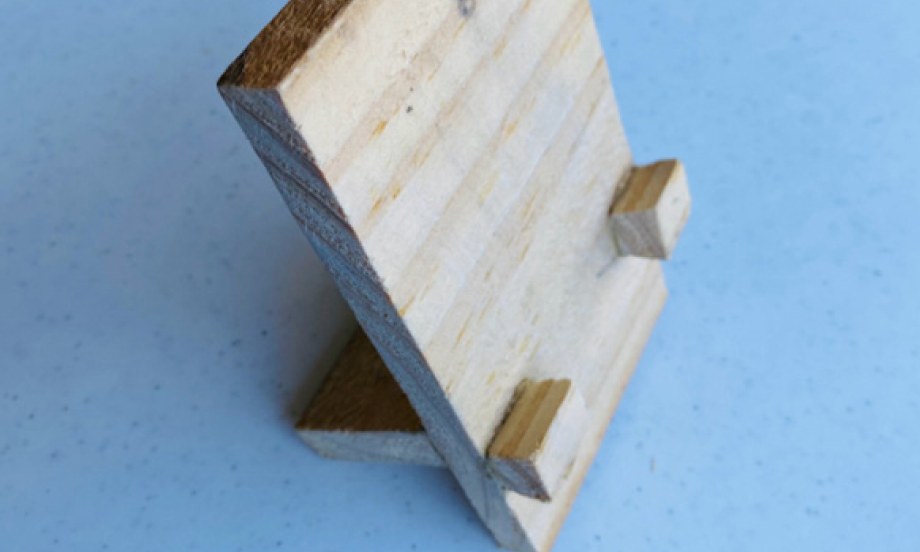
How to create your own phone holder
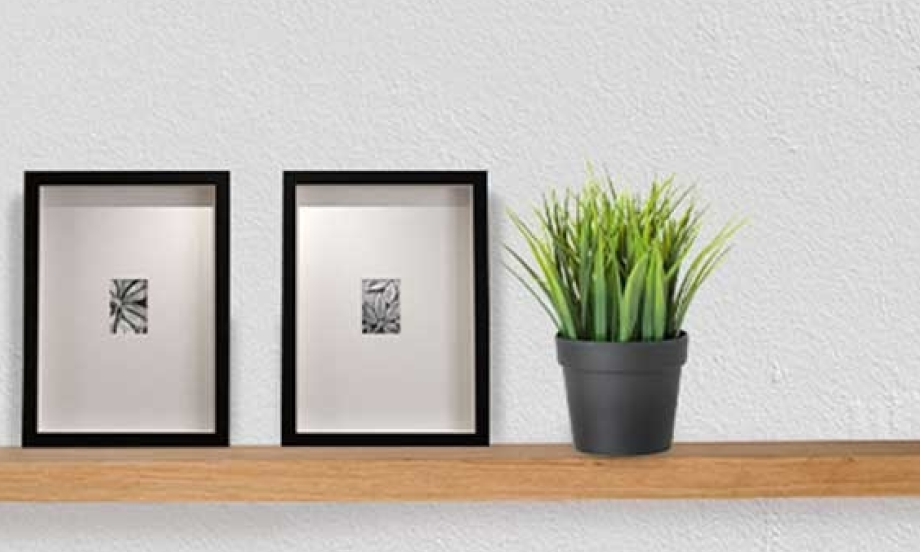
How to install floating shelves with No More Nails