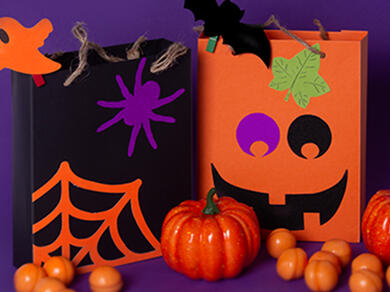
Halloween party bags
Make treat time extra special with DIY Halloween party bags that are as spook-tacular as they are stylish! Start by printing your bag template, and bring it to life using Bostik Cut ’n Paste and Extra-Strength Glu Dots for secure, clean adhesion. Add ribbons or twine for handles and fill with goodies—perfect for parties, trick-or-treating, or classroom fun. This craft combines creativity and practicality, adding a personalized twist to Halloween celebrations! 👻
Instructions

Halloween decoration pumpkin craft
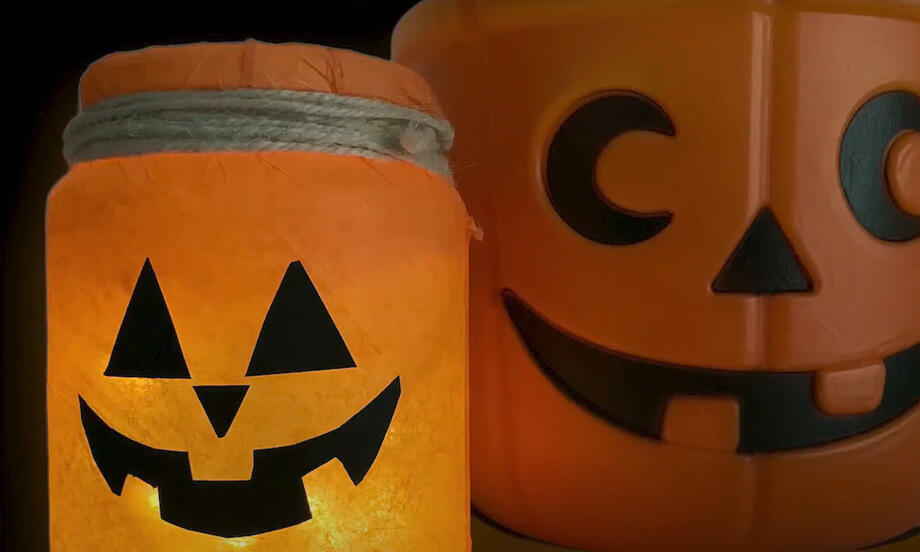
Halloween lantern
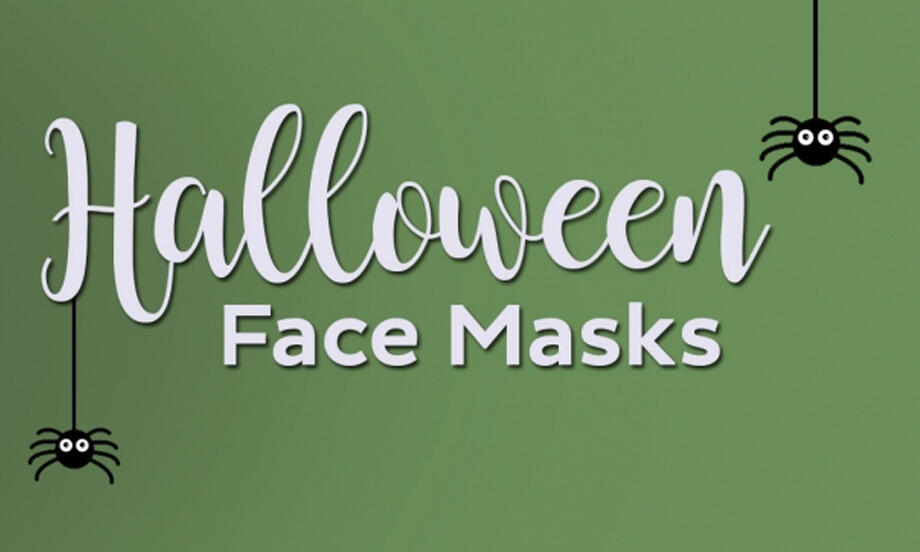
Halloween masks
Halloween stick monster craft
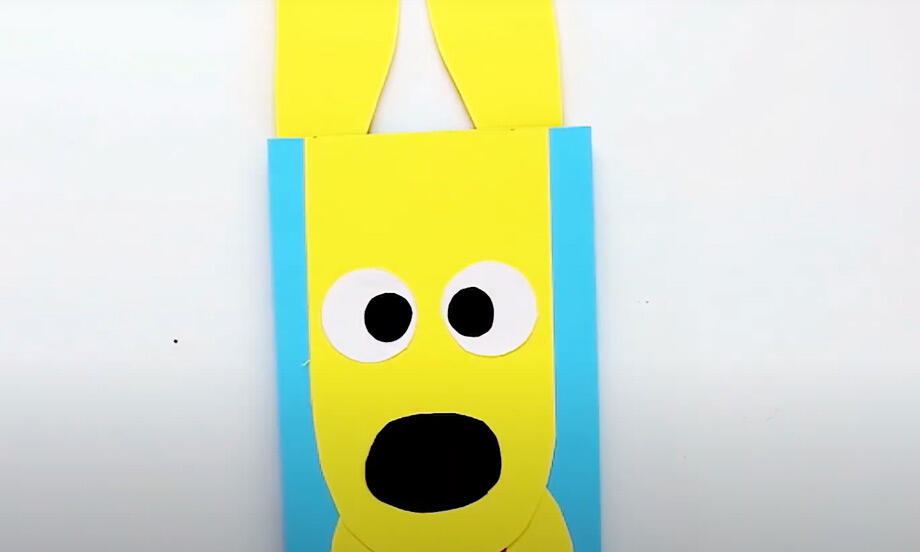
Animated paper dog

Best Dad in the world award
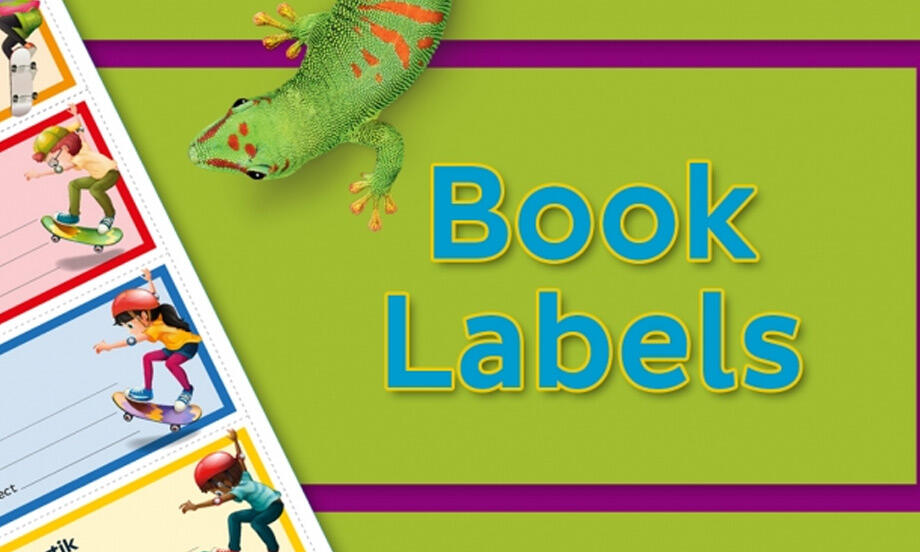
Book labels
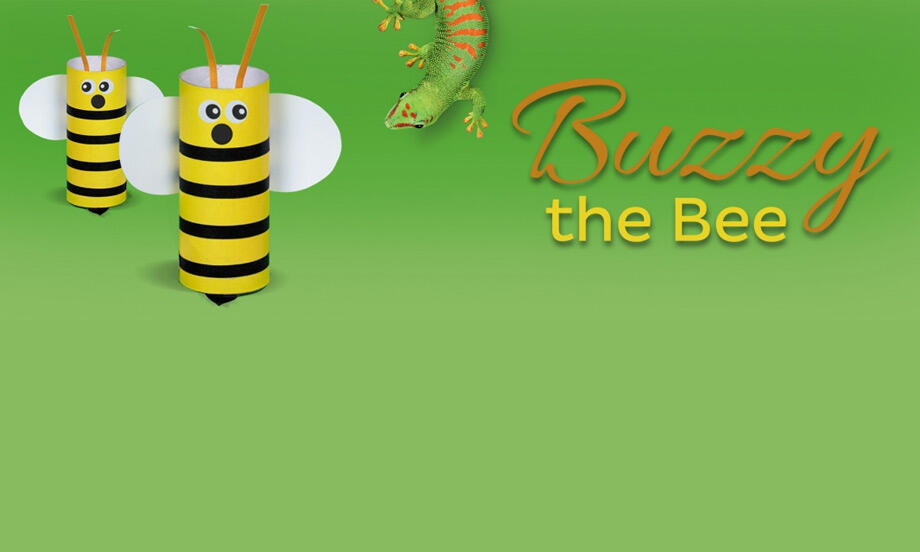
Buzzy the bee

Christmas jolly gift tags
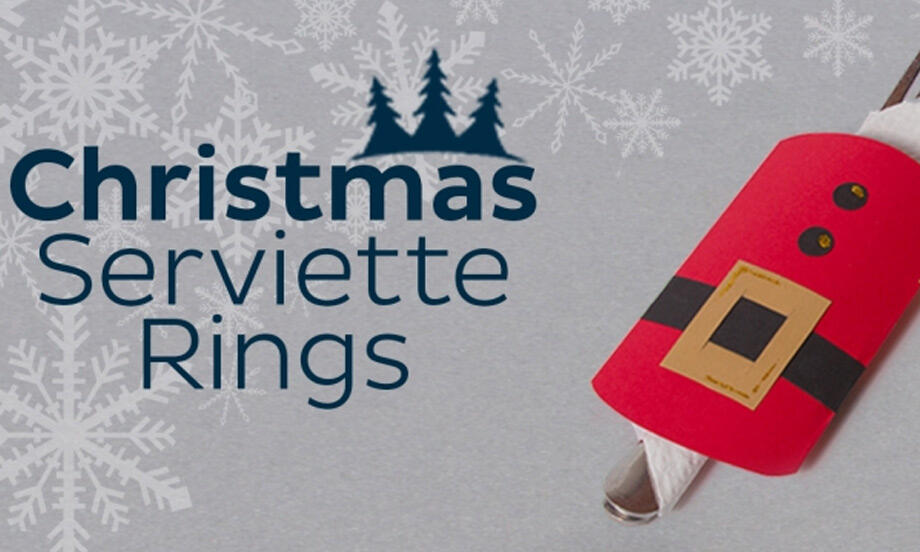
Christmas serviette rings
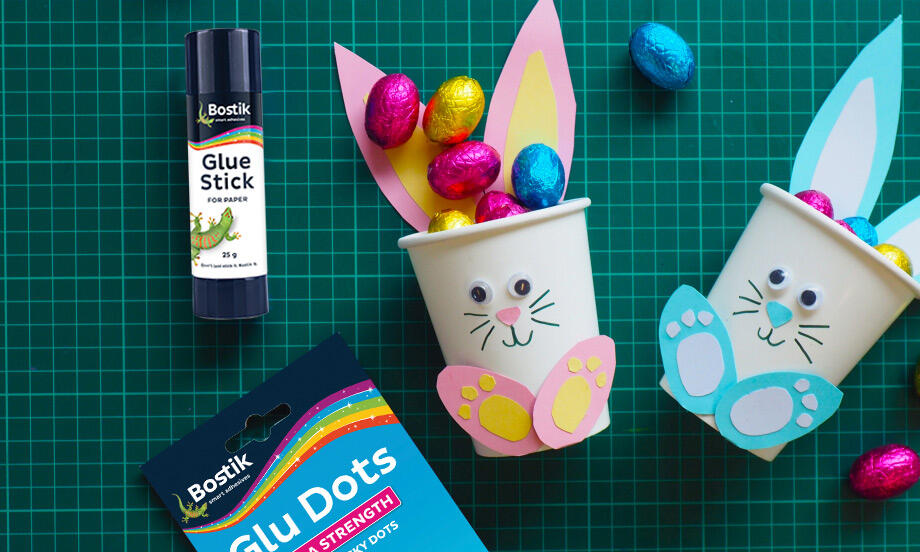
Easter cup bunnies

Easter garland
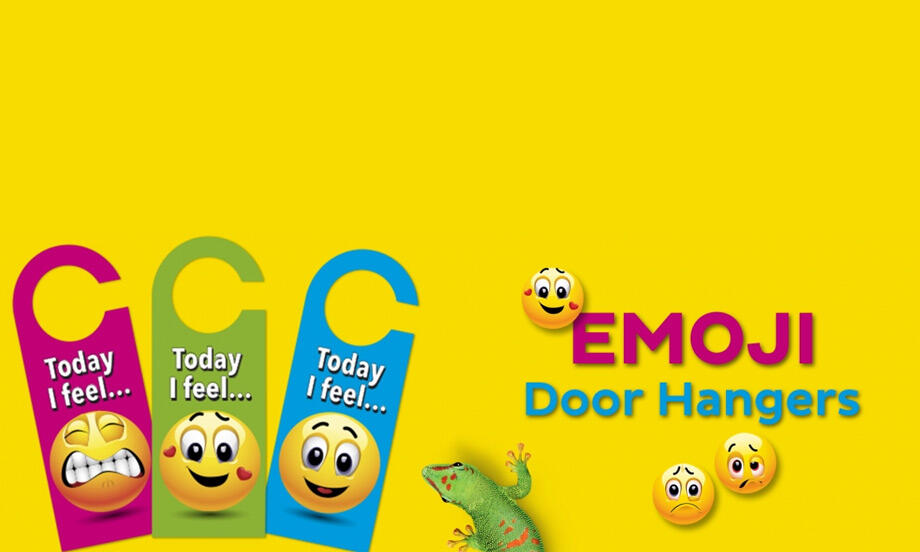
Emoji door hangers

Family tree
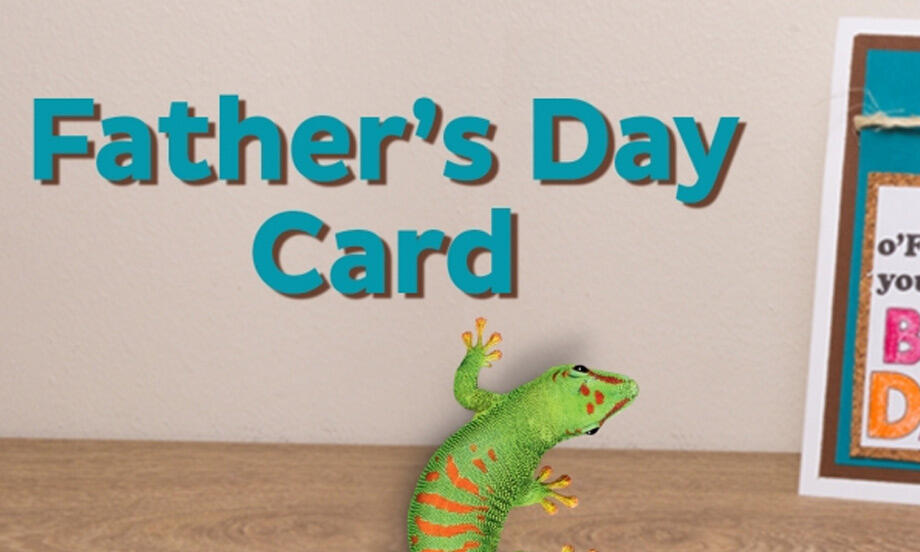
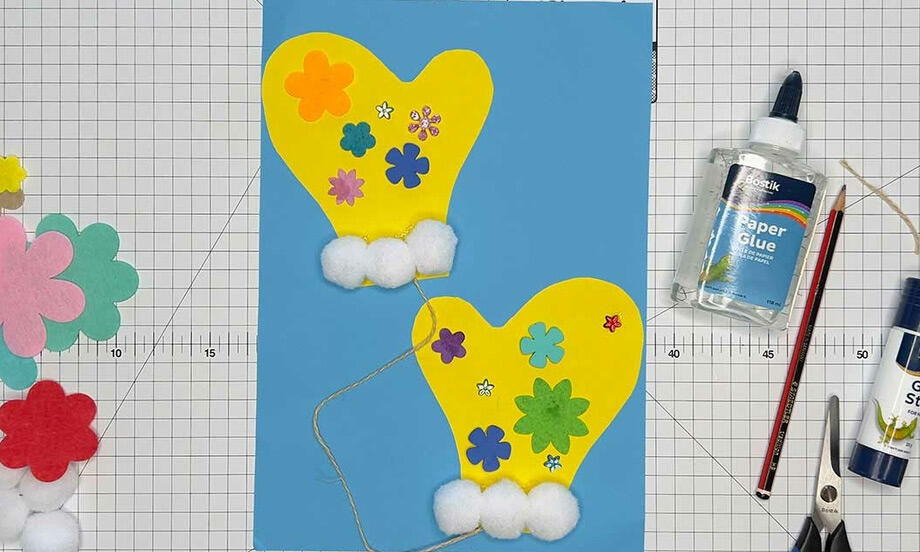
Father's day card
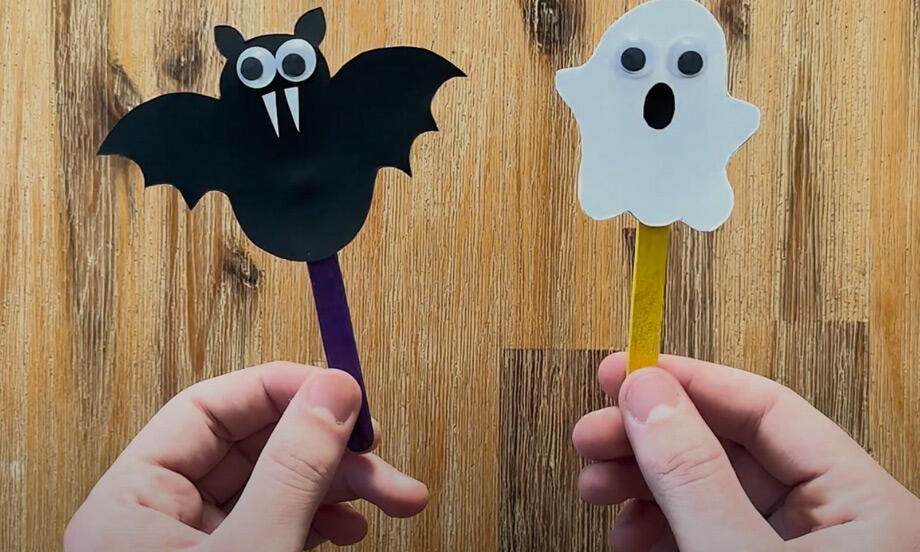
Halloween bats
Handmade Father's day owl card
How to make a decorative easter egg
How to make an Easter basket
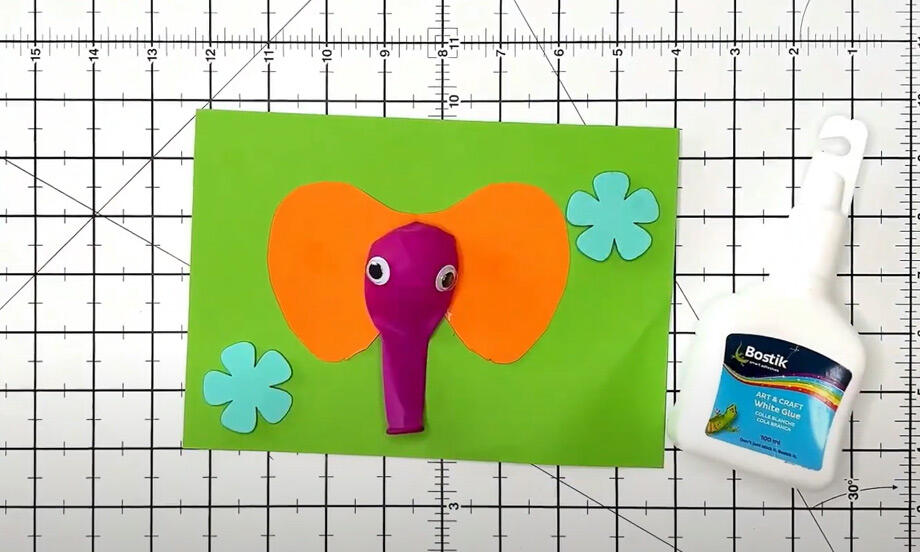
How to make an elephant greeting card
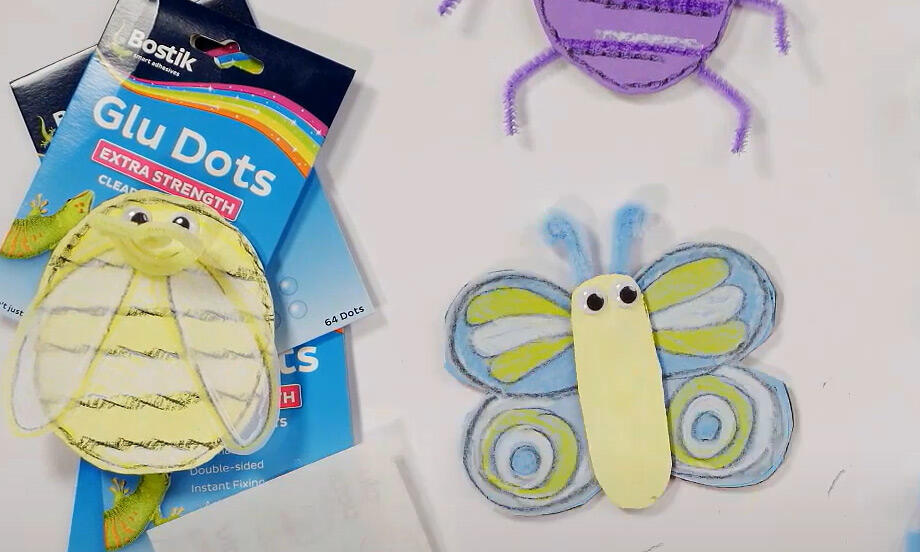
How to make craft bugs
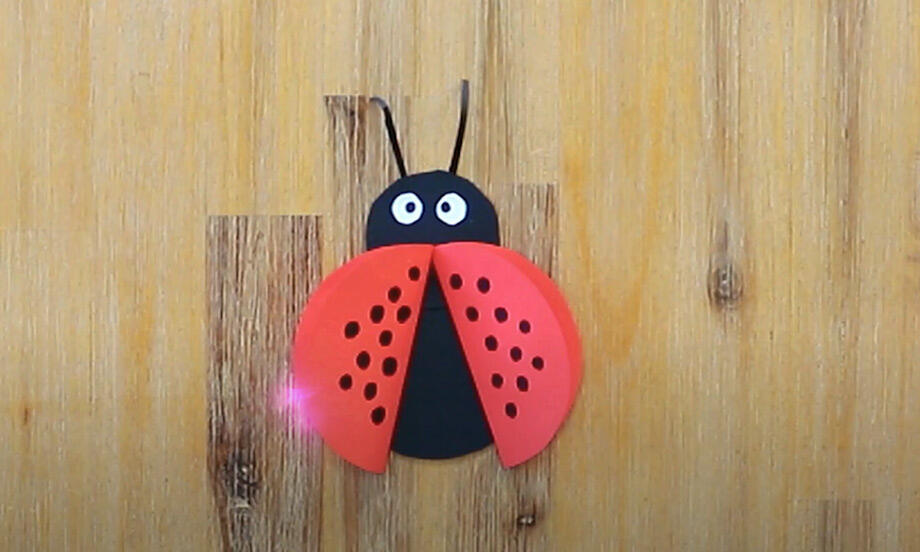
Ladybug
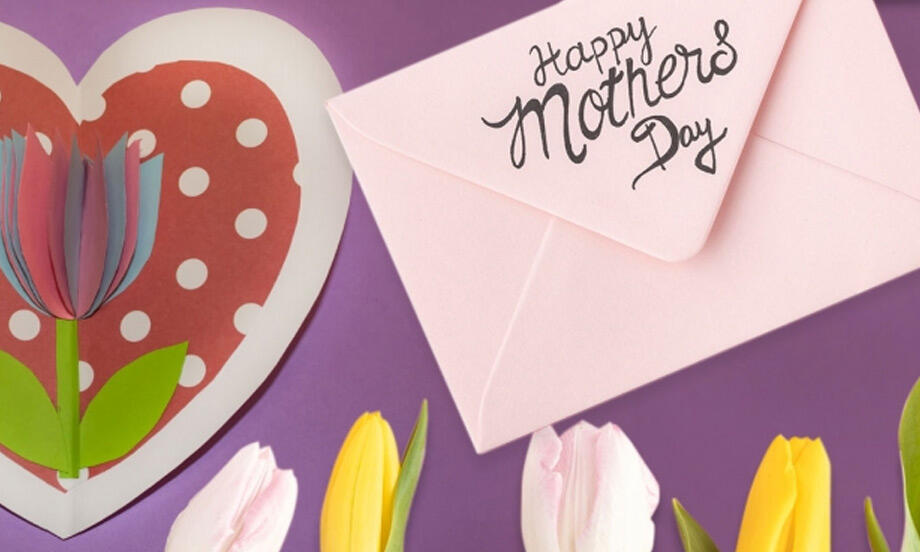
Mother's day card
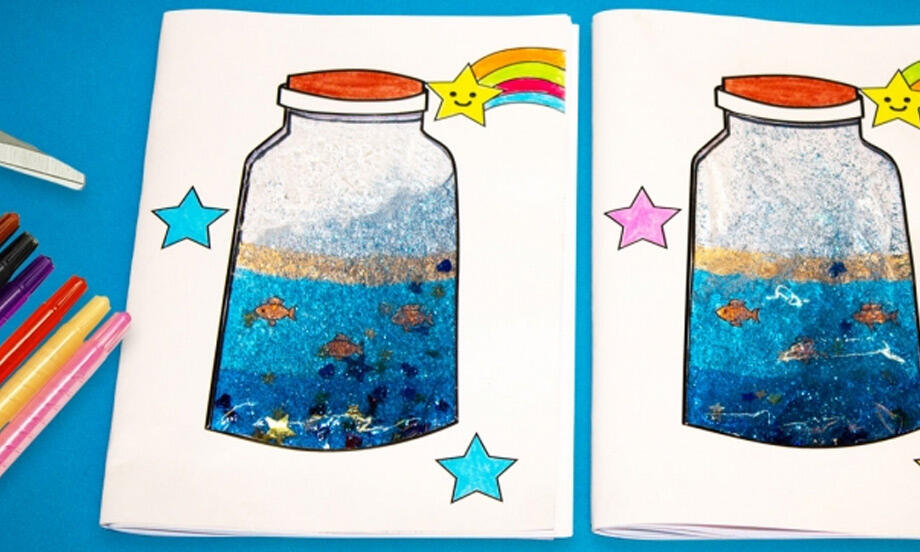
Ocean notebook
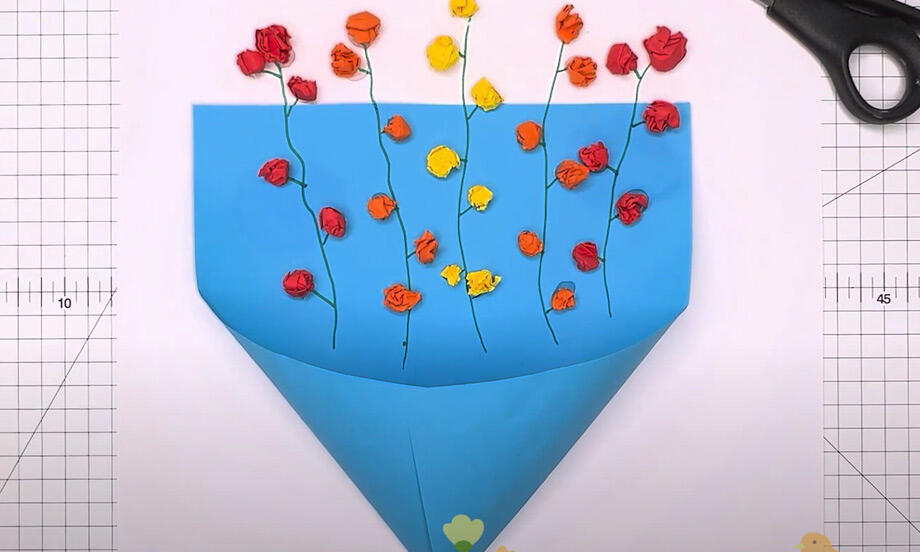
paper flower
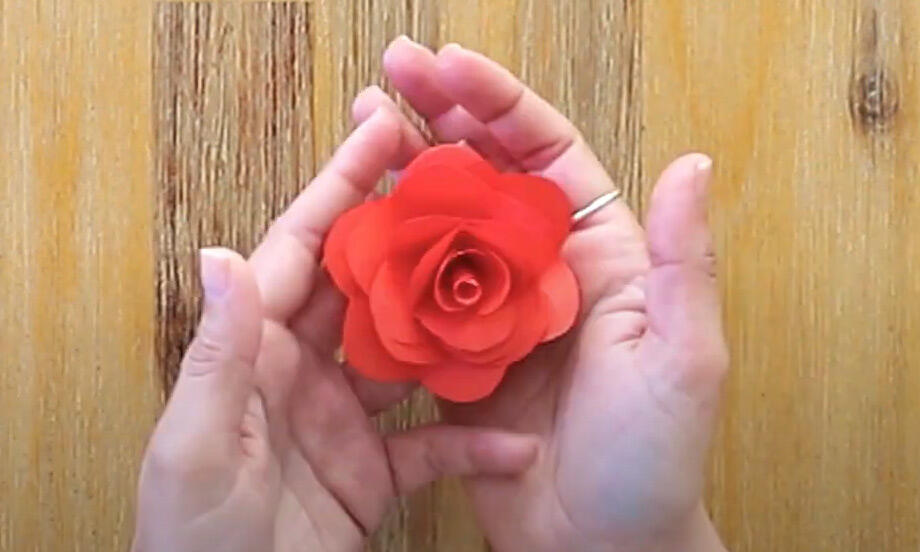
Paper rose
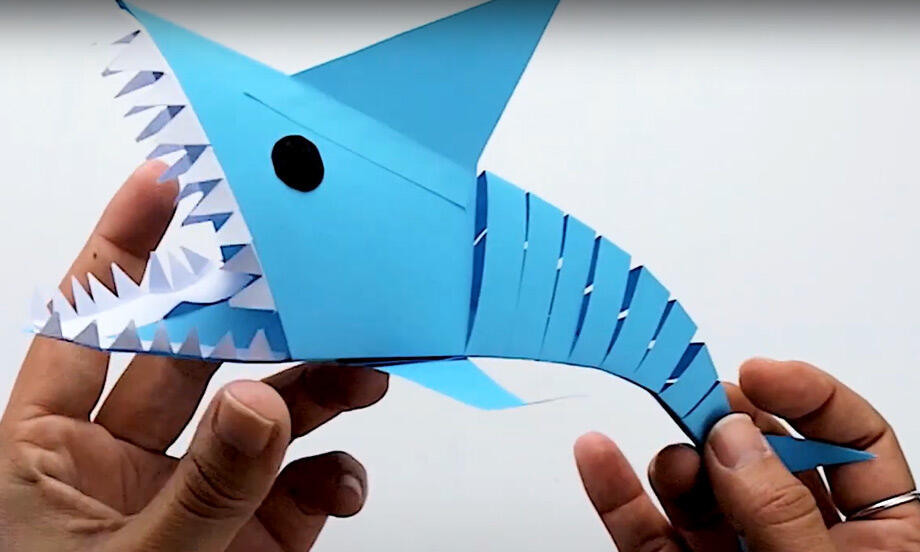
Paper shark
Spring Tulip
Valentine's day animals
Wedding jam jars
Wedding match boxes
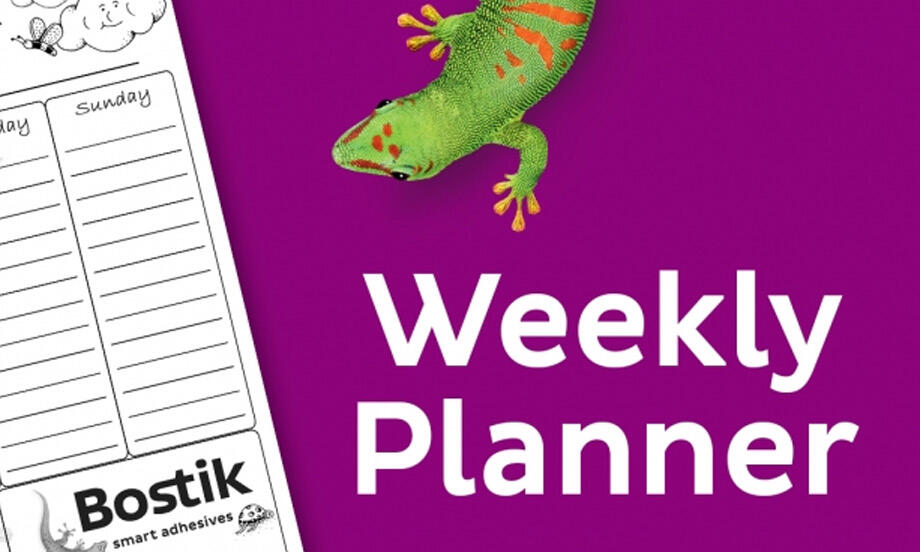
Weekly planner