Halloween decoration pumpkin craft
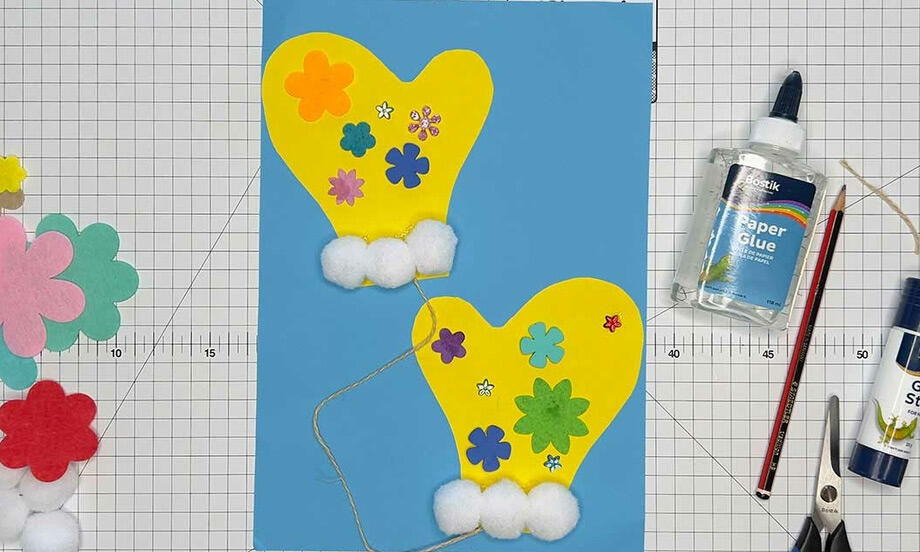
Unleash your Halloween spirit with this quick and crafty DIY Halloween Pumpkin Decoration🎃! Start by tracing the pumpkin body shape onto orange paper, then cut it out along with facial features from black paper and a stem from green. Use a Bostik Glue Stick to stick on the eyes, smile, and stem for a clean and easy finish. Add your personal twist, maybe a cheeky grin or angular eyes, to make it your own. With just paper, glue, and a bit of imagination, you’ll have a spooky-yet-cute pumpkin perfect for walls, windows, or party décor. No carving required, just crafty fun! 🕸
Instructions

Halloween bats
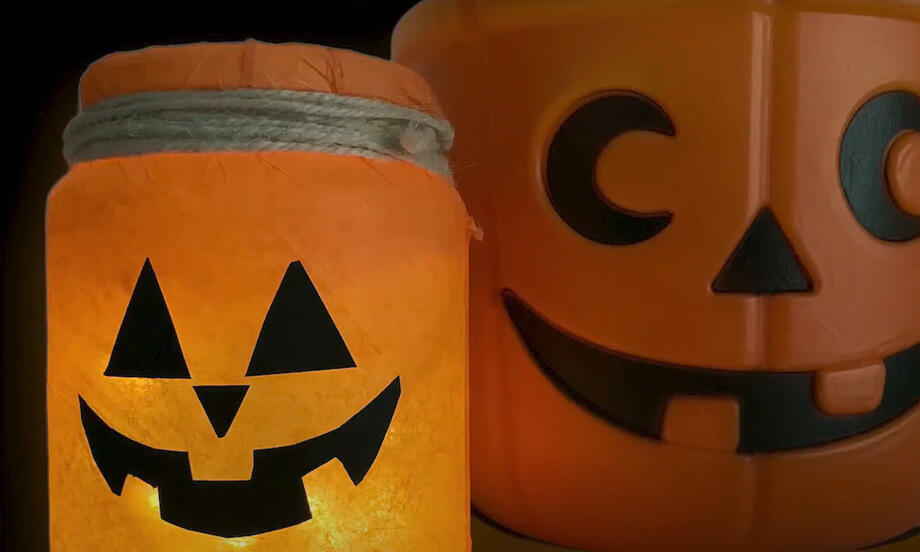
Halloween lantern
Halloween masks
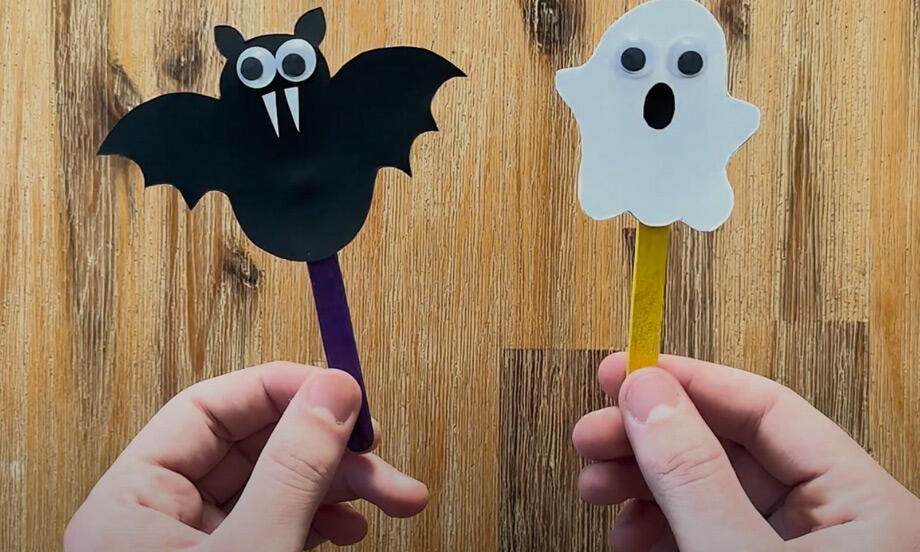
Halloween stick monster craft
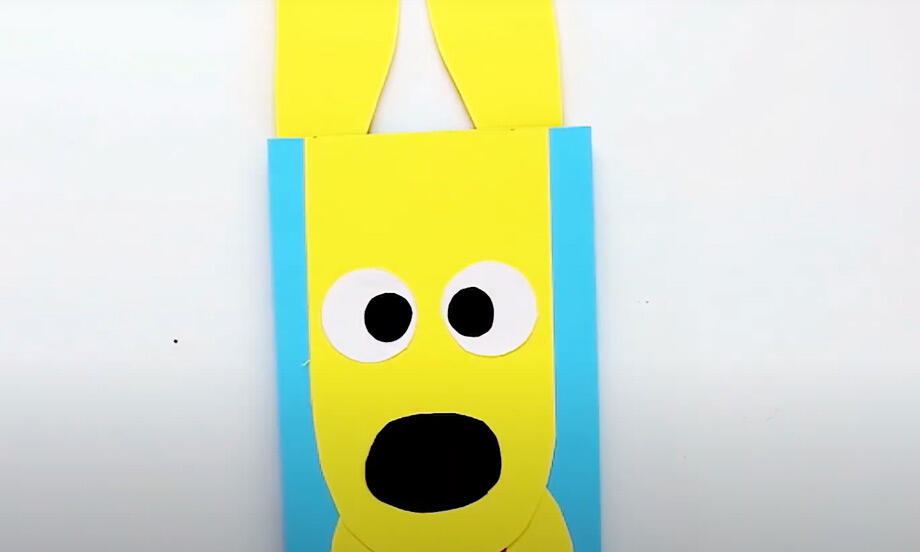
Animated paper dog

Best Dad in the world award
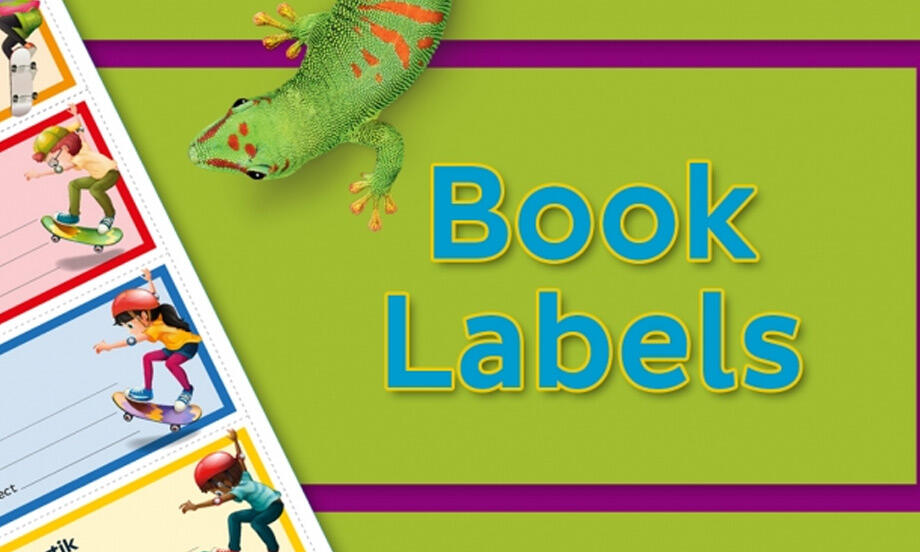
Book labels
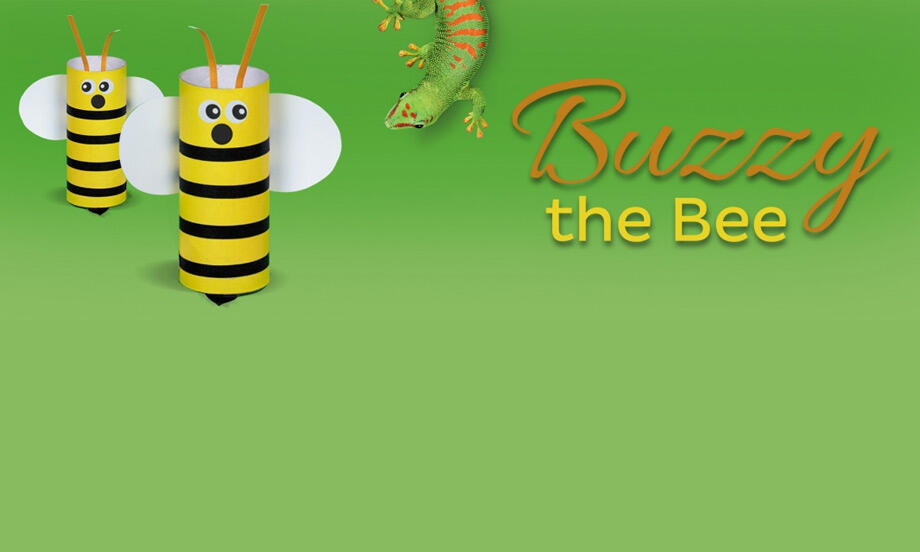
Buzzy the bee

Christmas jolly gift tags
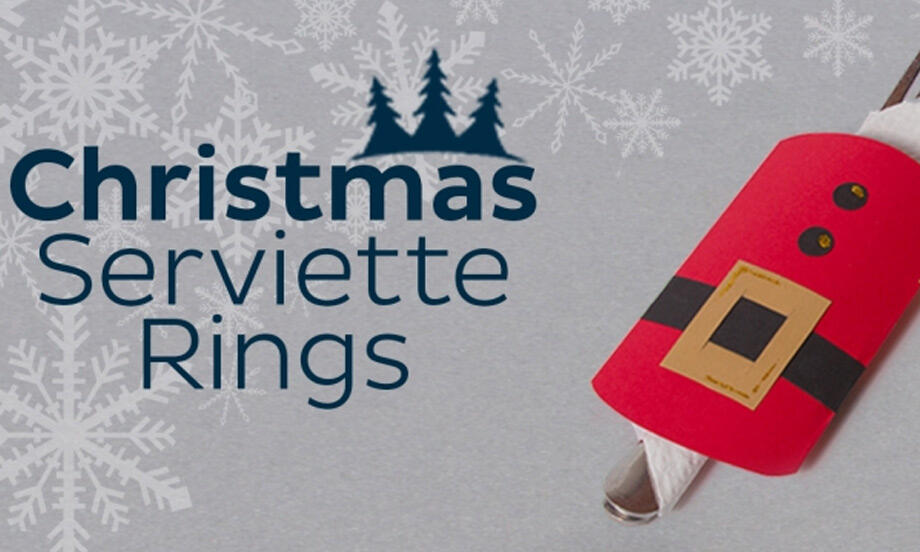
Christmas serviette rings
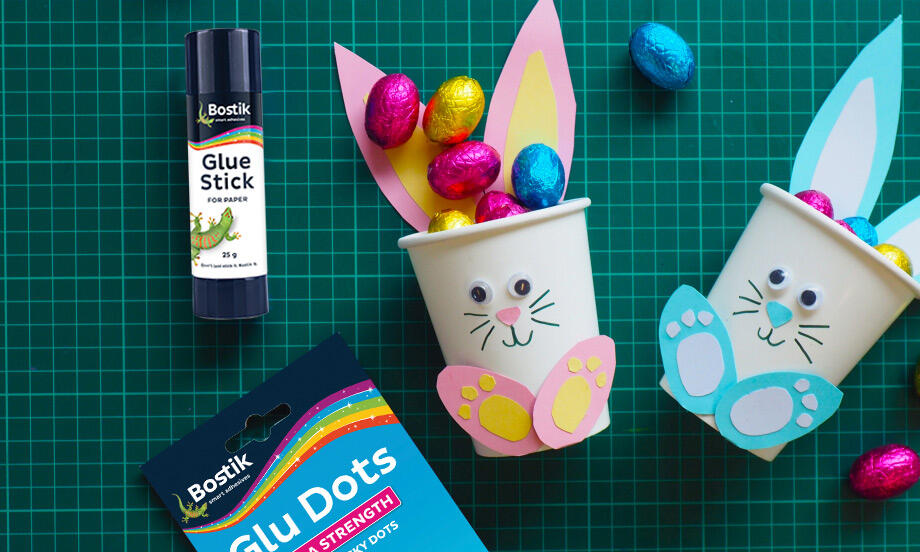
Easter cup bunnies
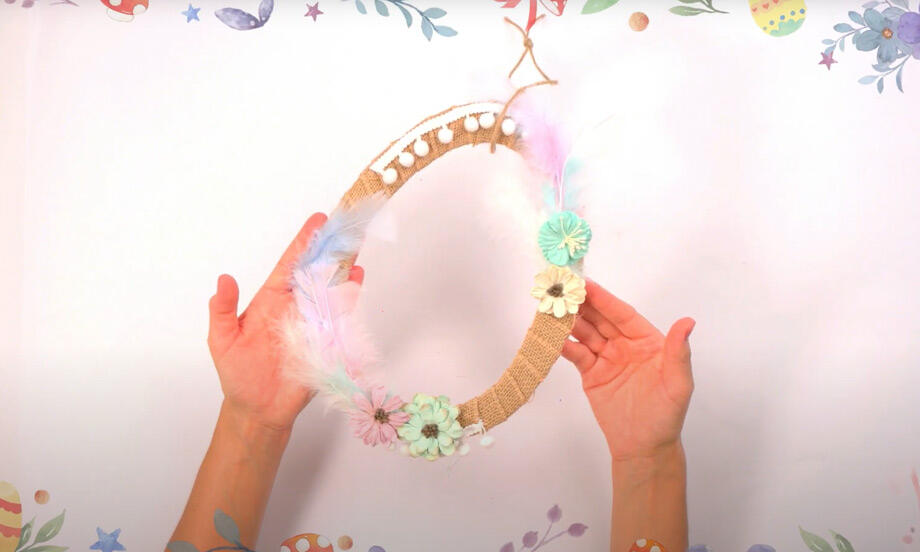
Easter garland
Emoji door hangers
Family tree
Father's day card
Halloween party bags
How to make a decorative easter egg
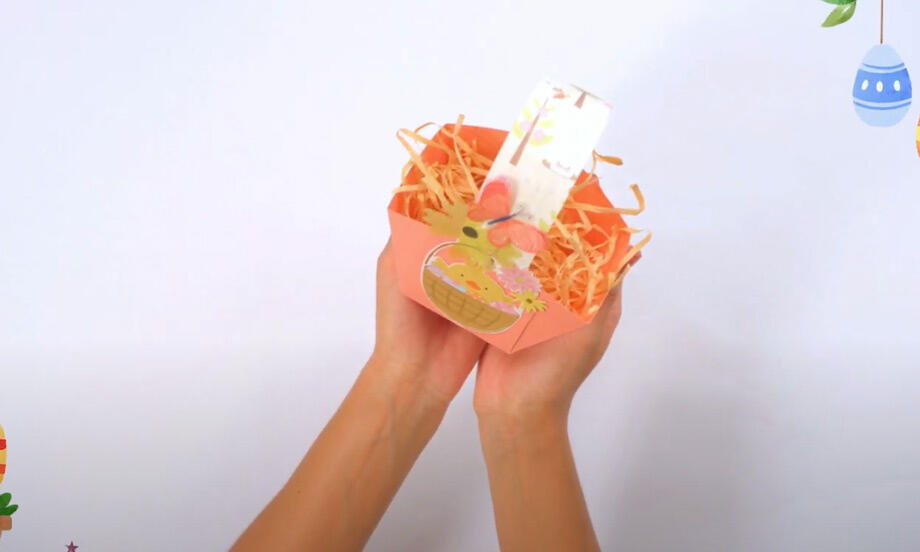
How to make an Easter basket
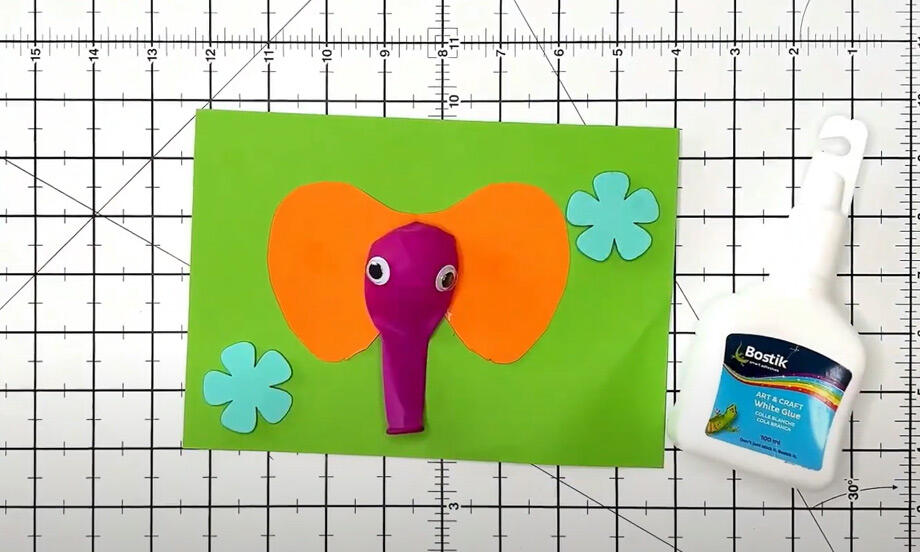
How to make an elephant greeting card
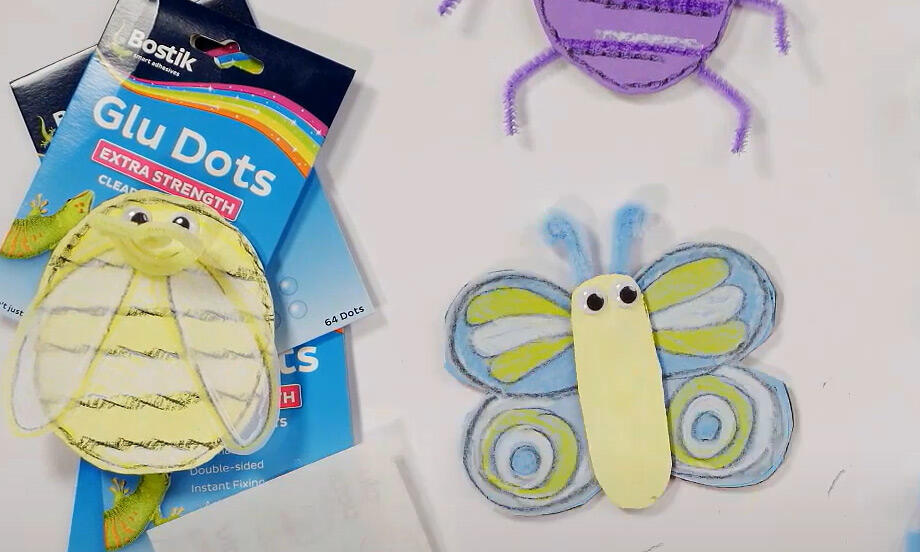
How to make craft bugs
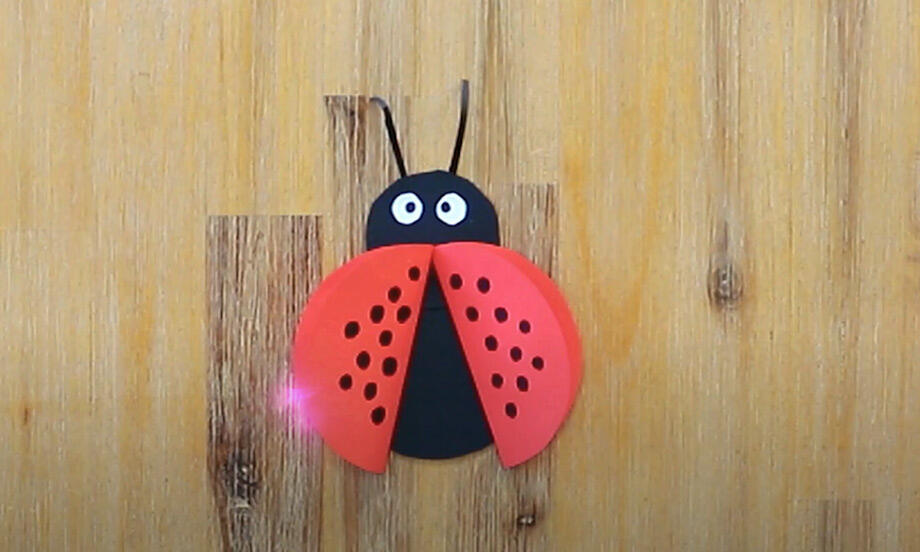
Ladybug
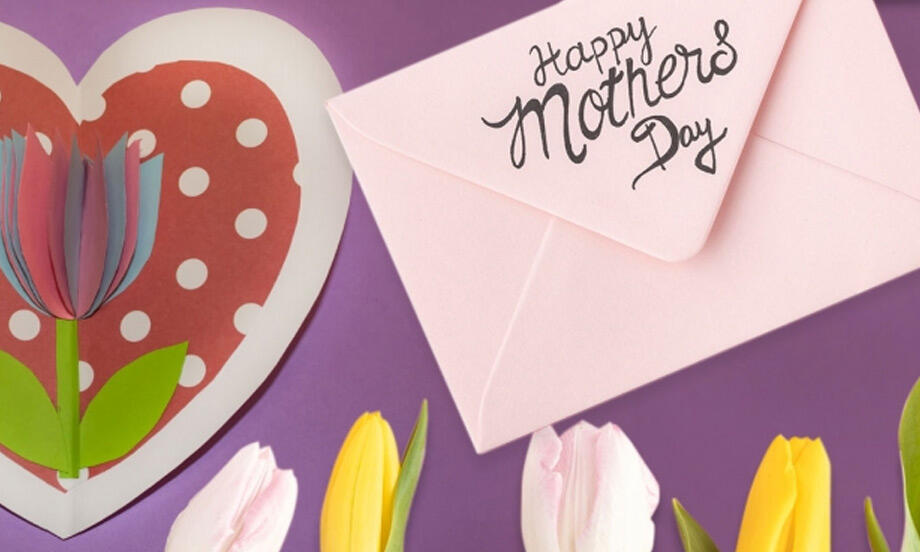
Mother's day card
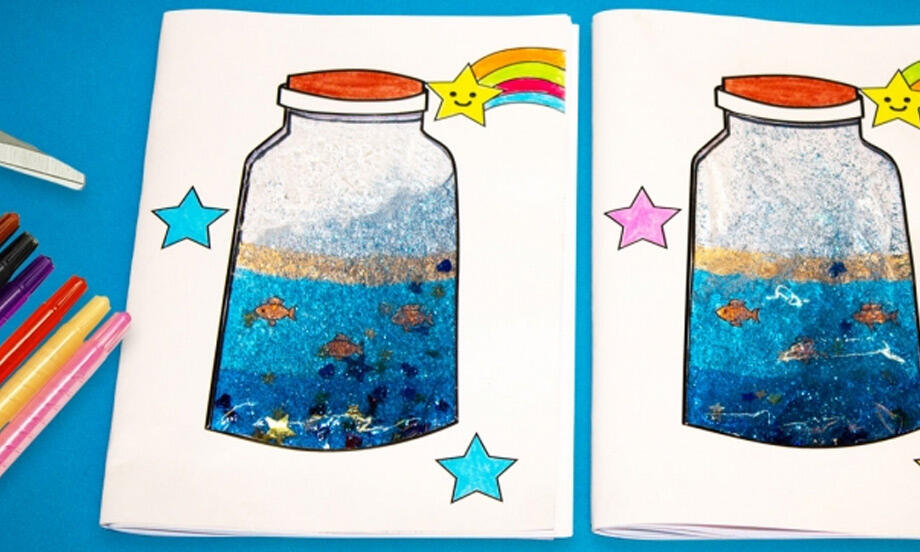
Ocean notebook
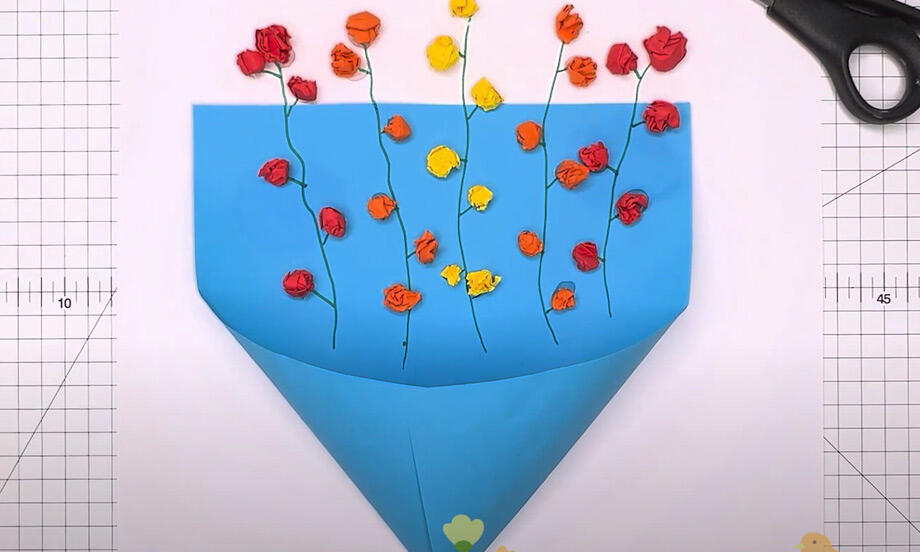
paper flower
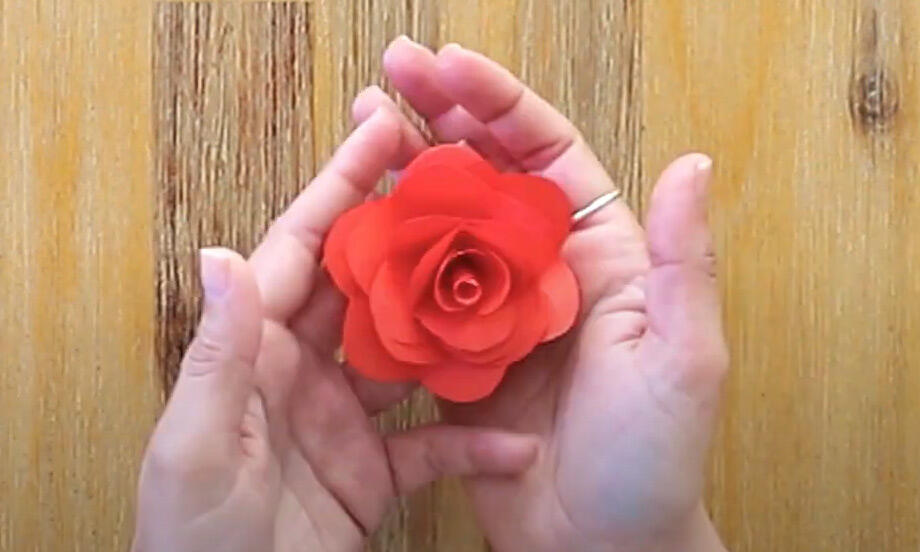
Paper rose
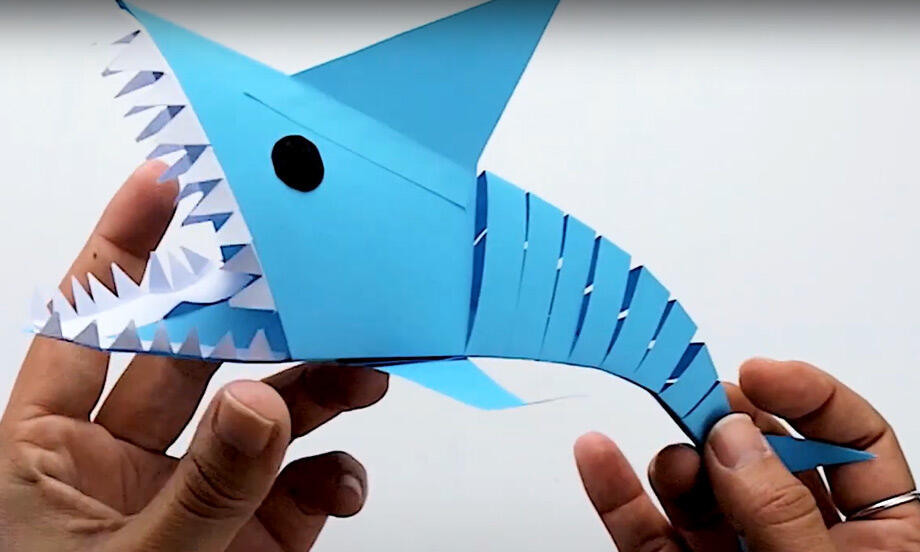
Paper shark
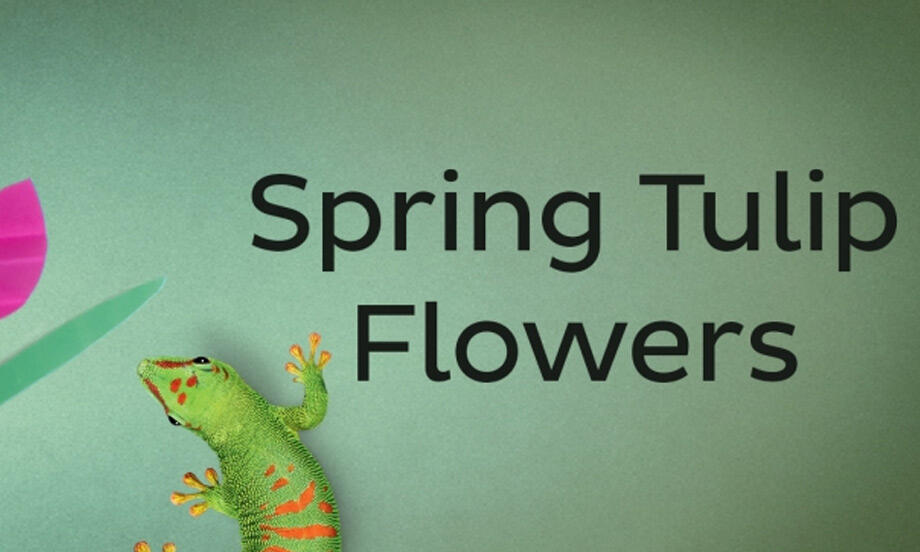
Spring Tulip
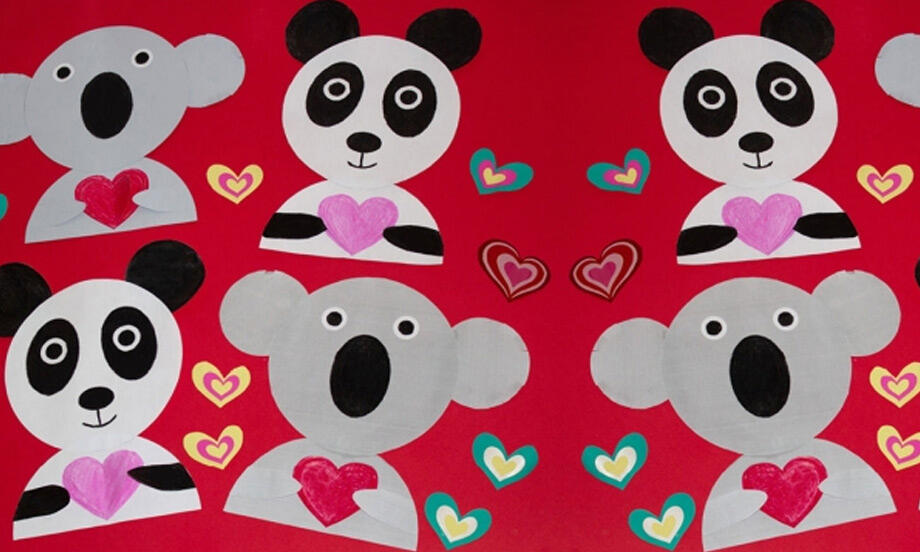
Valentine's day animals
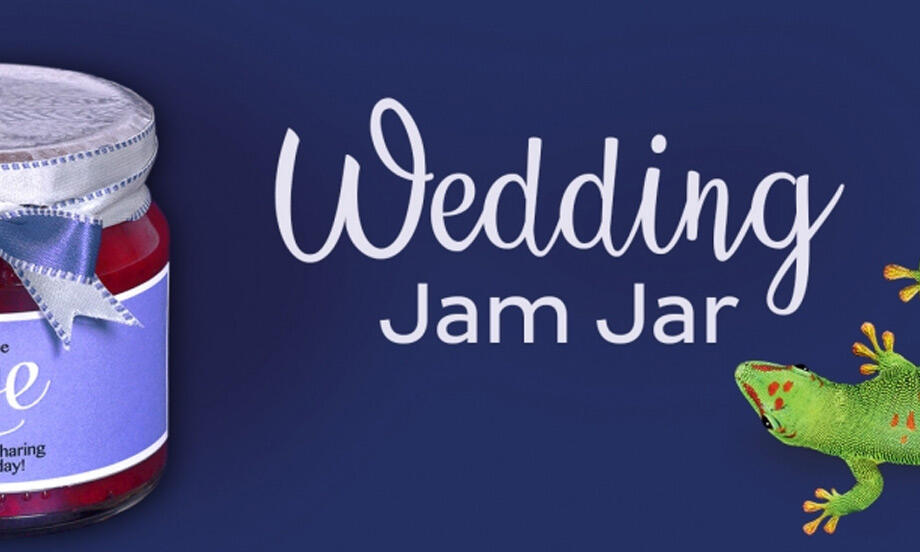
Wedding jam jars
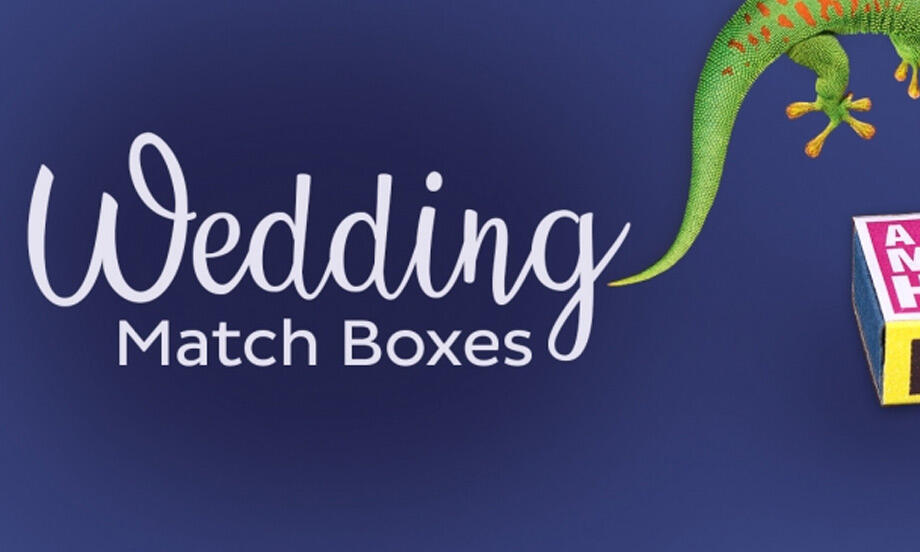
Wedding match boxes
Weekly planner