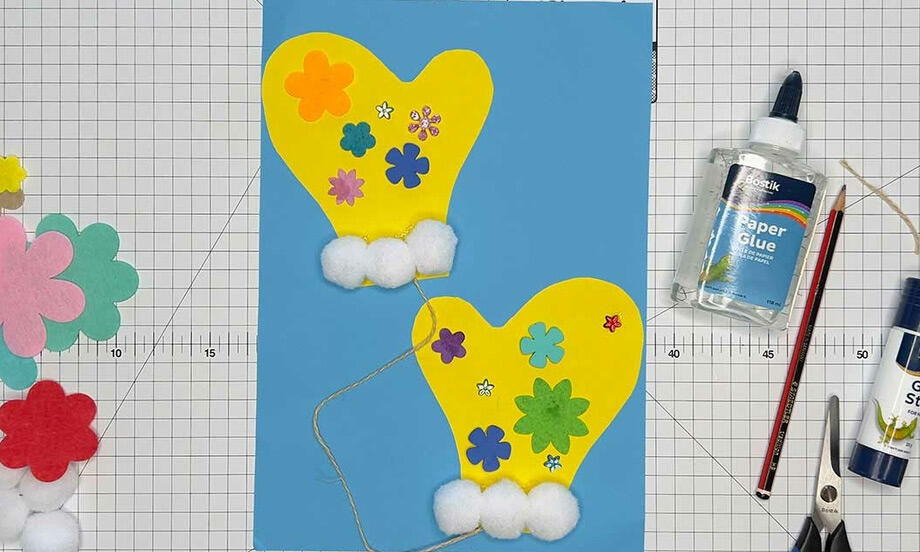
How to make an elephant greeting card
Design a card that’s full of character with this DIY Elephant Greeting Card🐘 tutorial! Begin by folding your chosen cardstock in half to form the base. Use Bostik Art & Craft White Glue to gently attach a deflated balloon at the center, this becomes the elephant’s body. Then, fashion droopy ears by folding coloured paper in half and cutting teardrop shapes. Slide the ears behind the balloon, glue them in place, add googly eyes and your own embellishments, and let it dry. Charming, tactile, and delightfully quirky, this craft is perfect for sending smiles whether it’s for birthdays, thank-yous, or just because! ✂️🌟
Instructions

Father's day card
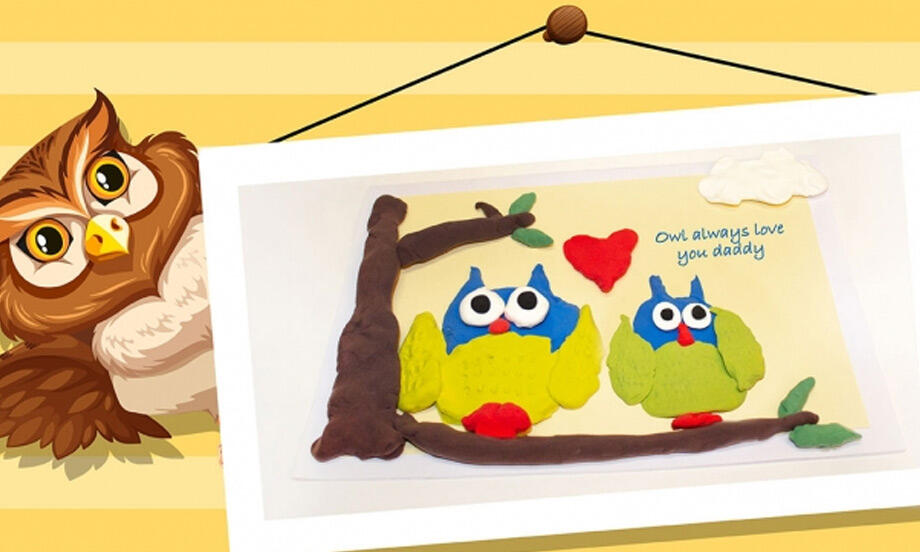
Handmade Father's day owl card
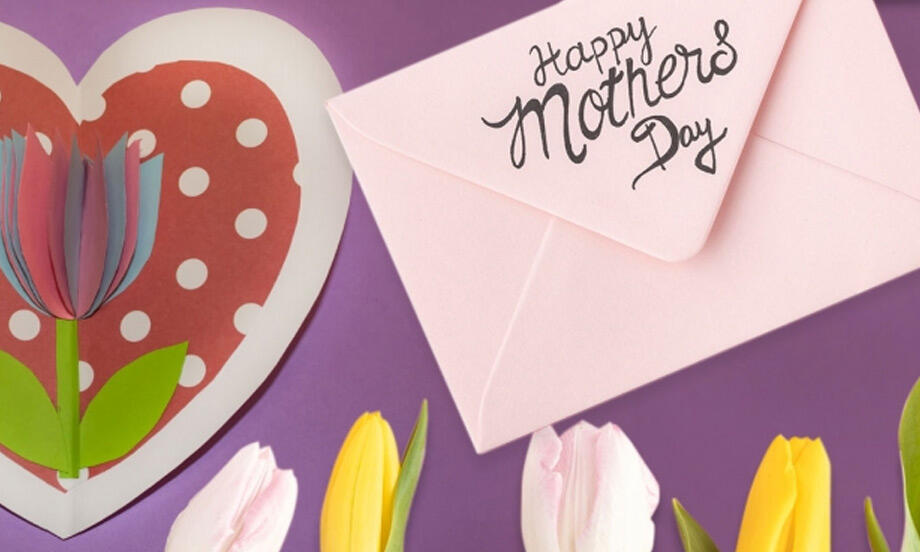
Mother's day card
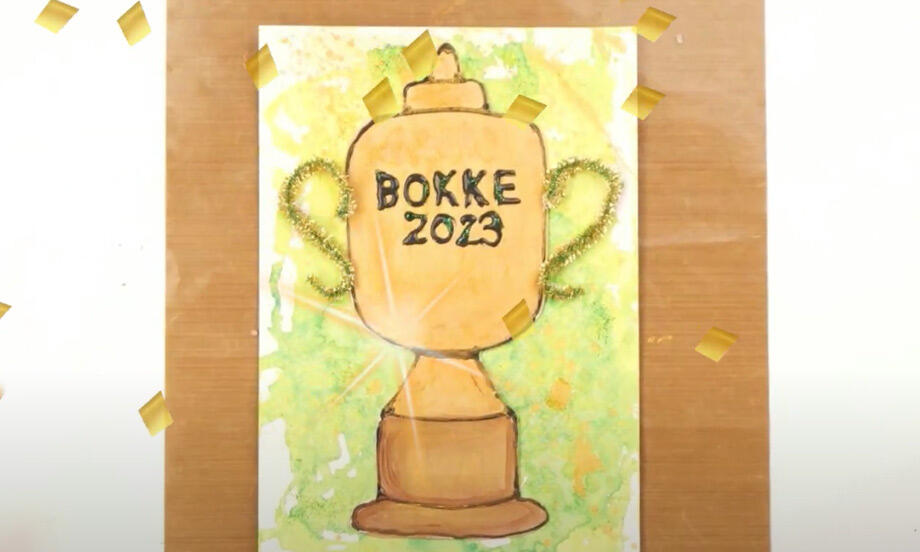
Springbok trophy card craft
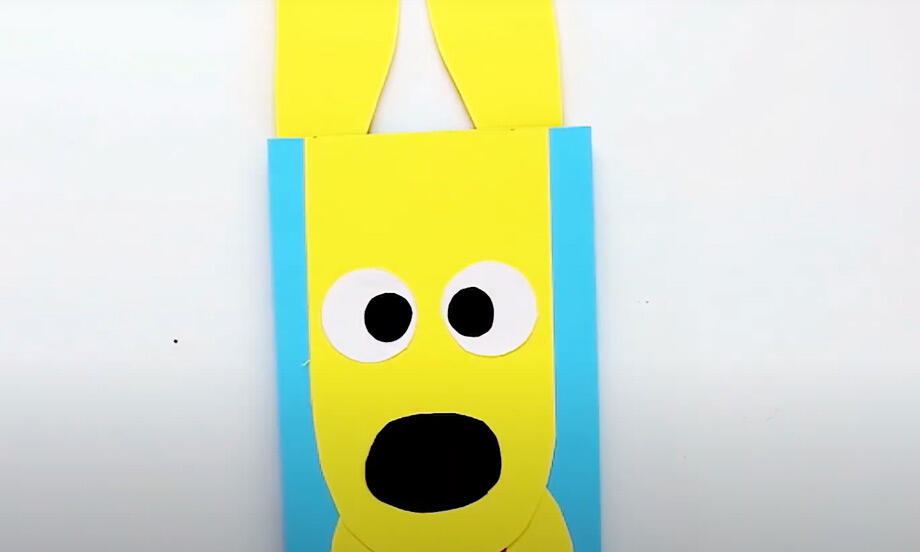
Animated paper dog

Best Dad in the world award
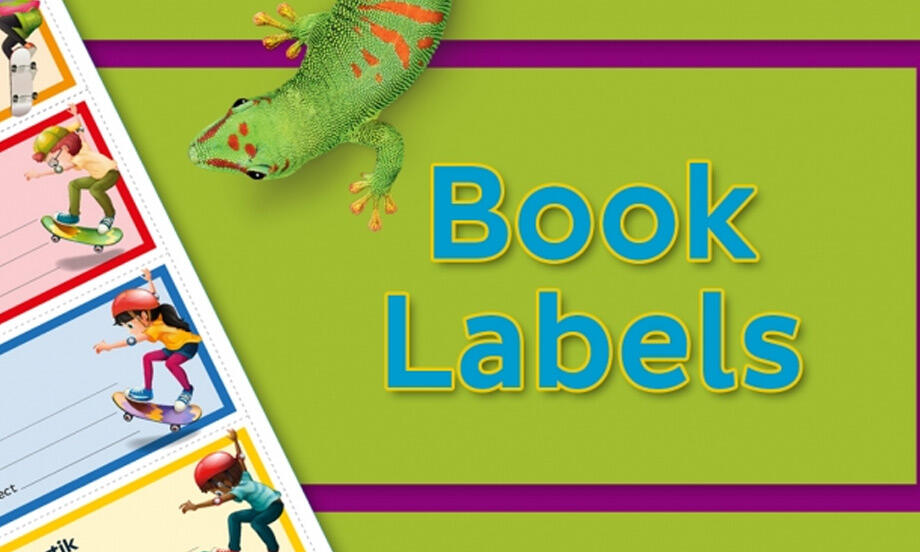
Book labels
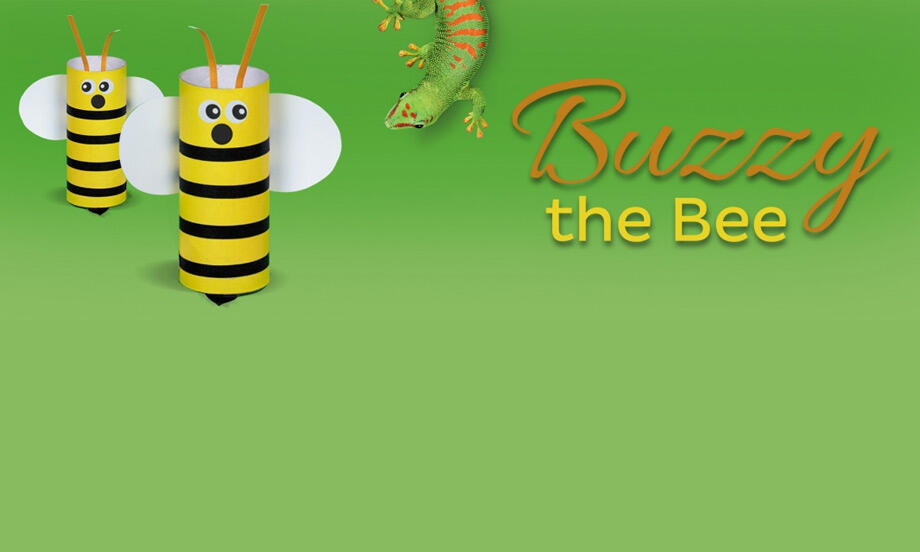
Buzzy the bee

Christmas jolly gift tags

Christmas serviette rings
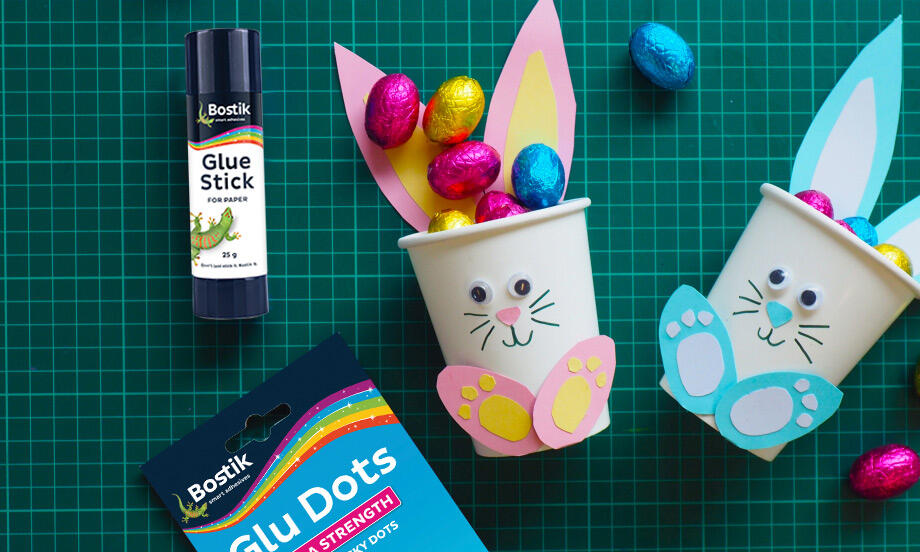
Easter cup bunnies
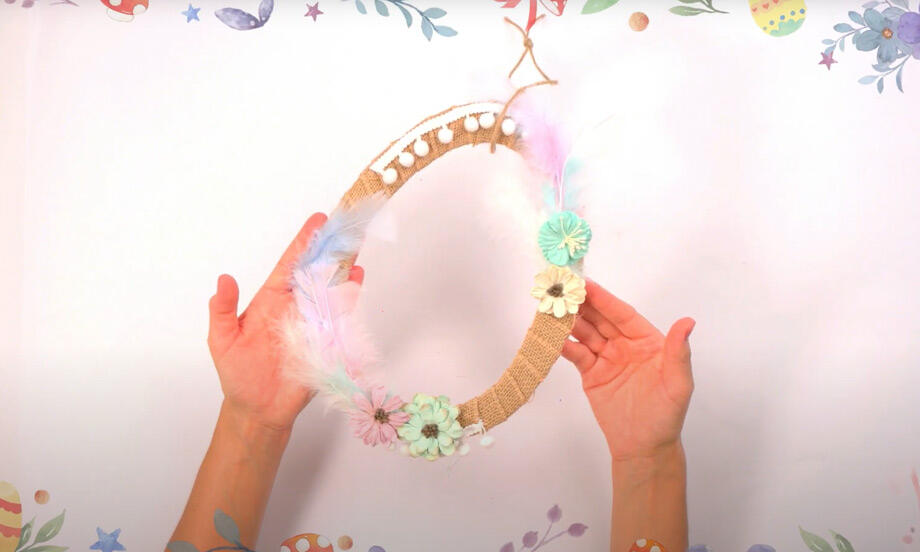
Easter garland
Emoji door hangers

Family tree
Halloween bats

Halloween decoration pumpkin craft
Halloween masks

Halloween party bags
How to make a decorative easter egg
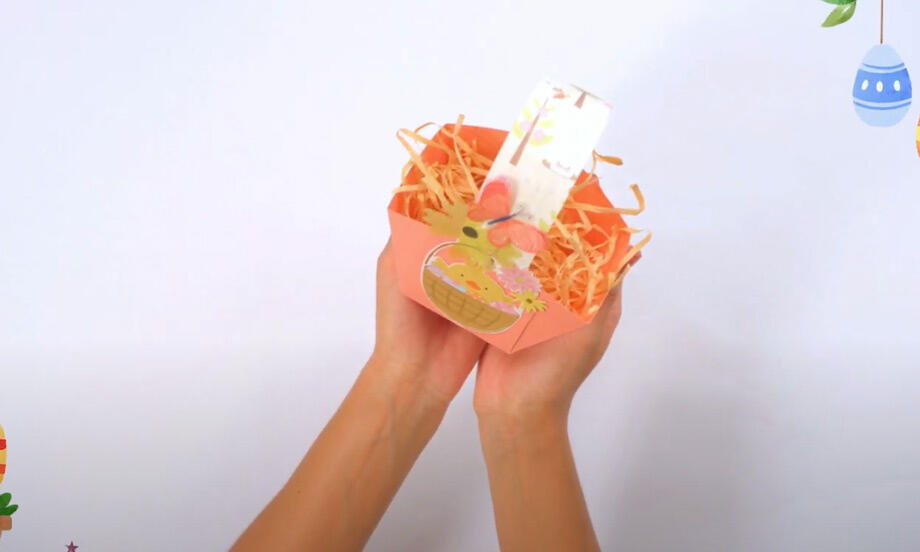
How to make an Easter basket
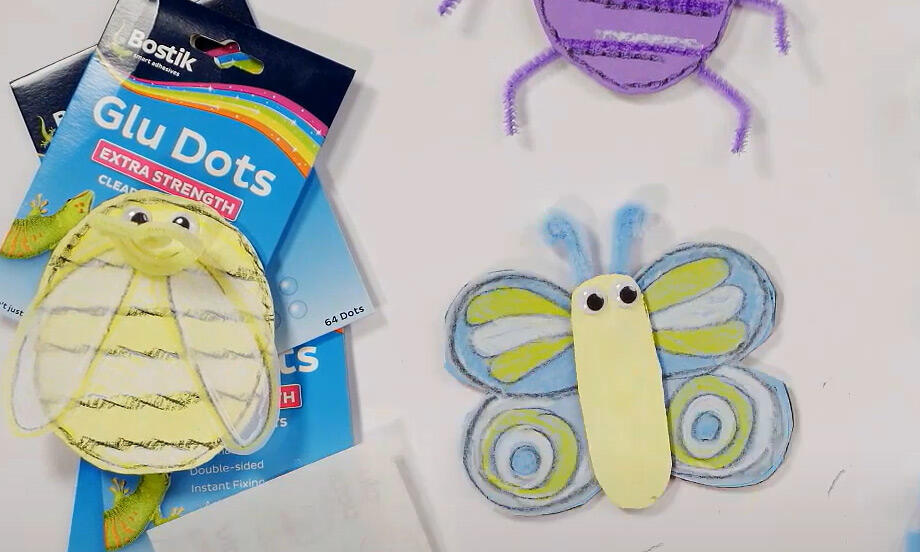
How to make craft bugs
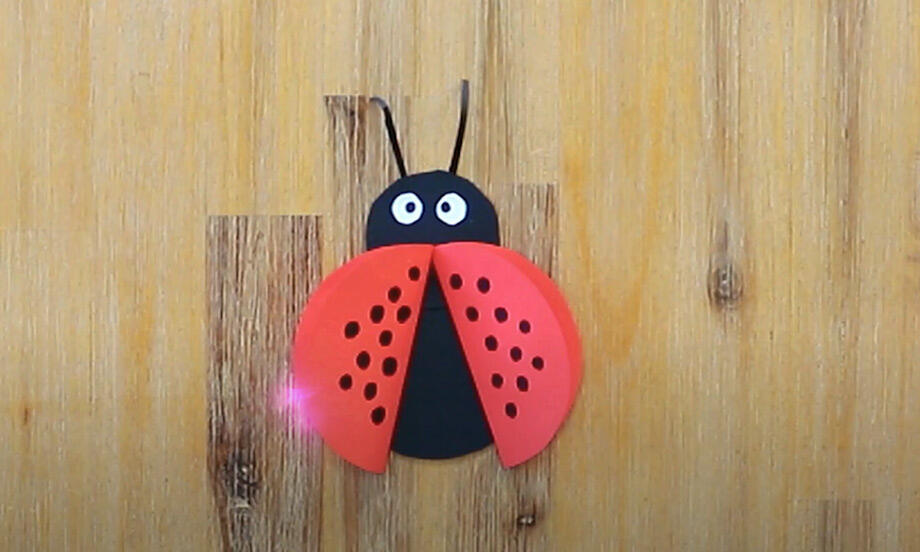
Ladybug
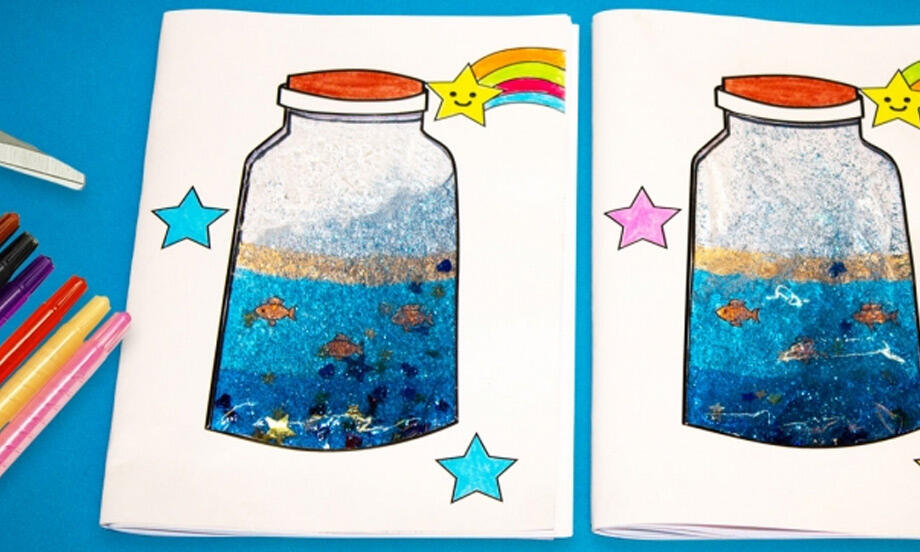
Ocean notebook
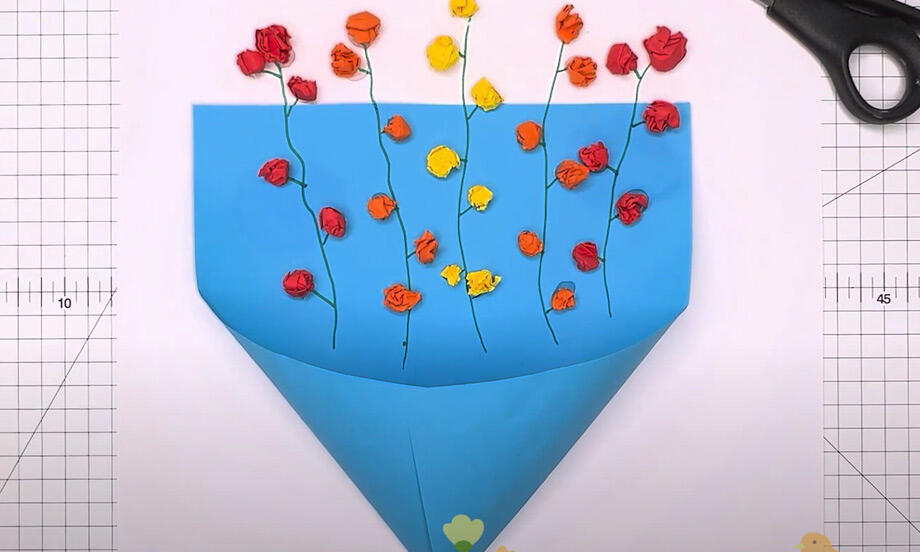
paper flower
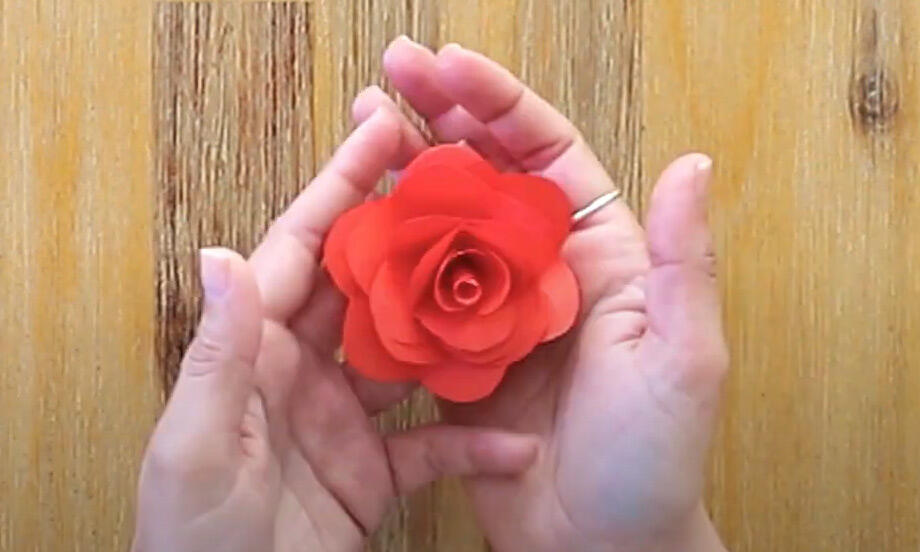
Paper rose
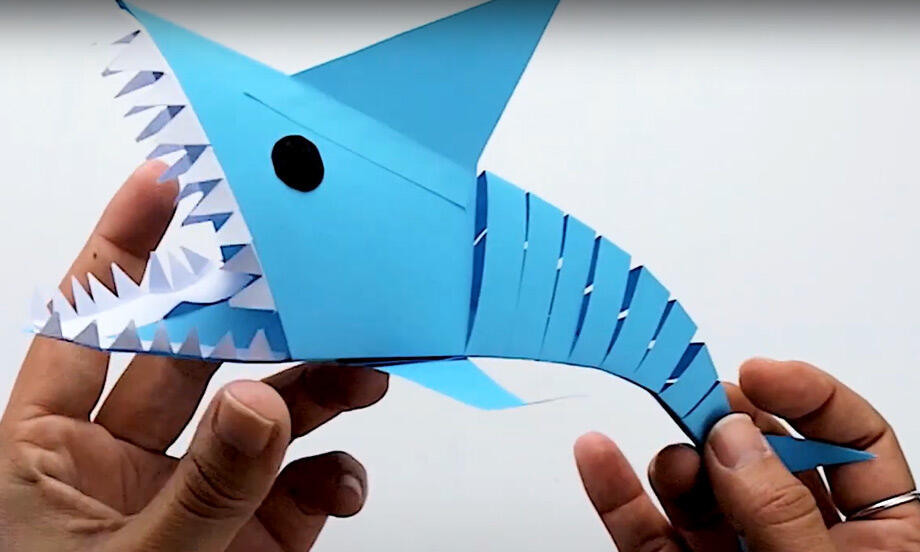
Paper shark

Snowman
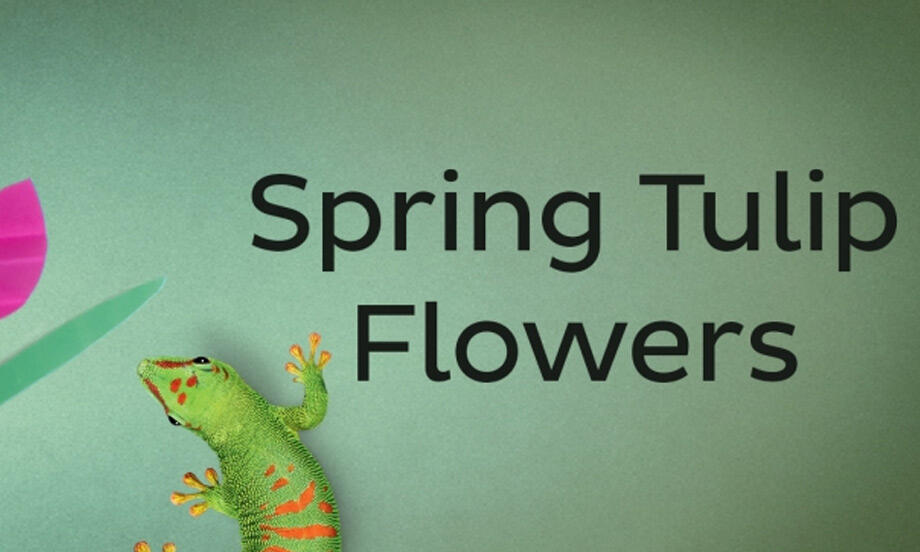
Spring Tulip
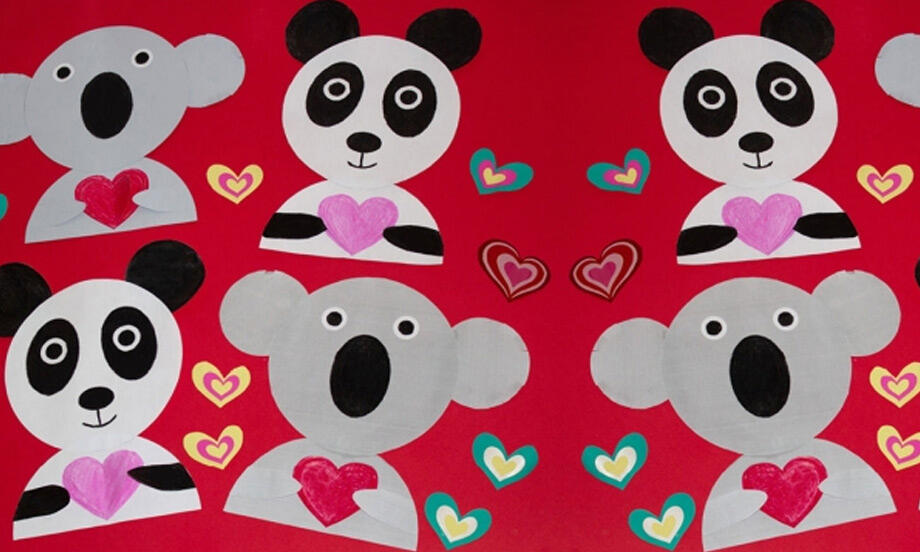
Valentine's day animals
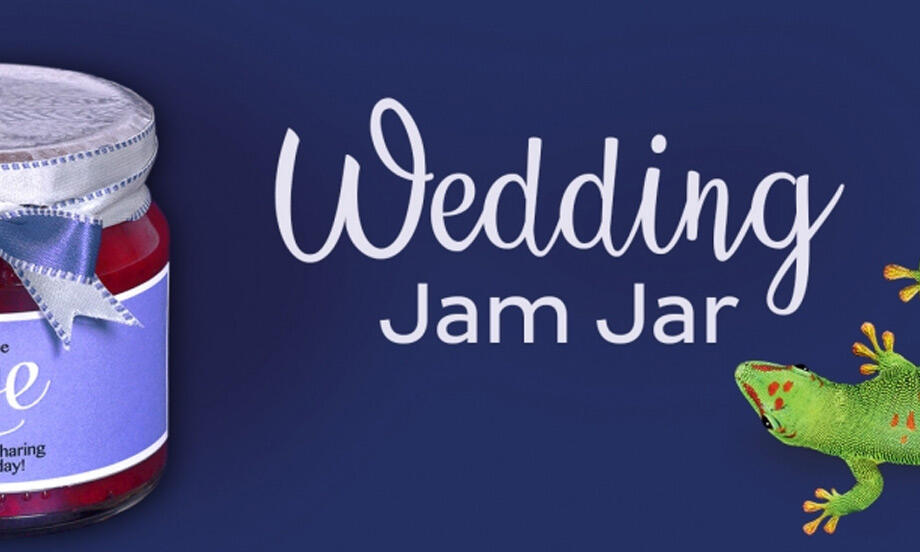
Wedding jam jars

Wedding match boxes
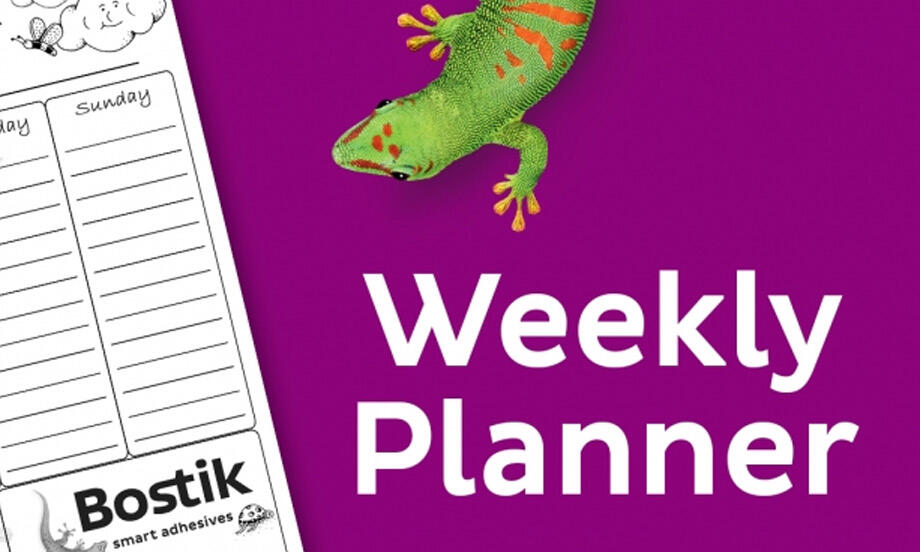
Weekly planner