Paper rose

Craft a timeless floral accent with this elegant DIY Paper Rose 🌸 project! Begin by cutting your colored paper into four 10 cm squares and folding each twice to form triangles. Trim rounds from each triangle and open them to reveal flower-like shapes. Sequentially remove one petal from each to create a layered effect. Roll each layer around a pencil for gentle curvature, then assemble from largest to smallest using Bostik Paper Glue, resulting in a lush, dimensional rose. Simple, beautiful, and graceful, ideal as décor, thoughtful gifts, or charming tabletop accents.✨

Instructions

STEP 1: Fold

Measure a 10cm x 10cm square on your paper. Now fold the paper in half, and repeat 2 more times (total 3 times). Cut out the squares, you should now have 4 squares of 10cm x 10cm paper.

STEP 2: Triangles

Fold the squares pieces of paper into small triangles (repeat the fold twice). Repeat this for all 4 squares.

STEP 3: Cut

Draw a rounded shape across the middle of the triangle and cut the excess off.

STEP 4: Open flowers

Repeat step 3 until you have 4 flowers of the same size.

STEP 5: Cut

On the first flower, cut away one ‘petal’ from the flower, then on the next flower, cut away two petals, on the next flower, cut away 3 petals and then lastly, cut away 4 petals on the remaining flower. When done you will have 7 pieces.

STEP 6: Paste

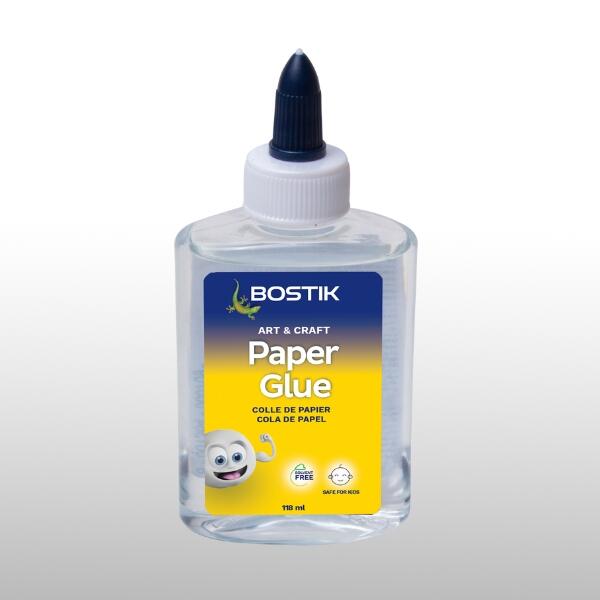
Glue each flower piece to connect them, using Bostik Paper Glue. Do this by gluing one "petal" onto another. Repeat this with all the pieces.

STEP 7: Shape

Use a pencil/pen to roll the edges of each flower petal outwards to give them shape.

STEP 8: Assemble

Insert the flower pieces starting from largest to smallest and use Bostik Paper Glue to mount them together.

See all products