Ladybug
Everyone loves a cheerful DIY Ladybug🐞! Simply cut out a large black circle for the body and a smaller one for the head. Use Bostik Paper Glue to attach head to body, then fold red paper to create wings and stick them with Glue Stick, applying glue to one side only. Next, add white eyes with black dot pupils, attach antennae, and embellish the wings with contrasting black spots using a marker. With minimal prep and maximum personality, this adorable craft is perfect for family time or classroom creativity! ✂️
Instructions
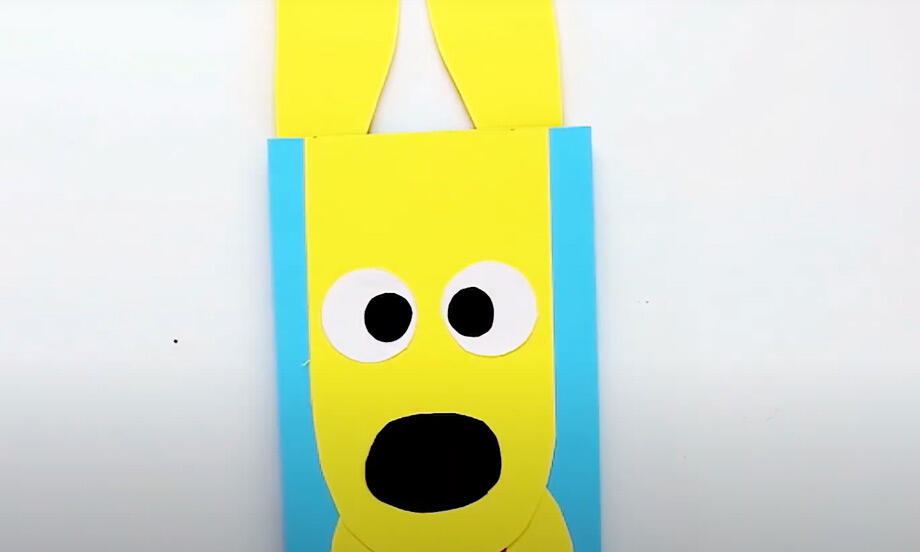
Animated paper dog
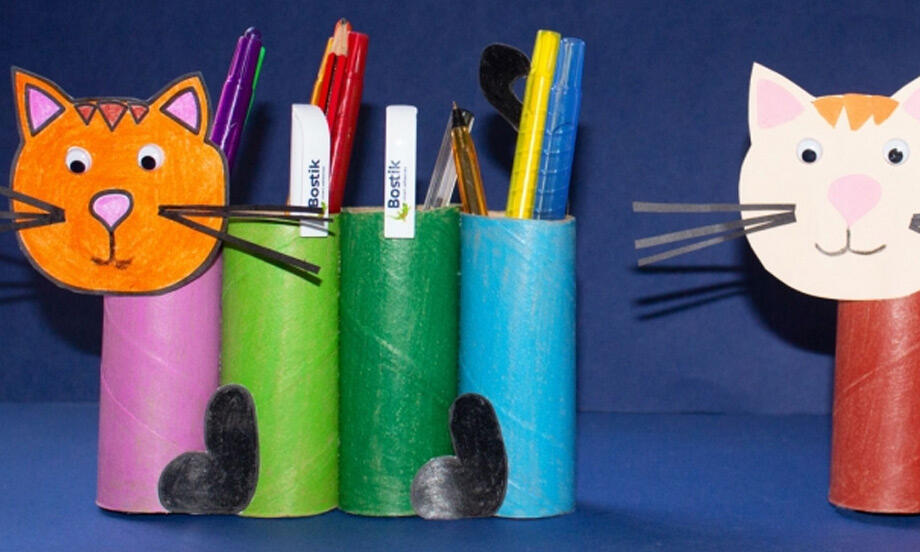
Paper roll cat
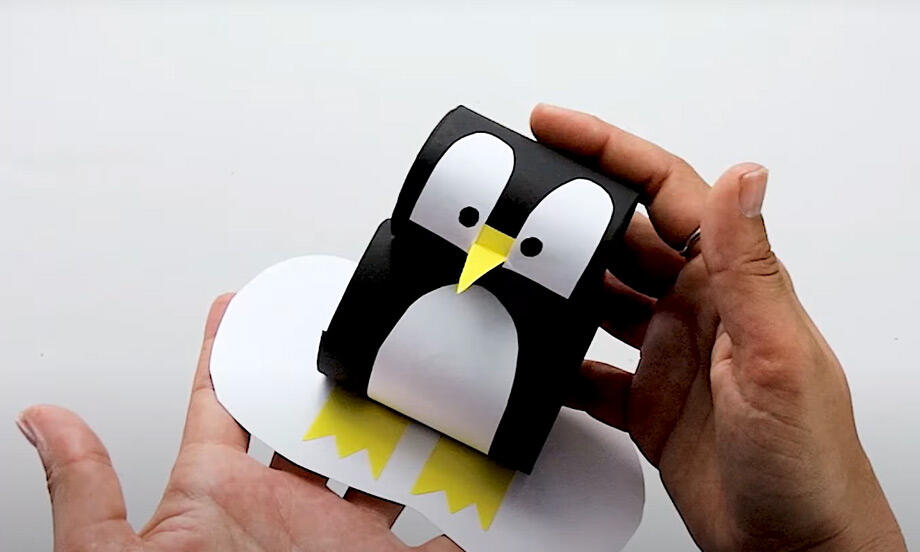
Penguin
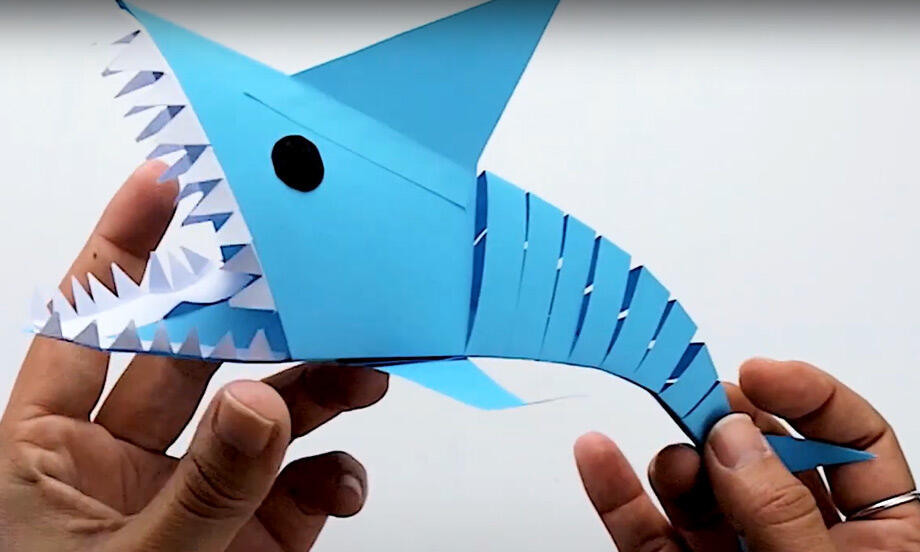
Paper shark

Best Dad in the world award
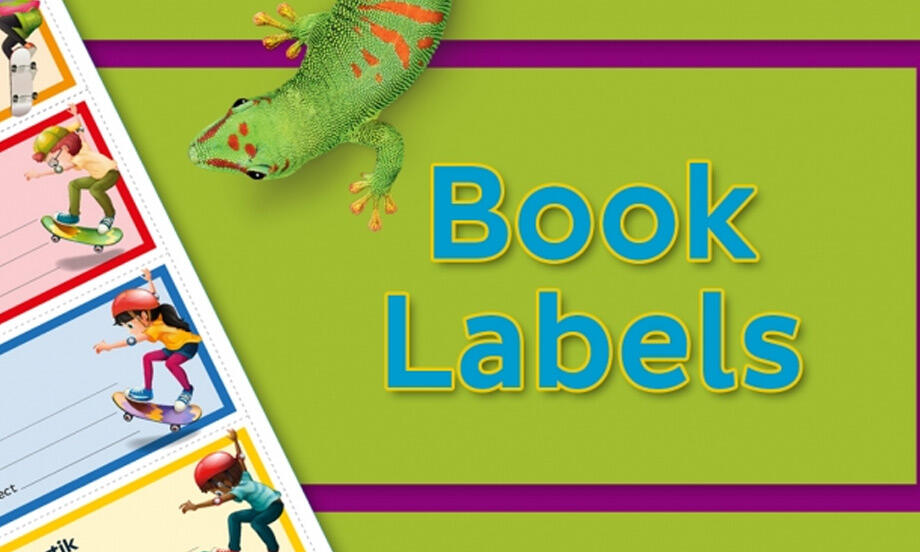
Book labels
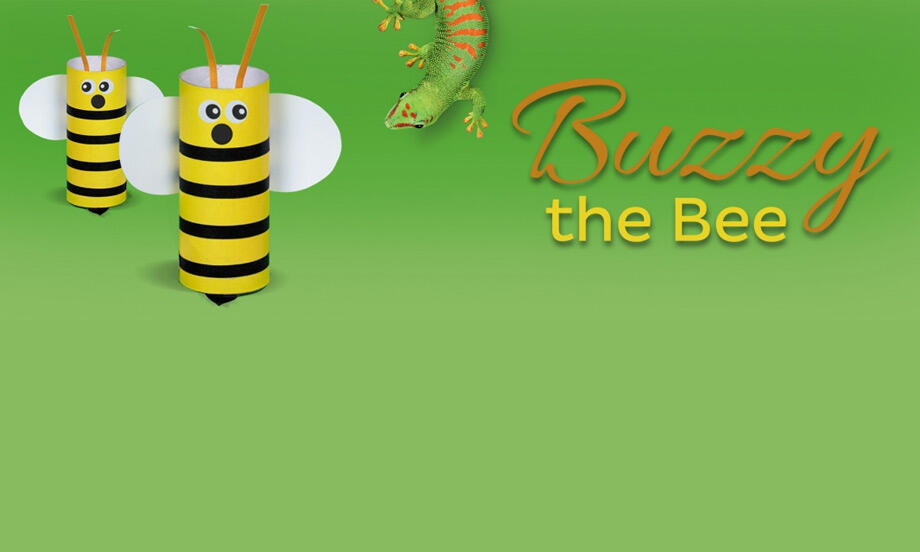
Buzzy the bee

Christmas jolly gift tags

Christmas serviette rings
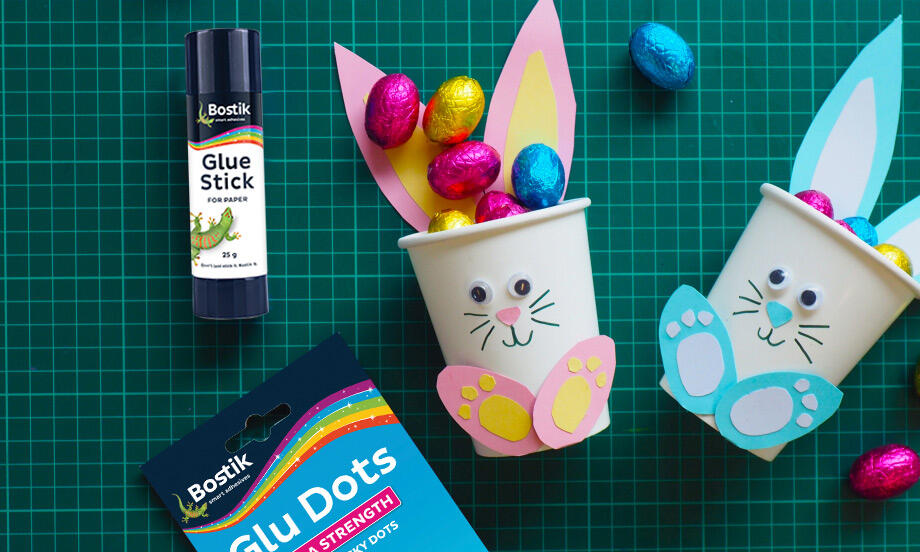
Easter cup bunnies
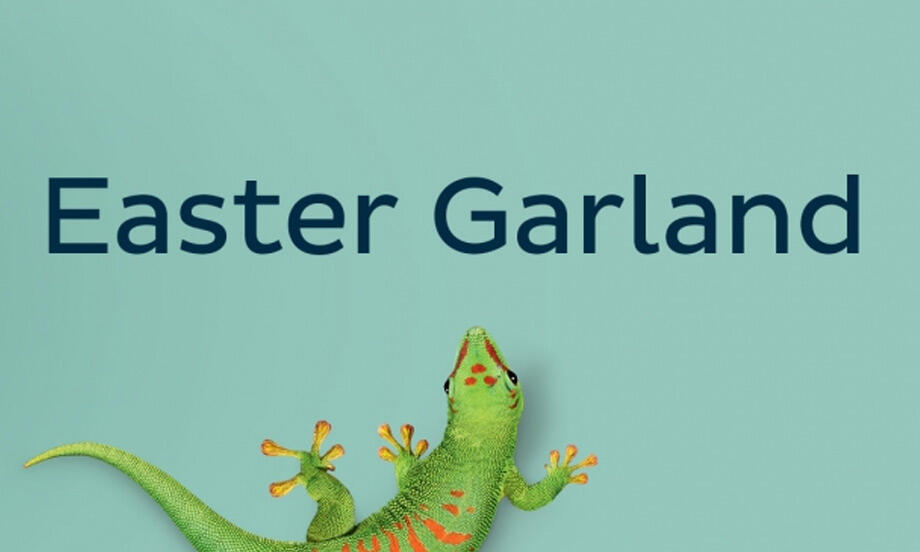
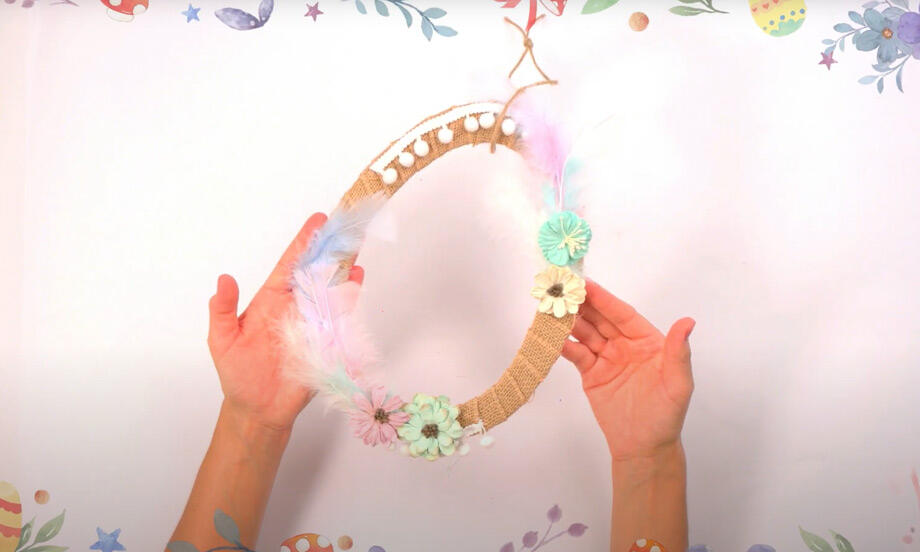
Easter garland
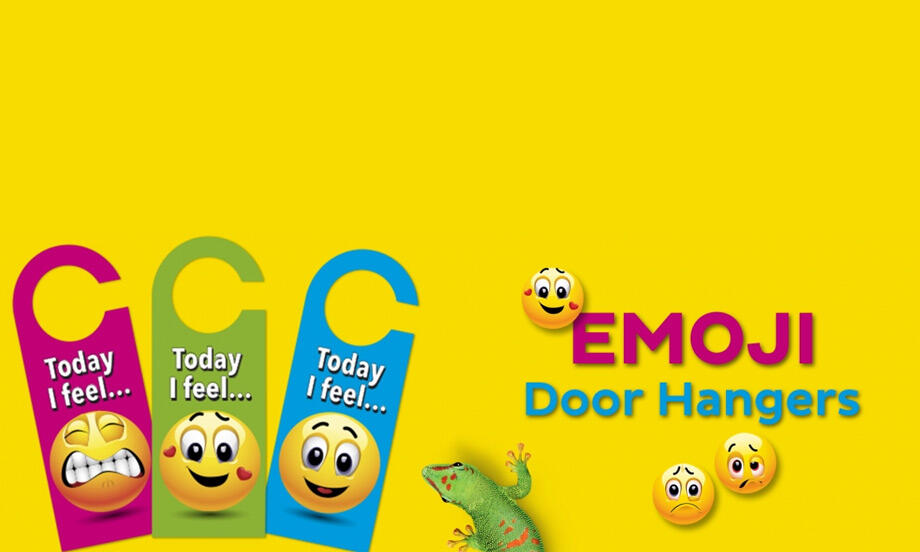
Emoji door hangers

Family tree
Father's day card

Halloween decoration pumpkin craft
Halloween masks
Halloween party bags
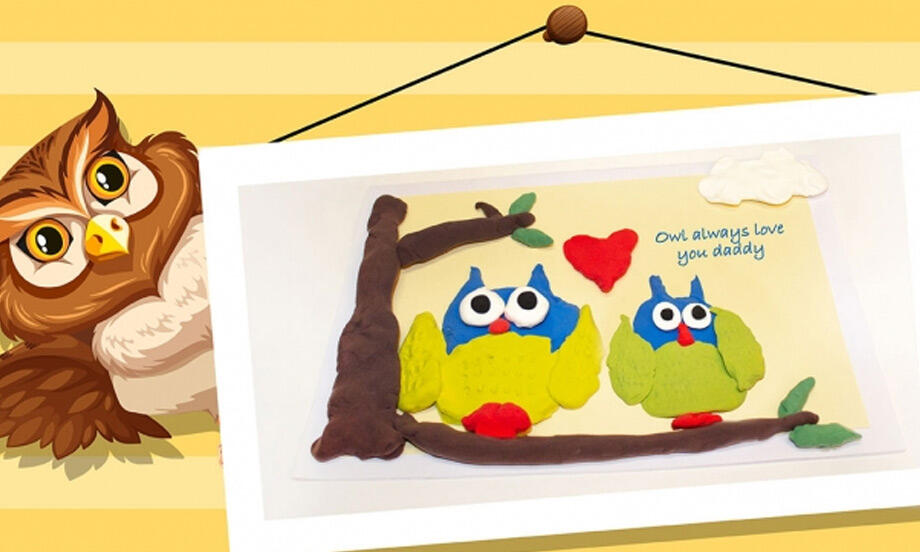
Handmade Father's day owl card
How to make a decorative easter egg
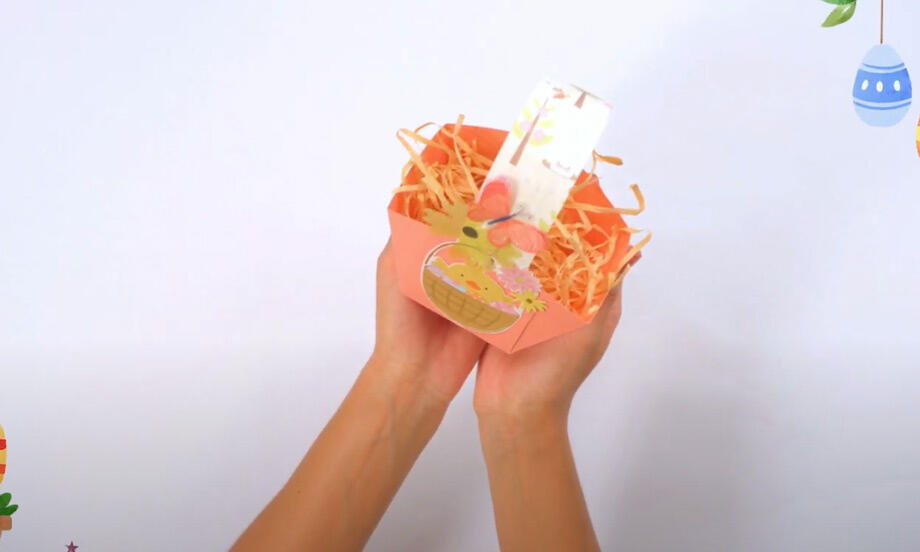
How to make an Easter basket
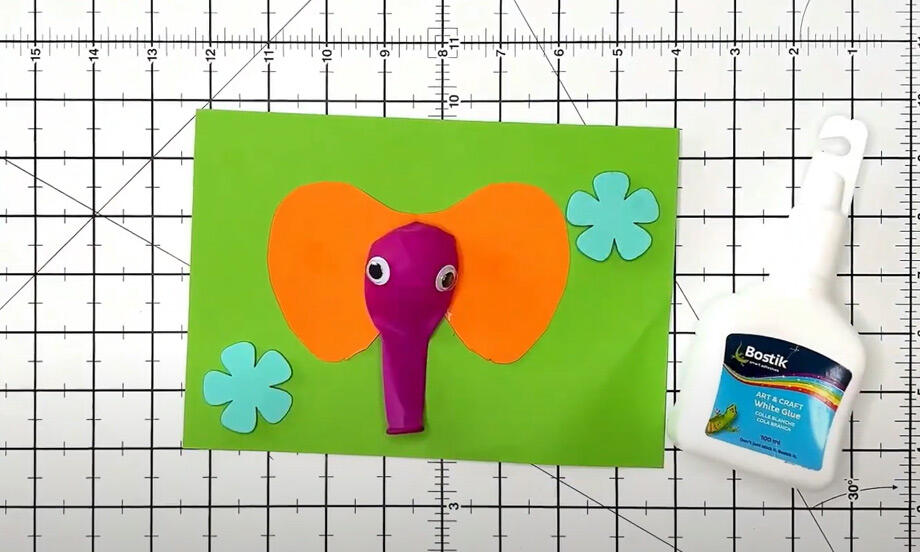
How to make an elephant greeting card
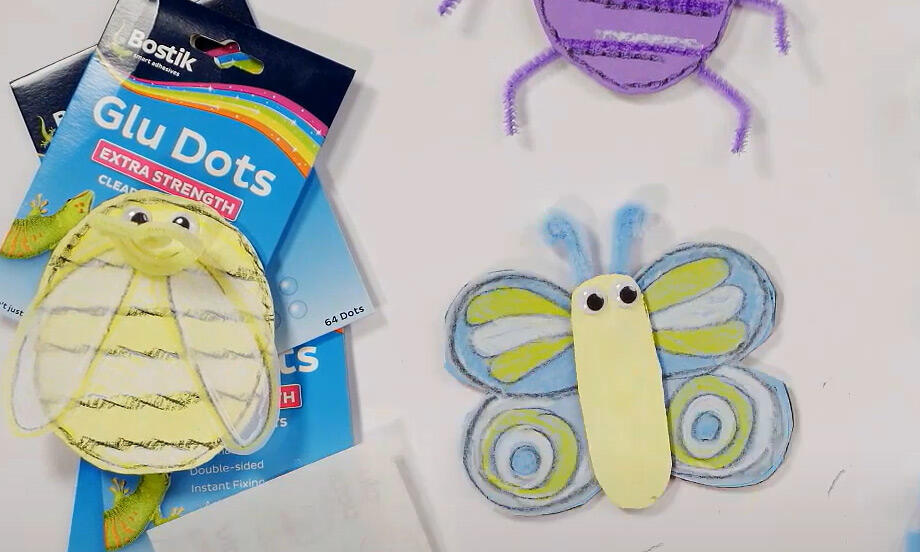
How to make craft bugs
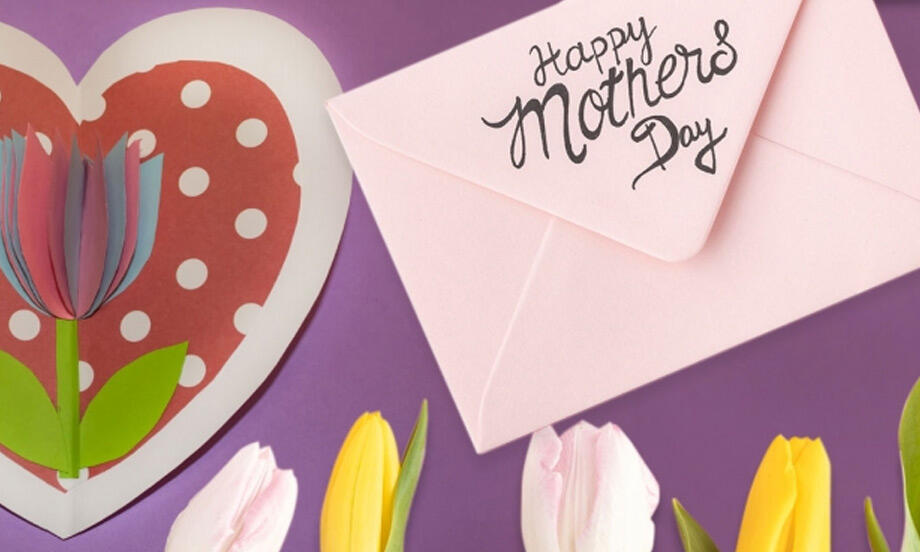
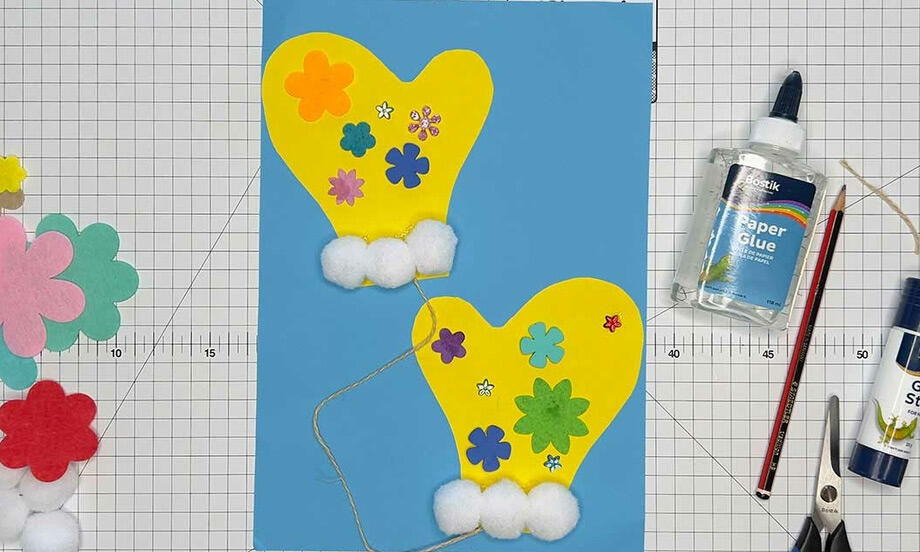
Mother's day card
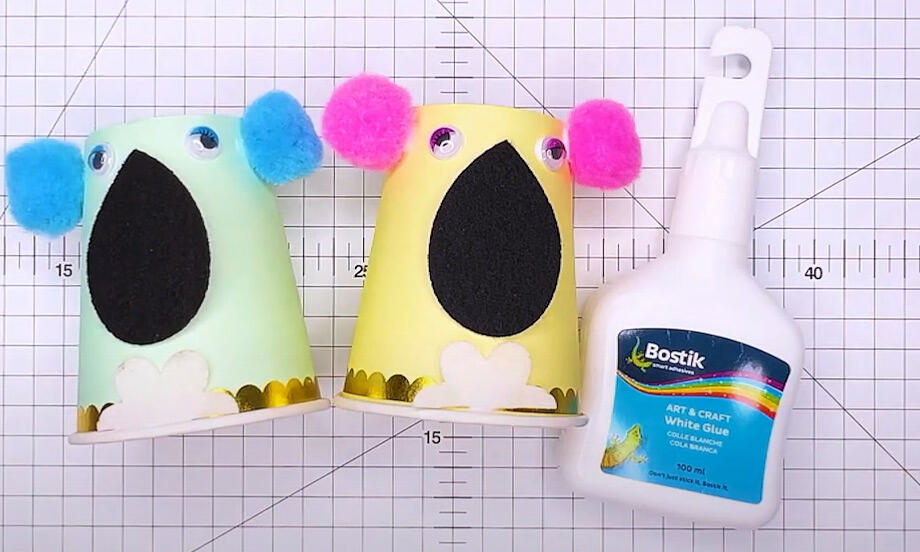
Paper cup kaola bear
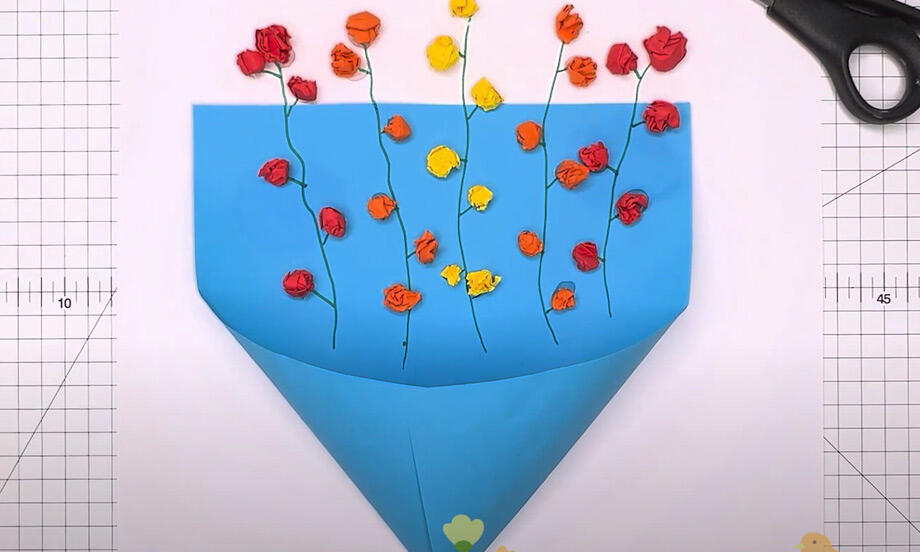
paper flower
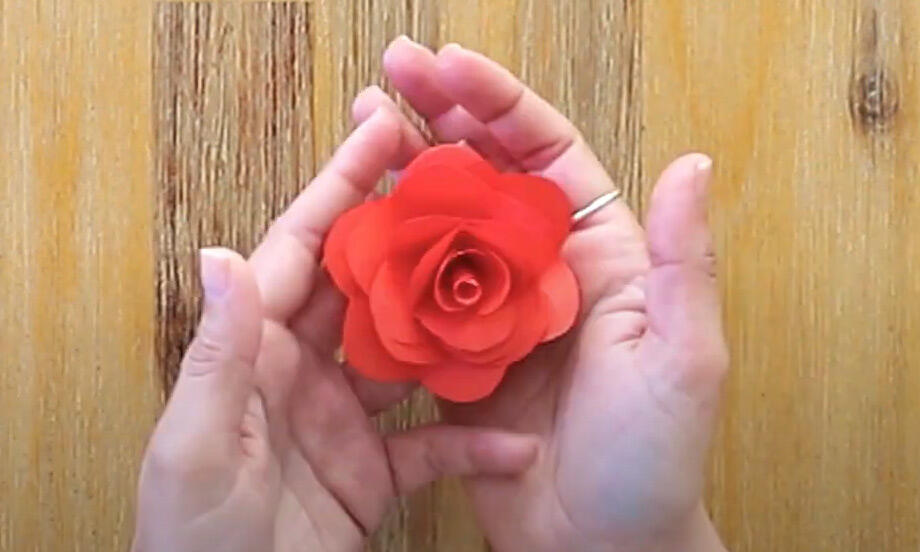
Paper rose
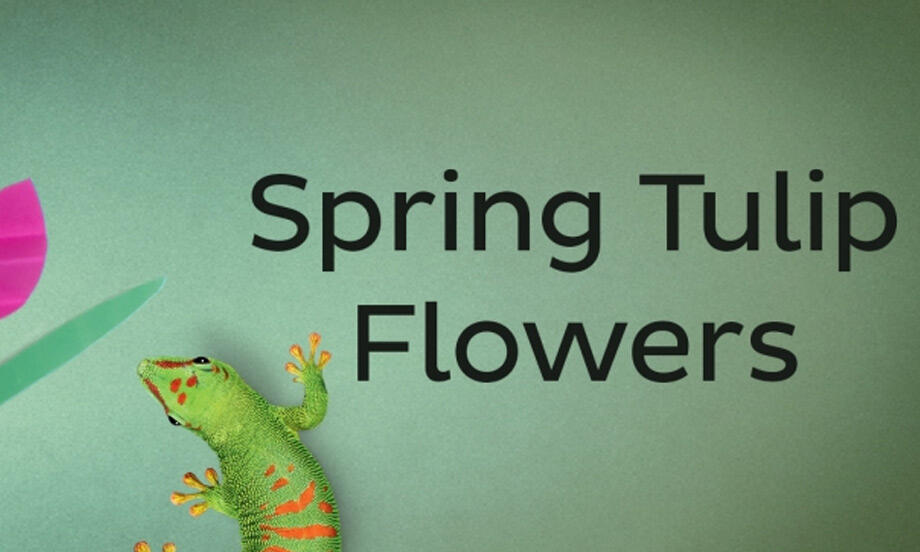
Spring Tulip
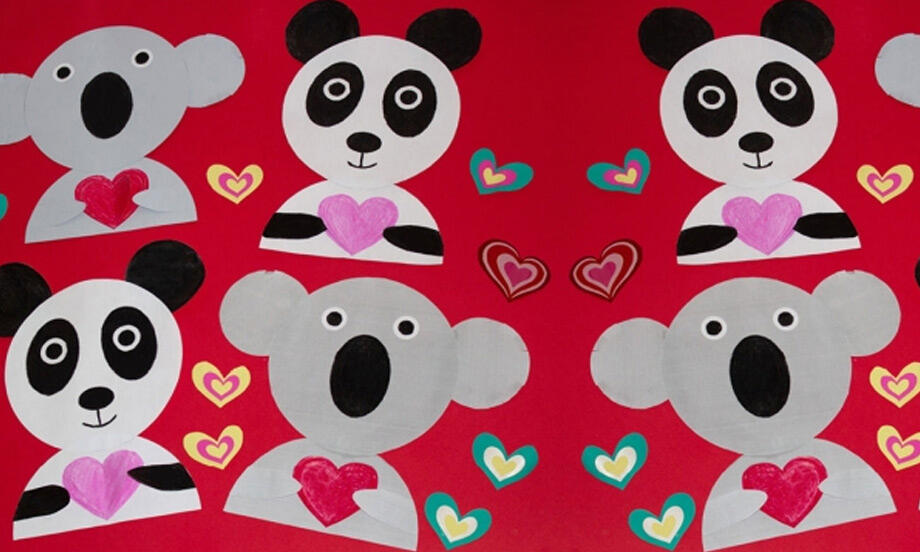
Valentine's day animals
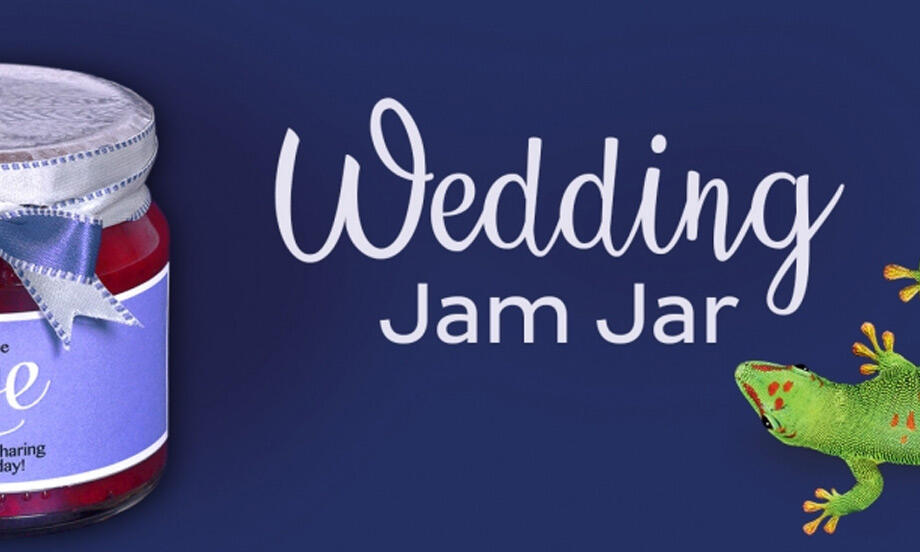
Wedding jam jars
Wedding match boxes