Penguin
Introduce a touch of winter whimsy into your crafting with this delightful DIY Paper Penguin🐧 tutorial! Start by measuring a 15 cm × 10 cm rectangle of white paper to form the base of your penguin, perfectly proportioned for the body. Shape bright yellow feet from cardstock (about 5 × 7 cm), cut and stick them to the base using Bostik Glue Stick Next, roll black paper into two cylinders, one larger for the body, one smaller for the head—and glue with a sturdy hold from Bostik Paper Glue. Use white strips to create the belly, add a folded yellow triangle for a beak, and finish with oval eyes drawn using a black marker, all in just a few easy steps. Quick, charming, and great for winter creativity or anytime crafting!❄️
Instructions
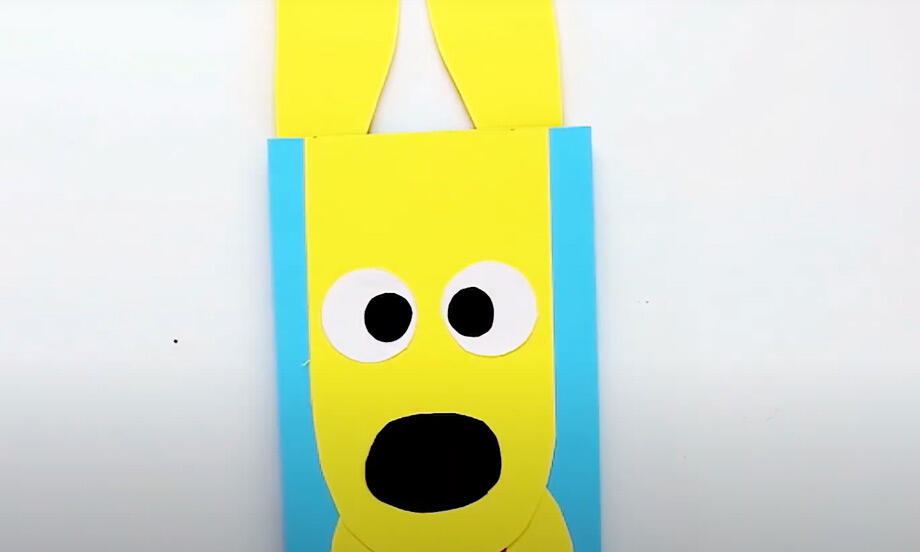
Animated paper dog
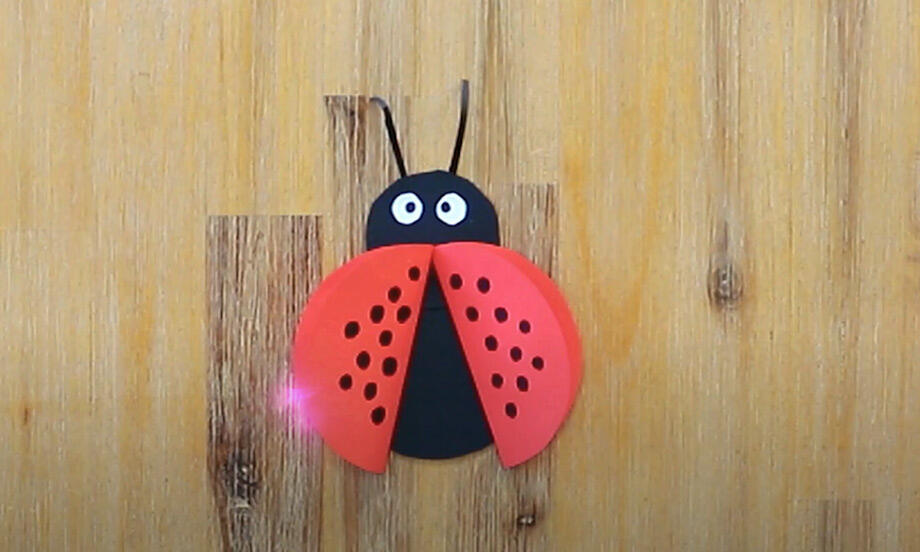
Ladybug
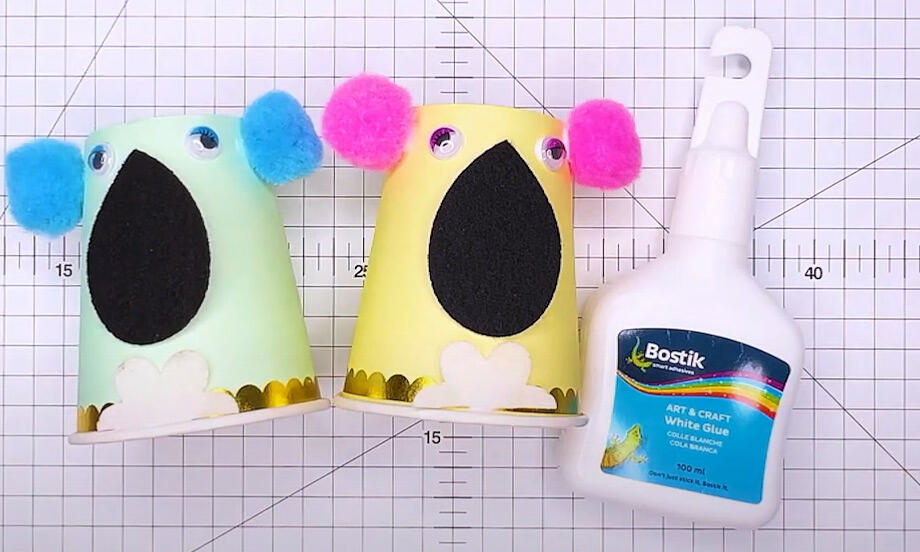
Paper cup kaola bear
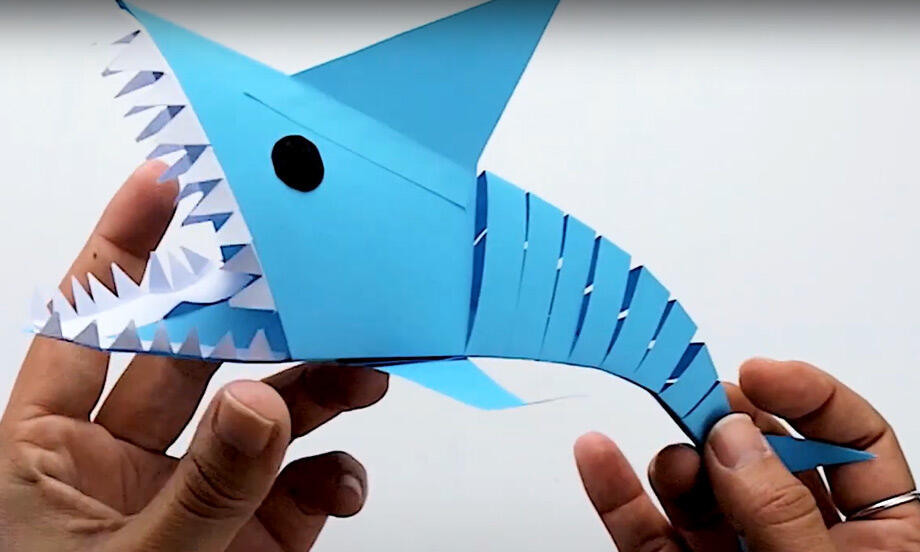
Paper shark
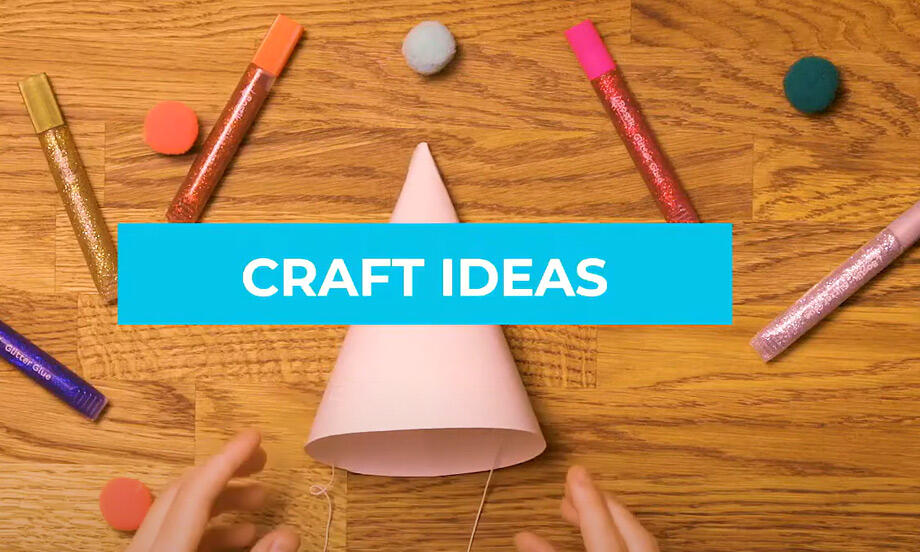
6 Easy glitter glue craft ideas

Christmas unicorn baubles
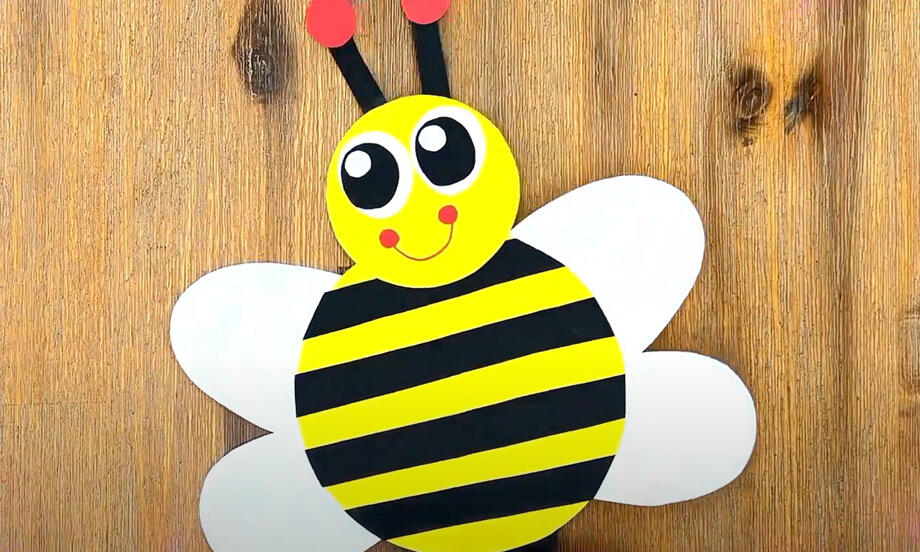
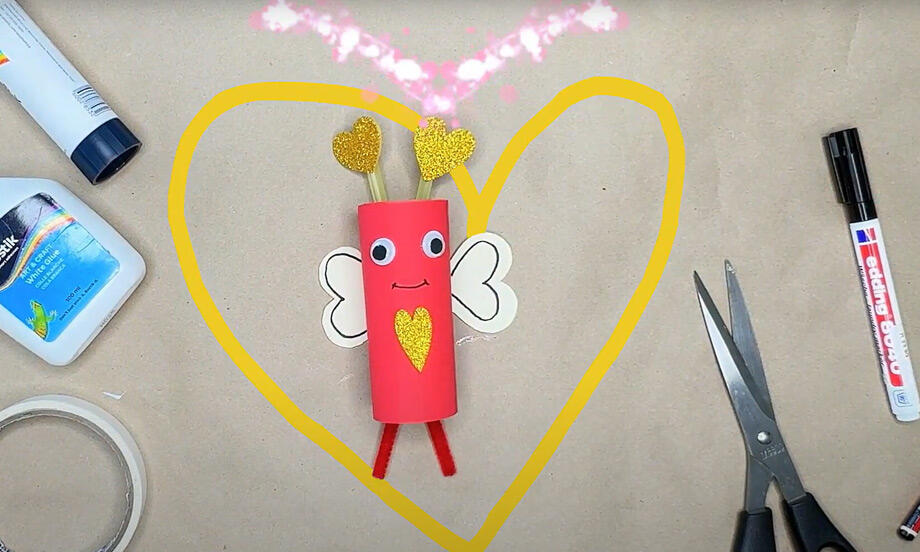
How to make a bee-eautiful bumble bee
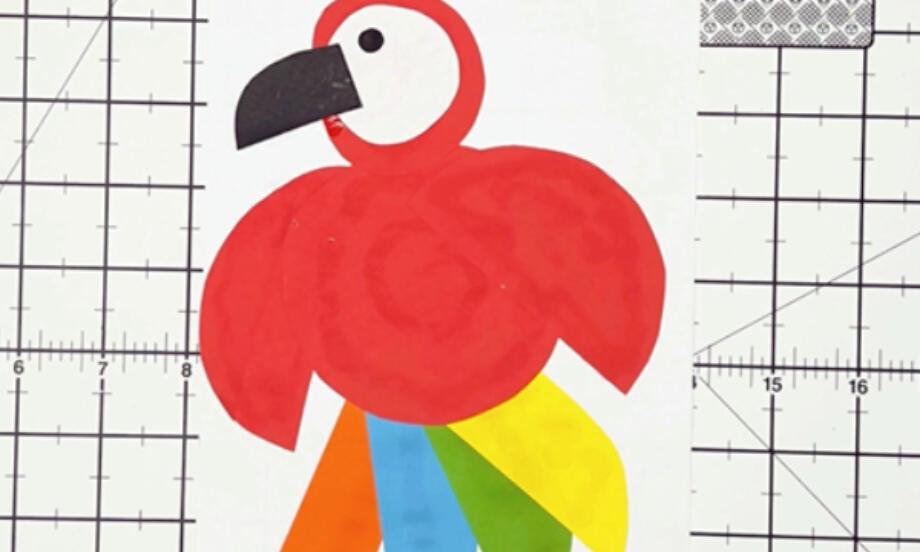
How to Make a Paper Craft Parrot
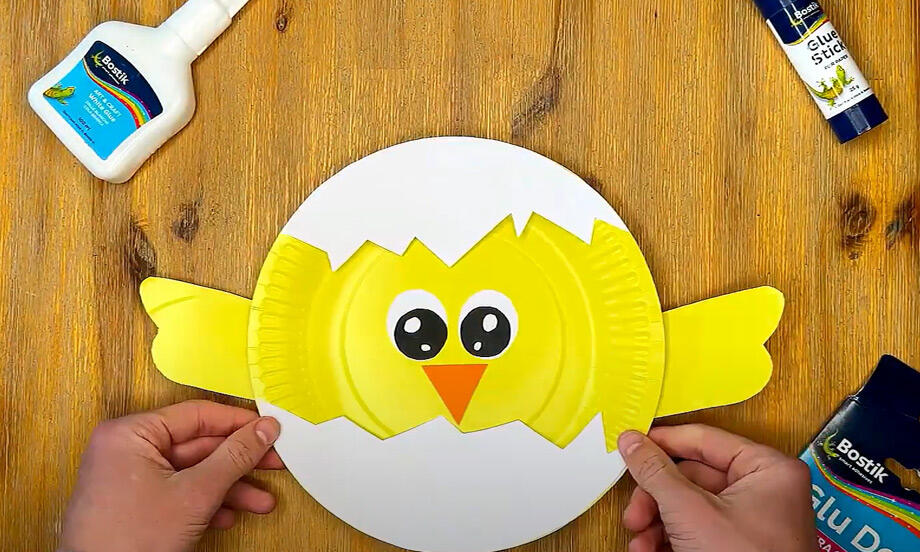
How to make a spring chicken
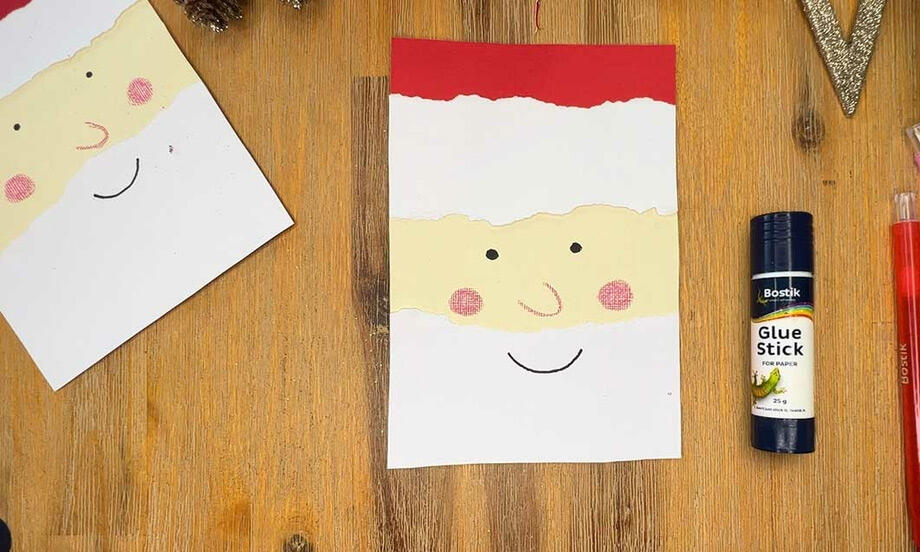
Santa Christmas card
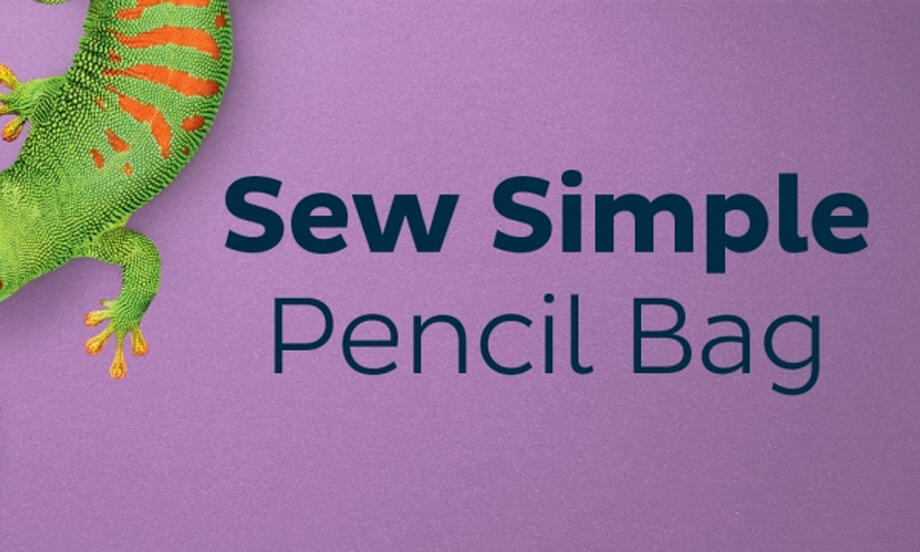
Sew simple pencil bag
Valentine butterfly
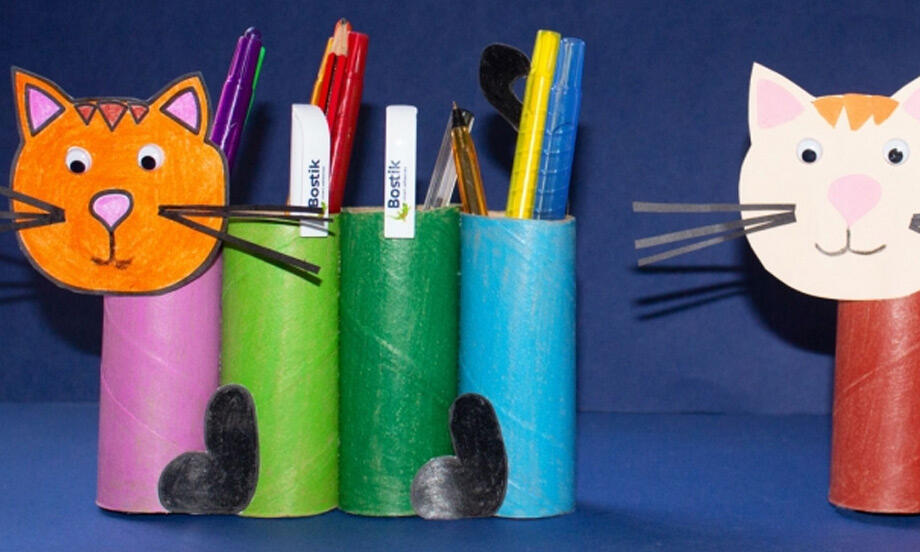
Paper roll cat