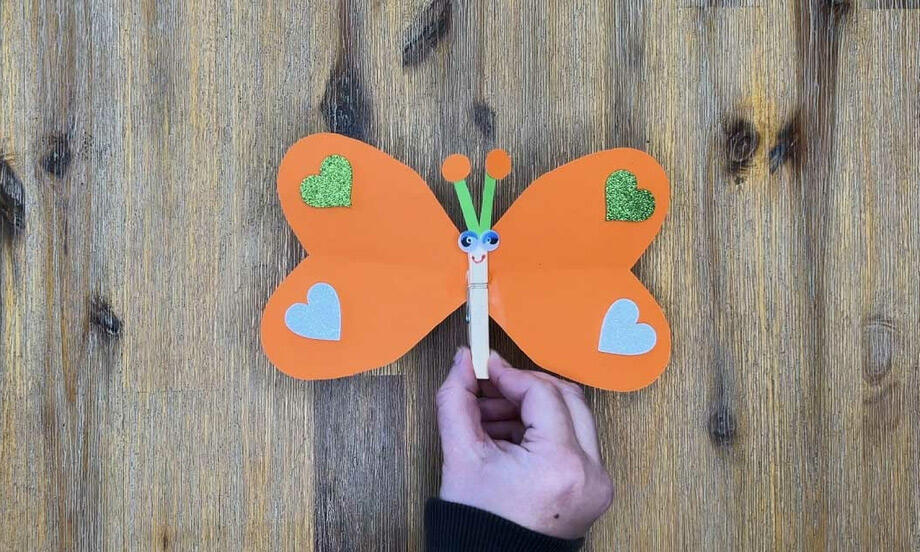
Valentine butterfly
Let creativity take flight with this sweet and simple DIY Valentine Butterfly craft! Begin by folding a paper heart in half and pressing it to give the wings their shape. Use Bostik Art & Craft White Glue to attach a craft stick or clothes peg in the middle, then decorate the wings using stickers, glitter, or marker designs. Add small heart accents to its antennas using the same glue and let everything dry. This charming activity is perfect for kids, classrooms, or a little Valentine’s décor—quick, thoughtful, and full of fluttering fun. 🦋❤️✨
Instructions
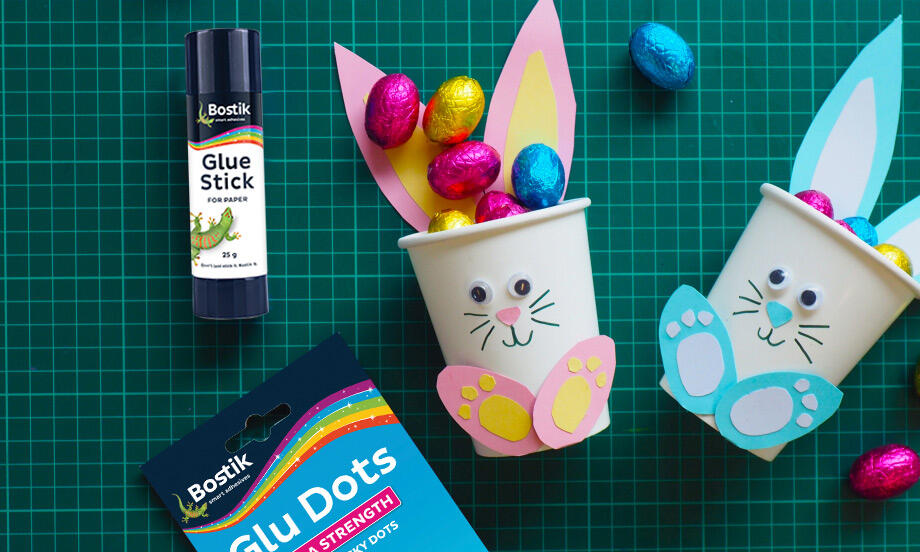
Easter cup bunnies
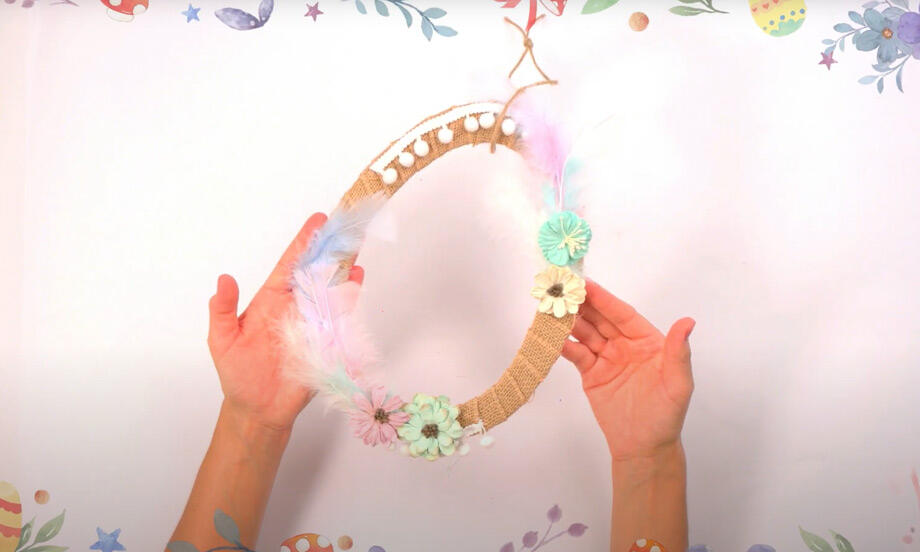
Easter garland
How to make a decorative easter egg
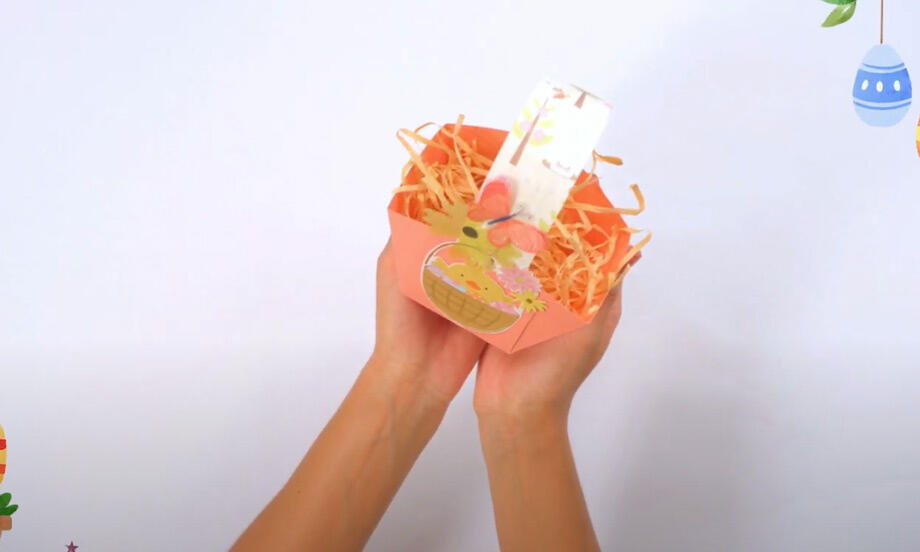
How to make an Easter basket
6 Easy glitter glue craft ideas
Butterfly craft
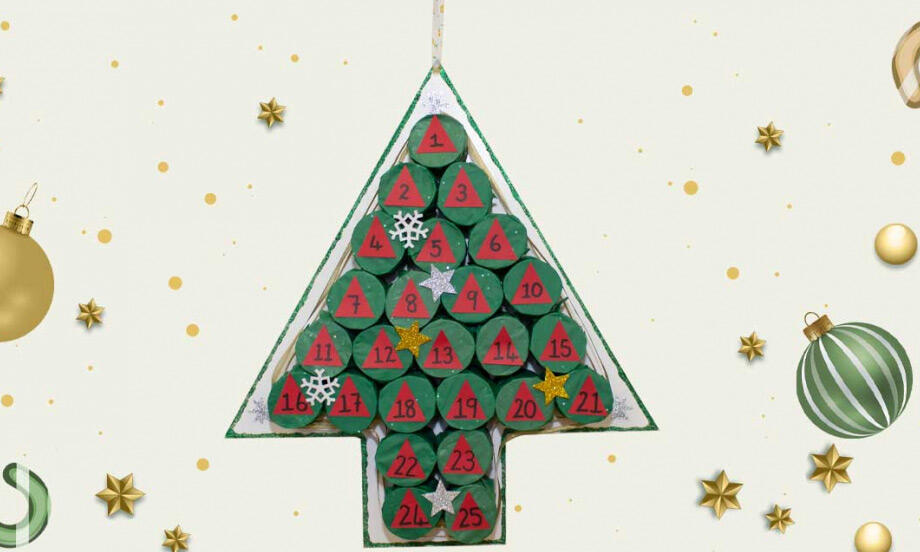
Christmas advent calendar
Christmas unicorn baubles
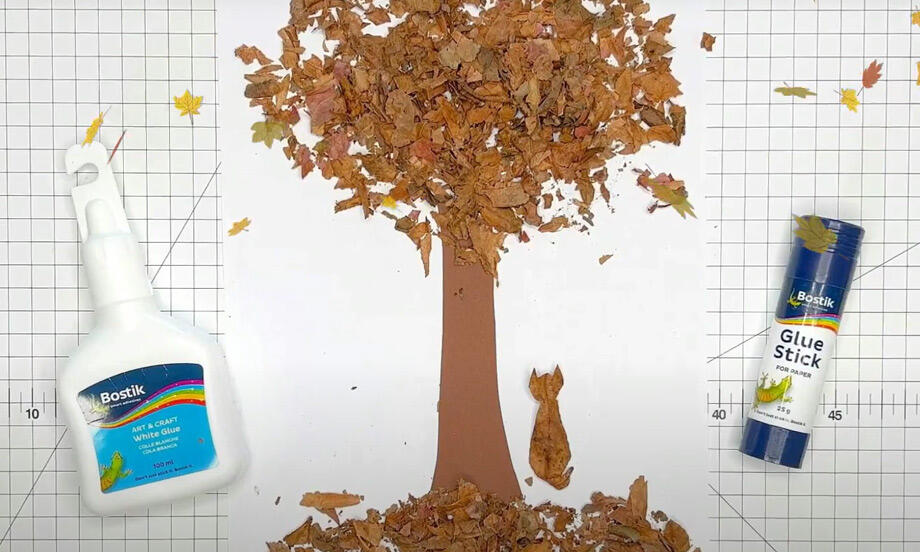
Crafting with leaves
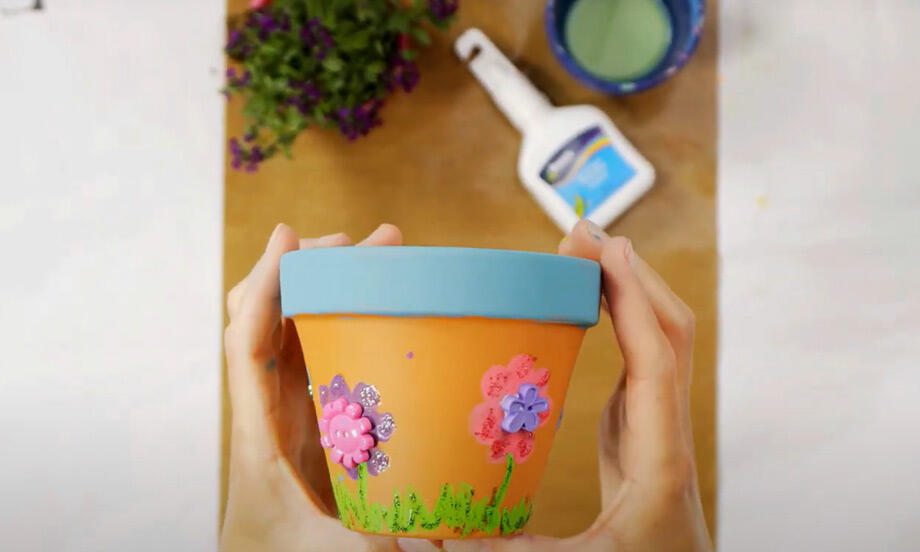
Flower pot decoration
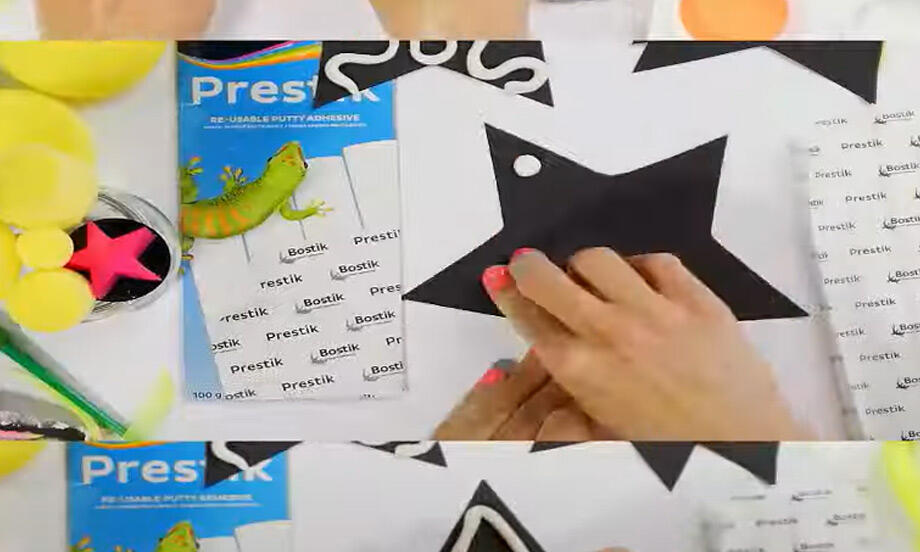
Get creative with Prestik
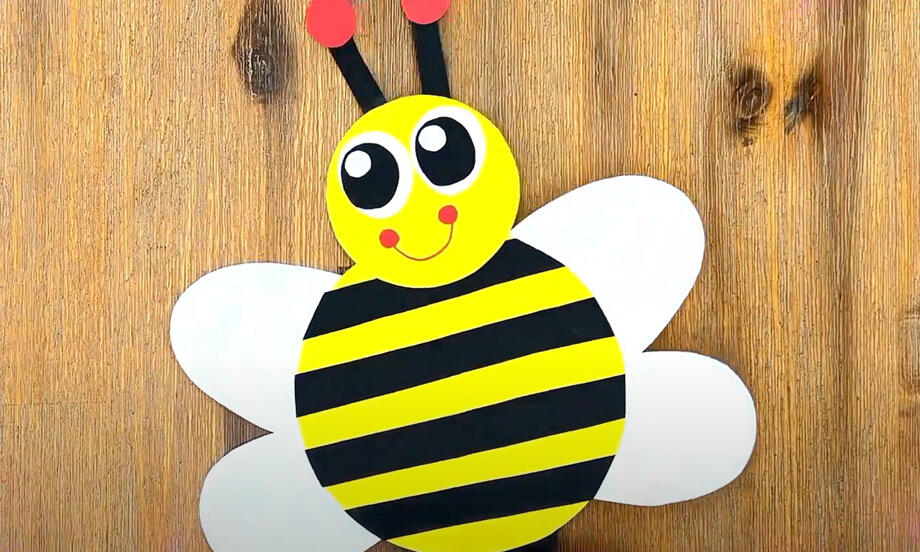
How to make a bee-eautiful bumble bee
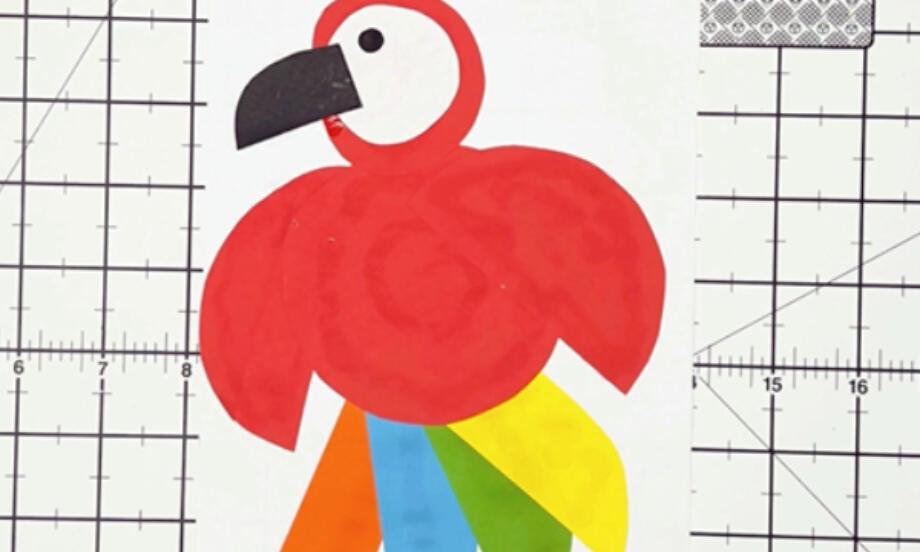
How to Make a Paper Craft Parrot
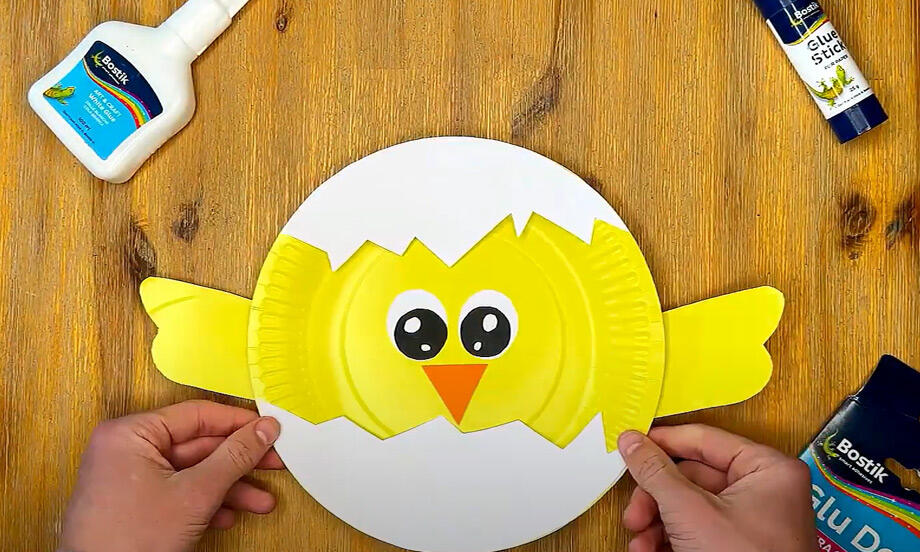
How to make a spring chicken
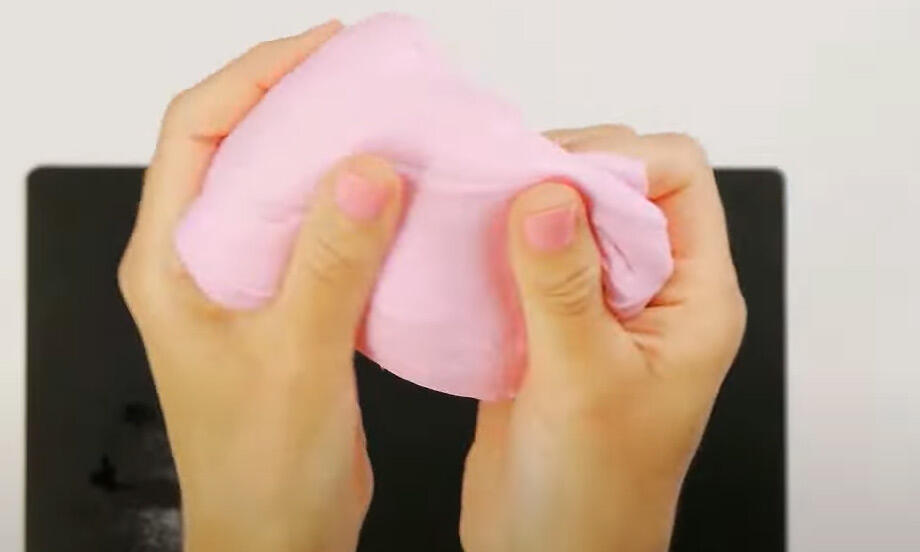
How to make slime

Minion bookmark
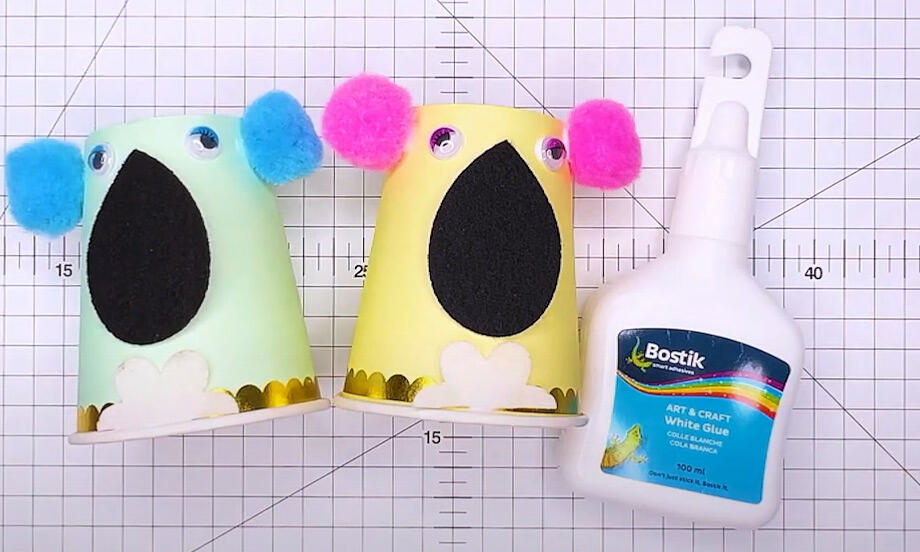
Paper cup kaola bear
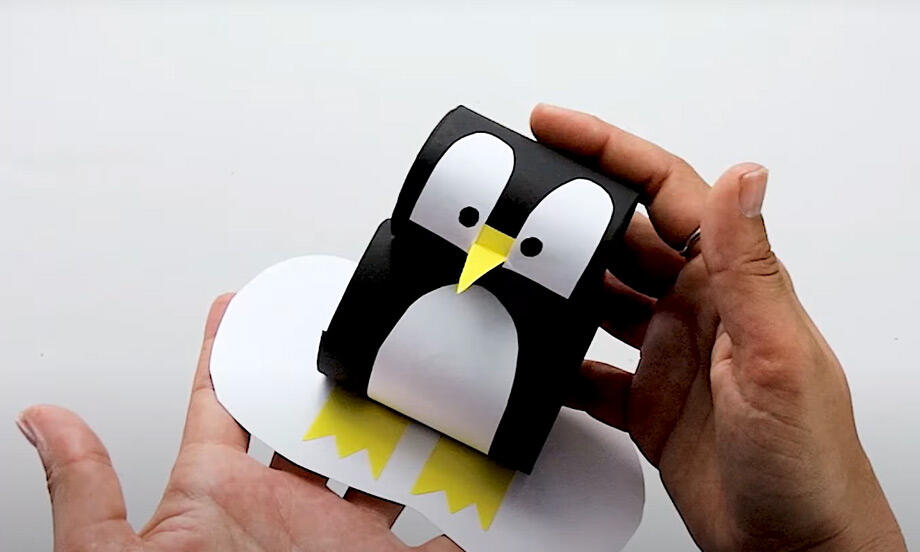
Penguin
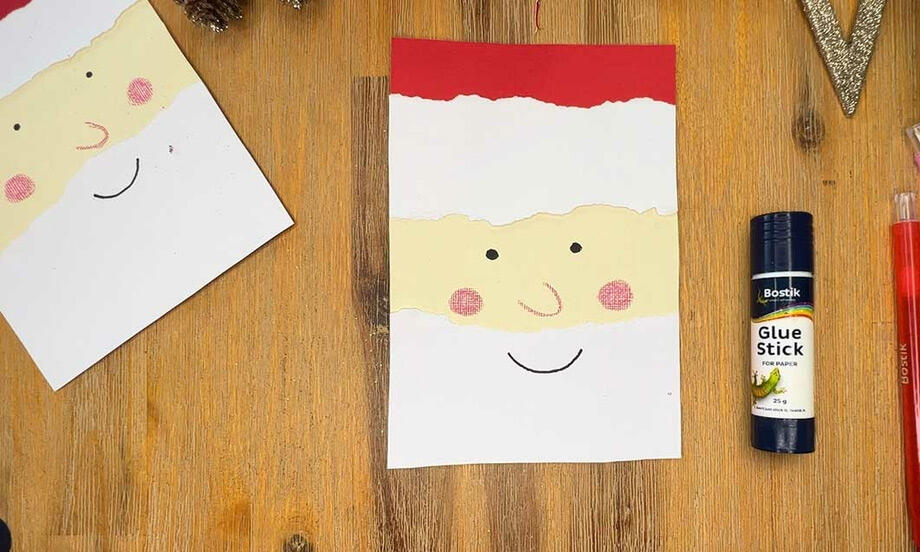
Santa Christmas card
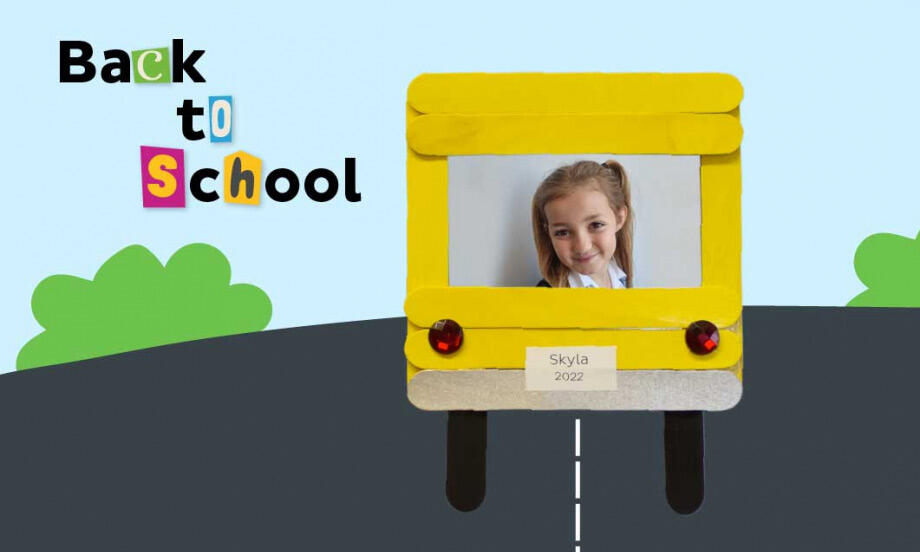
School bus magnet photo frame
Sew simple pencil bag
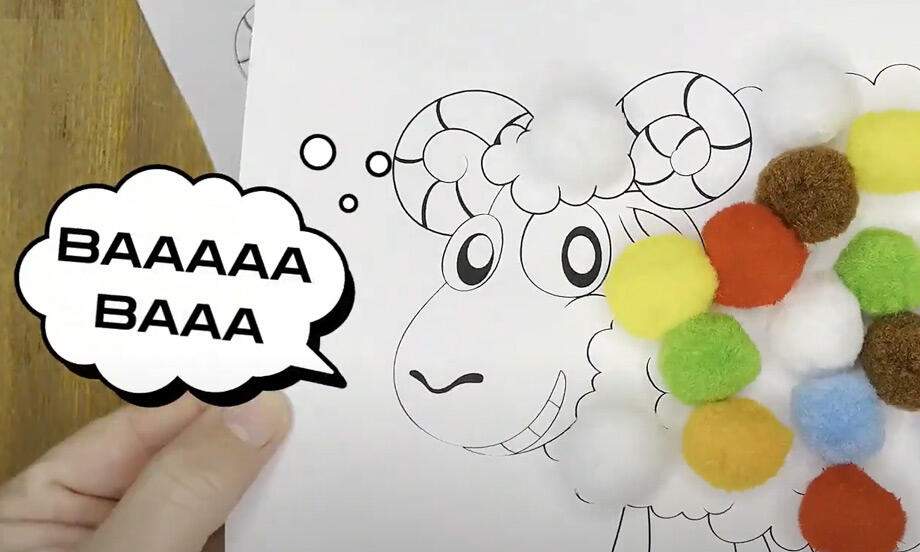
Sheepishly fun craft idea for small kids
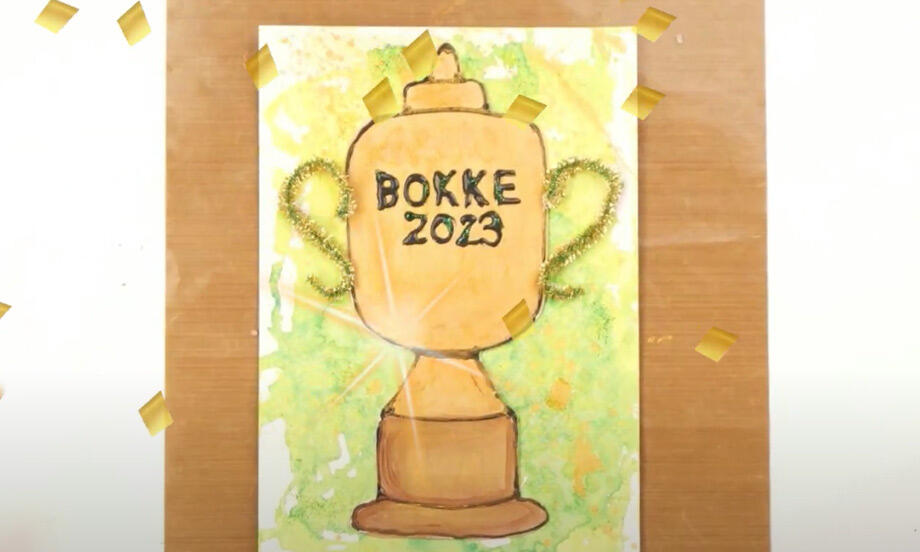
Springbok trophy card craft
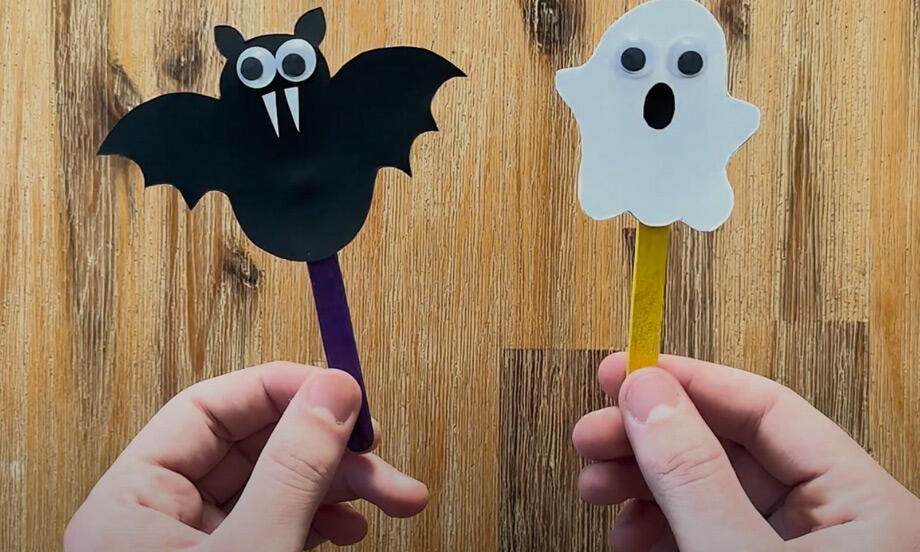
Halloween stick monster craft
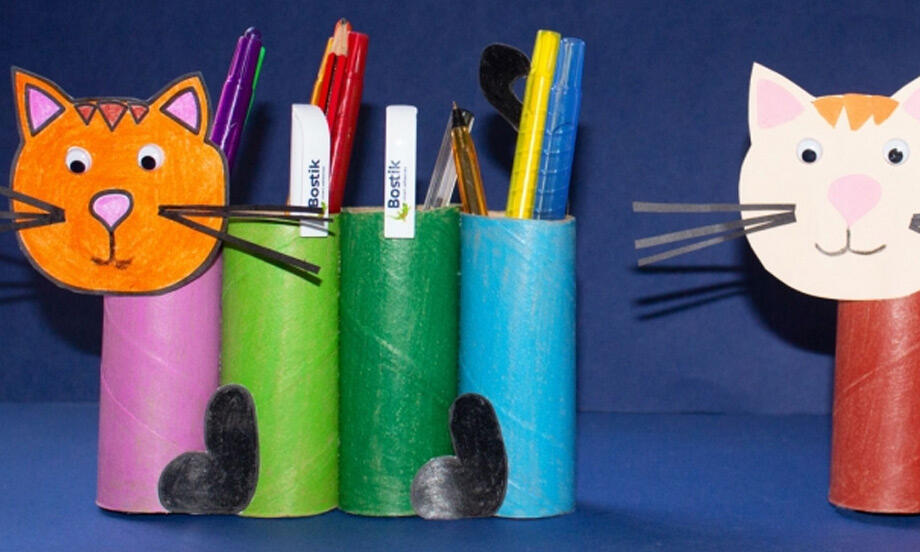
Paper roll cat