School bus magnet photo frame
Turn your school memories into functional art with this DIY School Bus Magnet Photo Frame🚍! Begin by printing the bus template and using Bostik Glu Stik to attach it securely to sturdy cardstock. Insert your favorite 4 × 6 photo behind the bus windows for a fun “driving through” effect. Finish by gluing a strong magnet strip using Blu Tack® on the back, now your photo can ride along on your fridge or locker! A delightful, back-to-school craft that’s practical, charming, and perfect for preserving special picture moments. 🖼️

Instructions

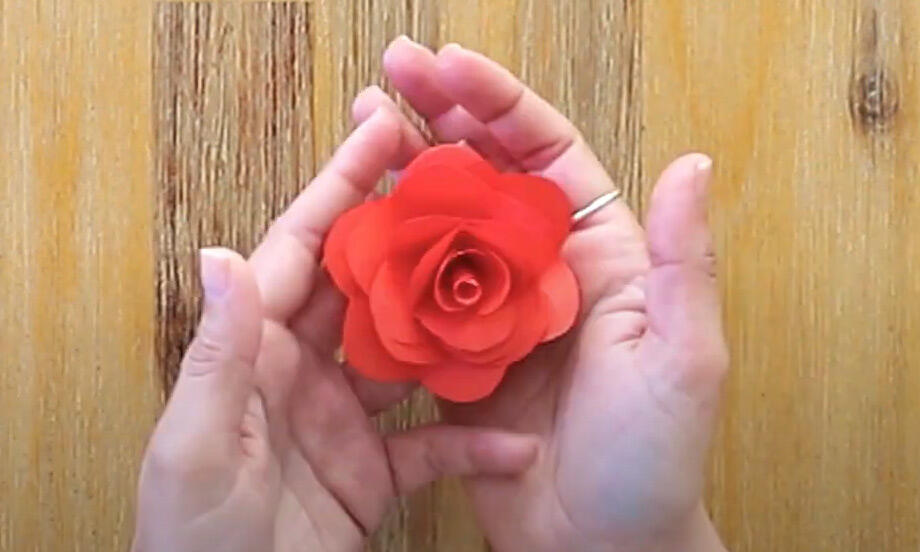
Paper rose
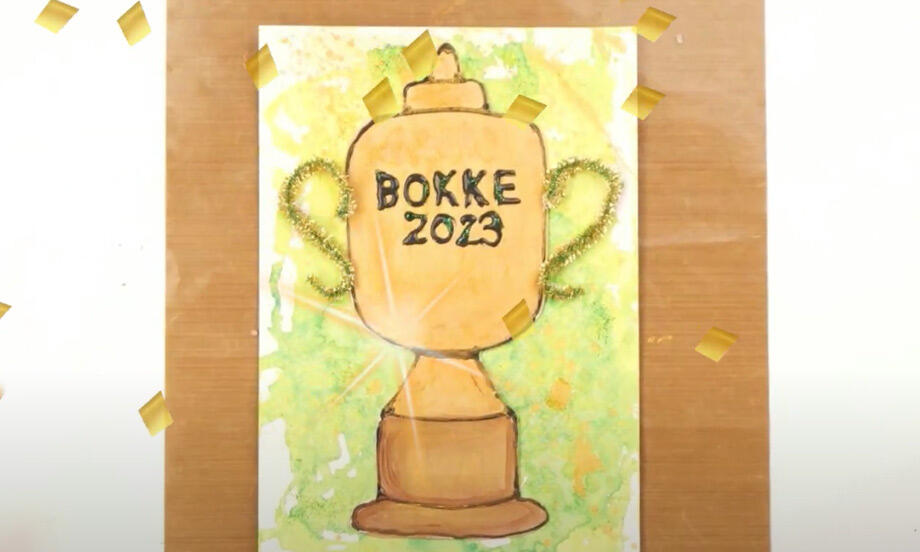
Springbok trophy card craft

Wedding match boxes

Butterfly craft

Christmas advent calendar
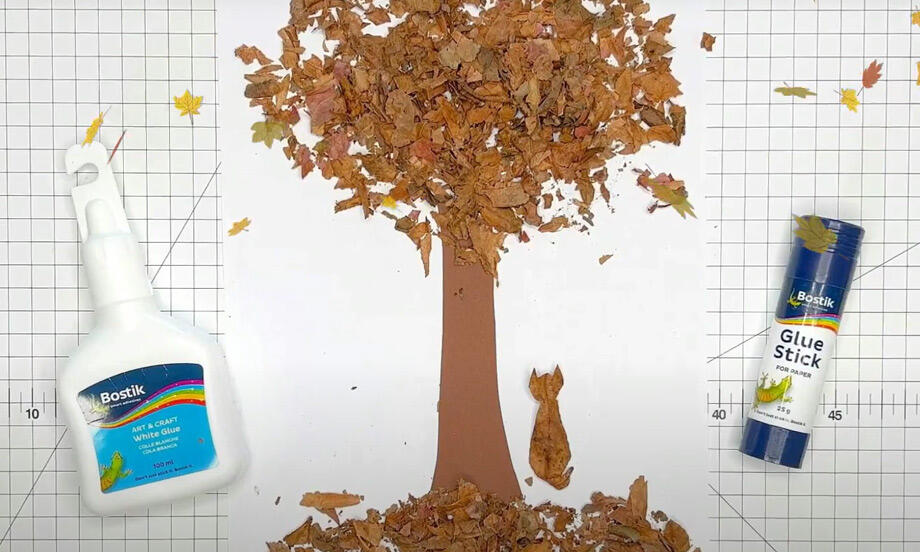
Crafting with leaves
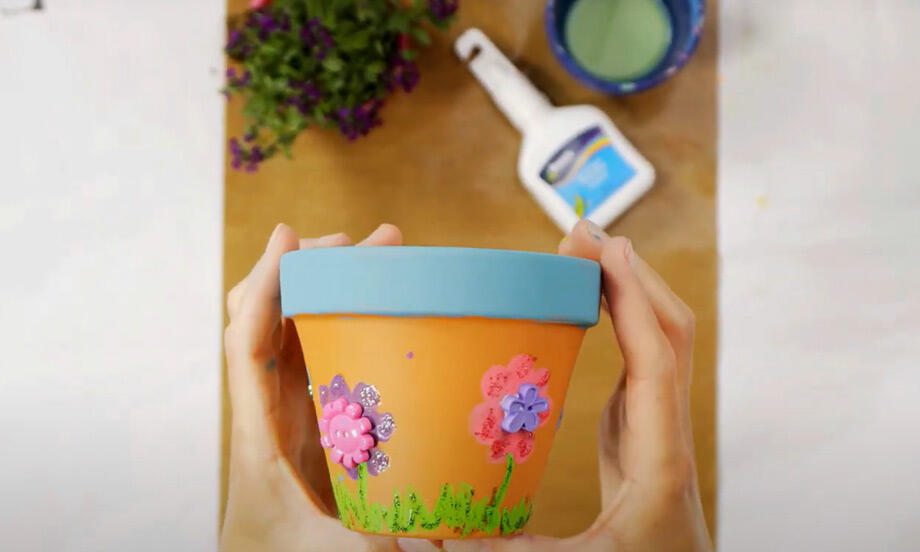
Flower pot decoration
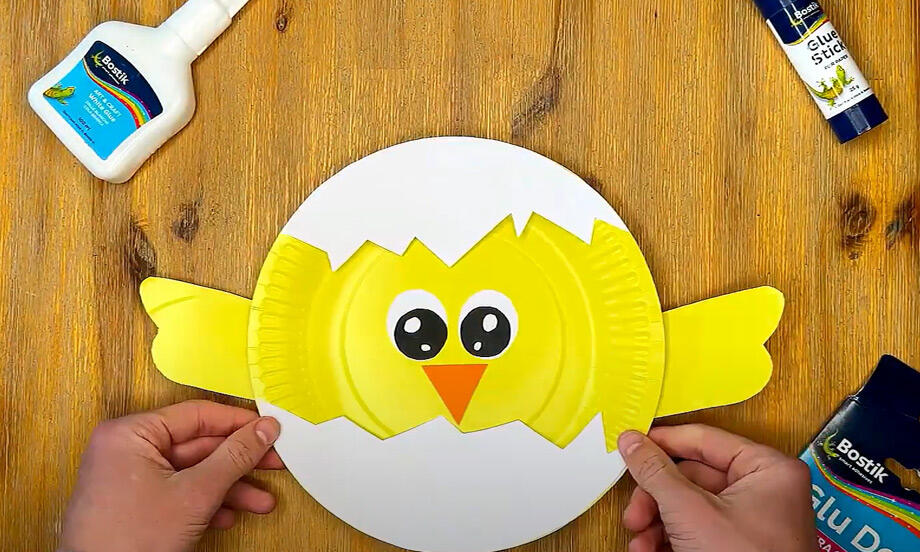
How to make a spring chicken
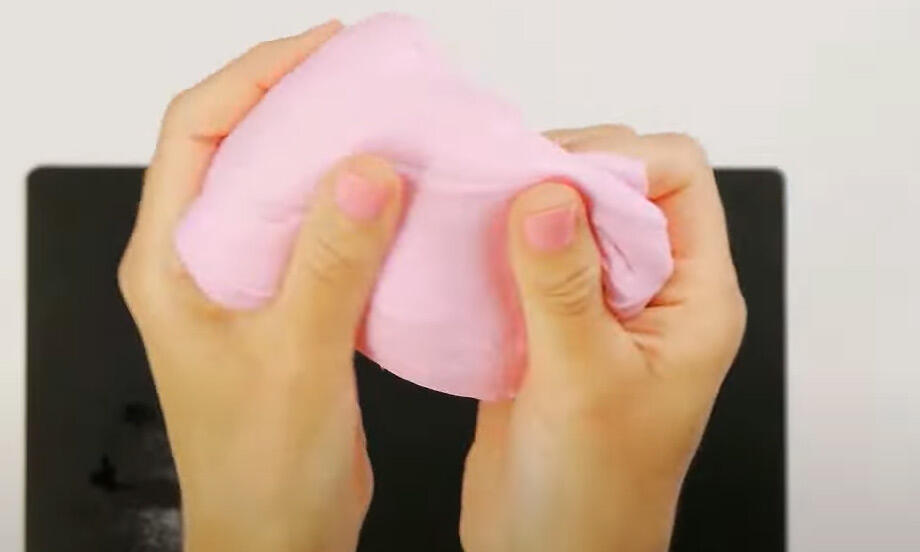
How to make slime

Minion bookmark
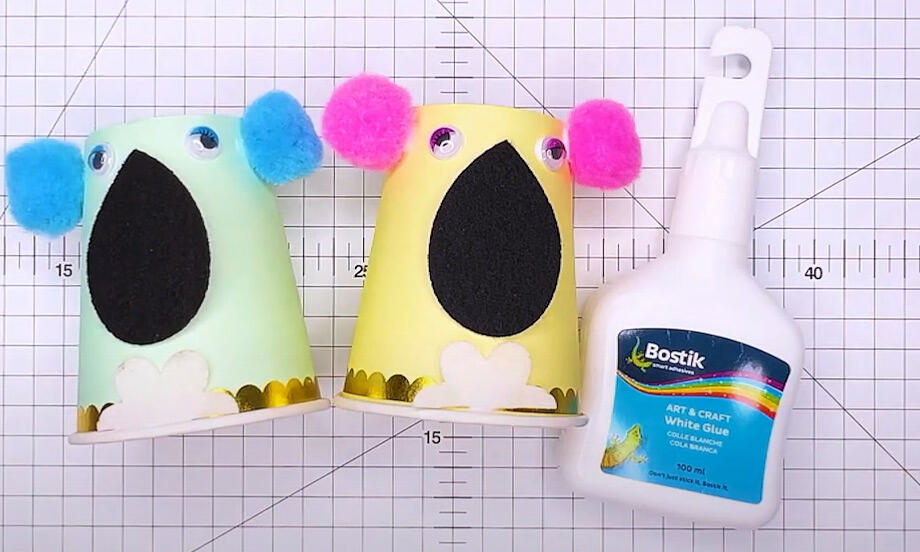
Paper cup kaola bear
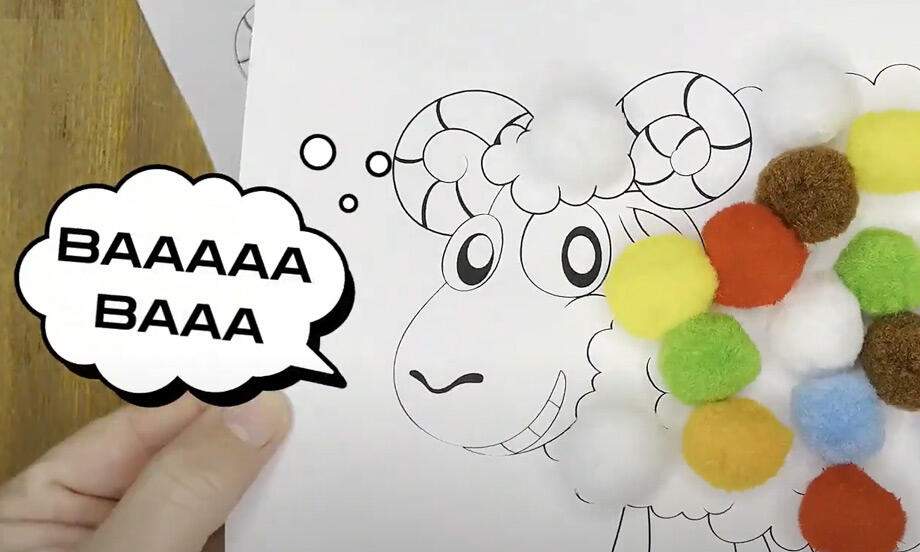
Sheepishly fun craft idea for small kids
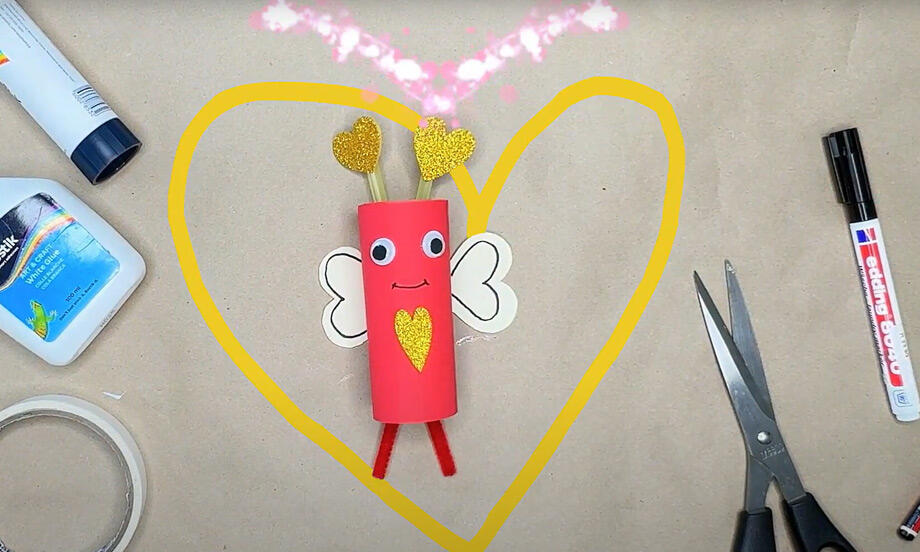
Valentine butterfly
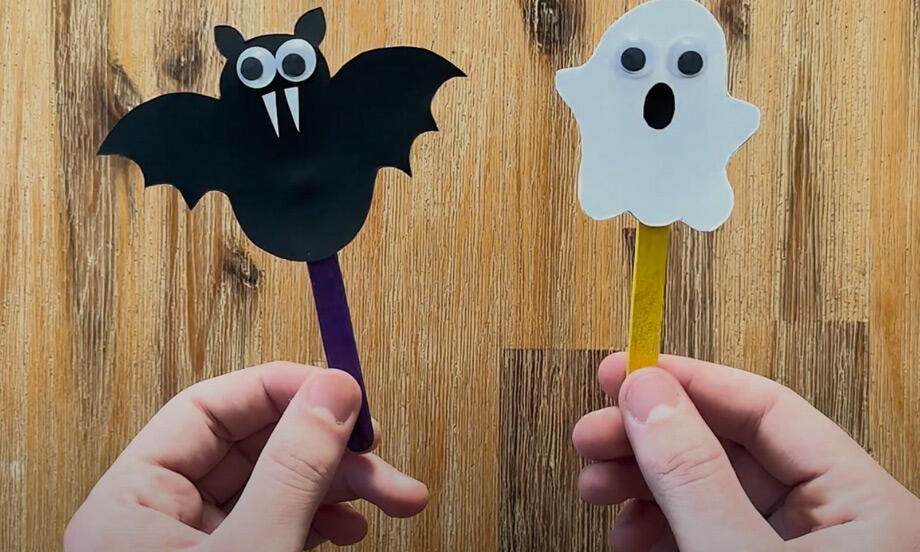
Halloween stick monster craft