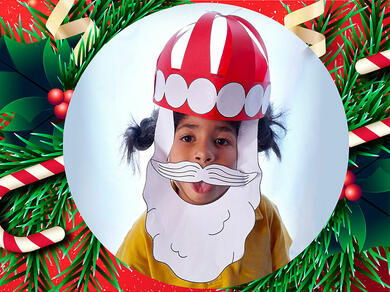
Paper Santa hat
Bring cheerful holiday magic to life with this festive DIY Paper Santa Hat craft! ✂️ Start by printing and cutting the template, then assemble the hat using Bostik Cut ’n Paste and Glu Dots for sturdy, mess-free adhesion. Kids and grown-ups alike can fold, glue, and staple together a fun 3D wearable hat, complete with a playful beard and mustache! 🎅 It’s a charming, hands-on activity perfect for Christmas parties, classroom fun, or spreading seasonal joy.
Instructions

Christmas serviette rings

Christmas unicorn baubles
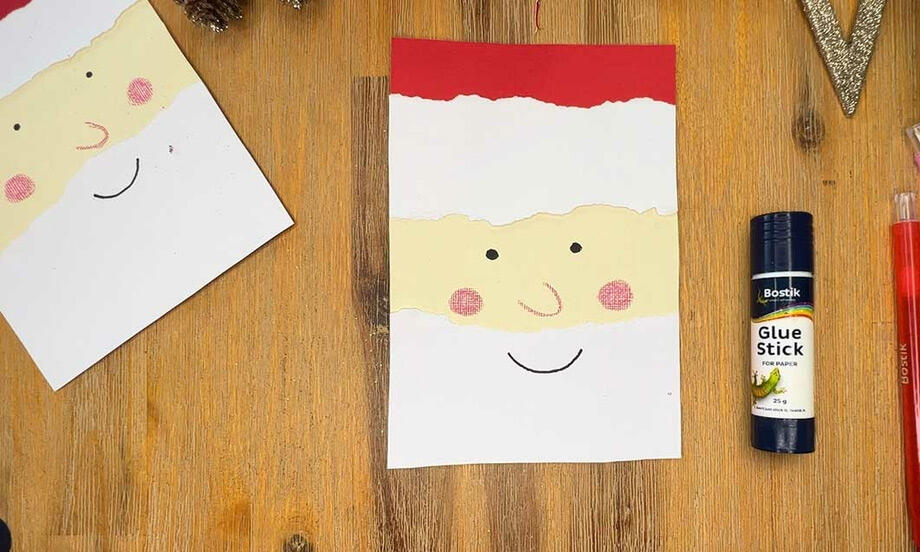
Santa Christmas card
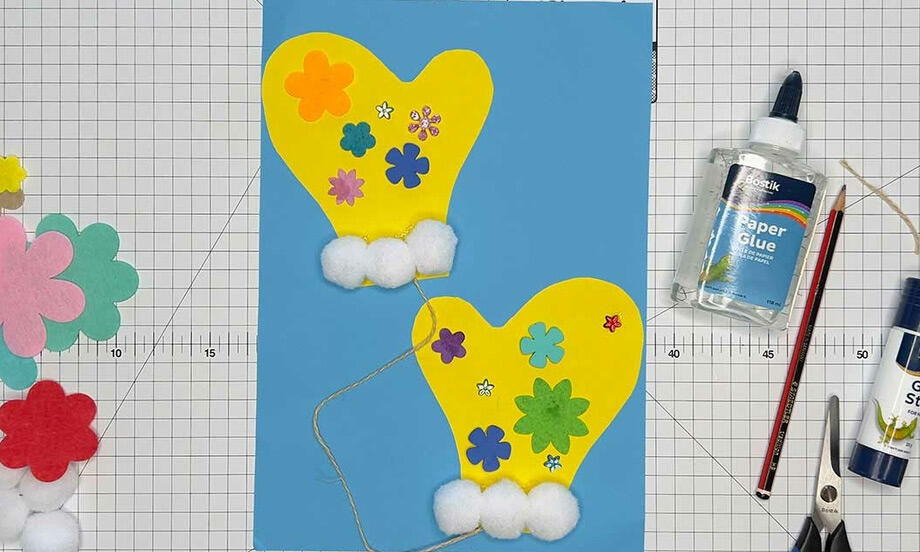
Winter mitten craft
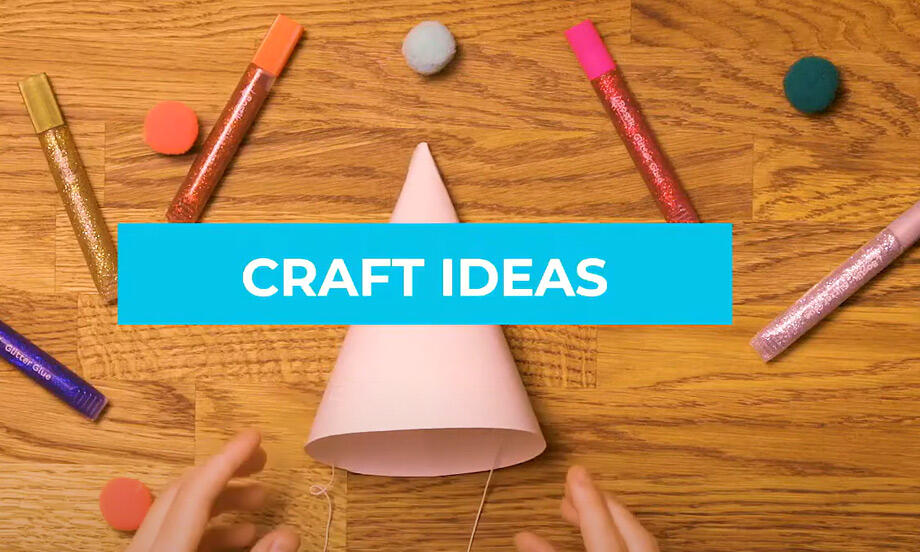
6 Easy glitter glue craft ideas
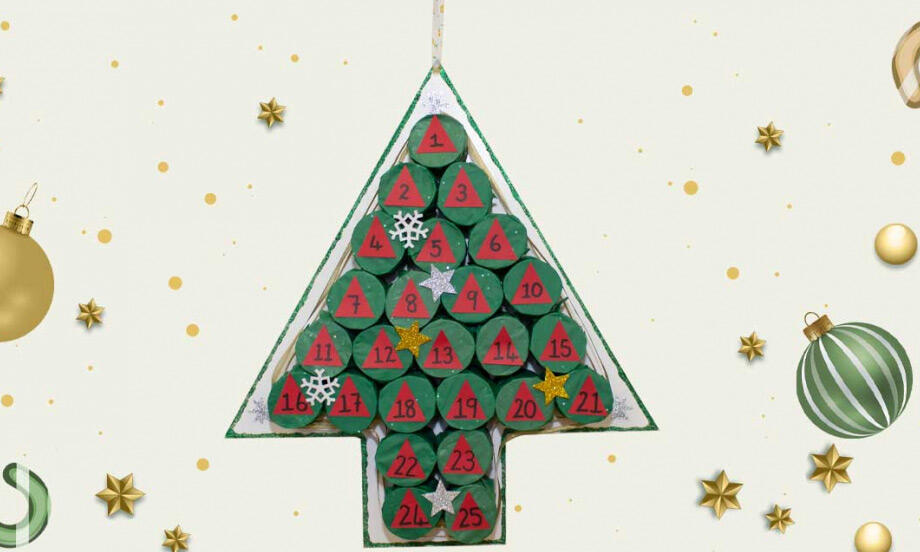
Christmas advent calendar
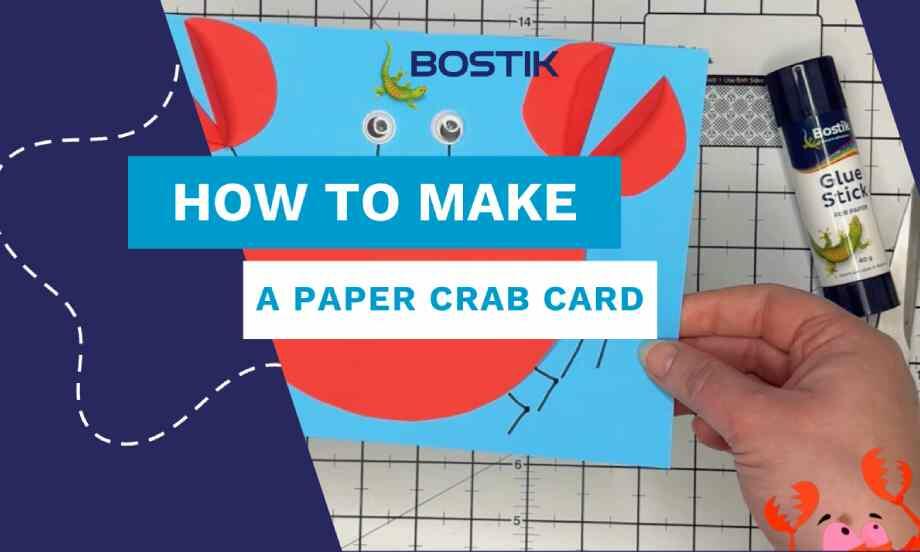
How to make a 3d paper crab craft
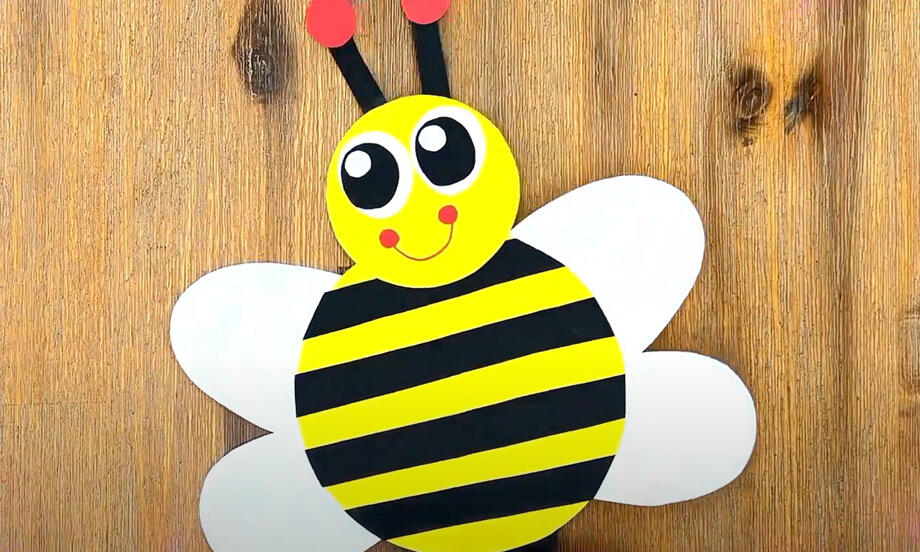
How to make a bee-eautiful bumble bee
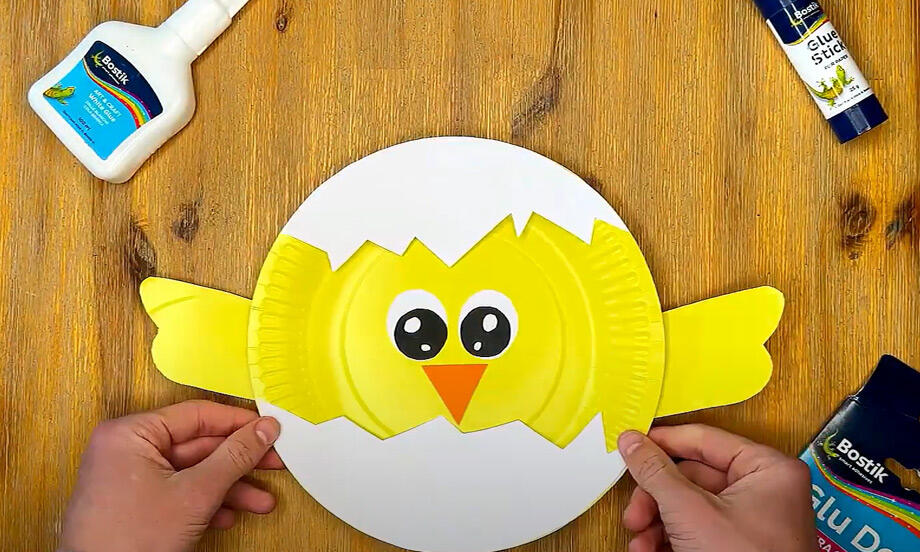
How to make a spring chicken
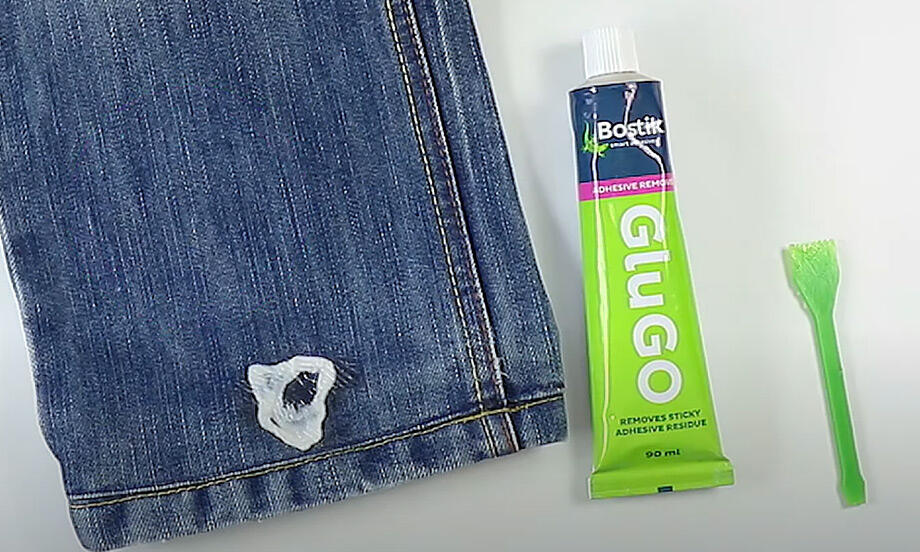
How to remove chewing gum from jeans

Minion bookmark
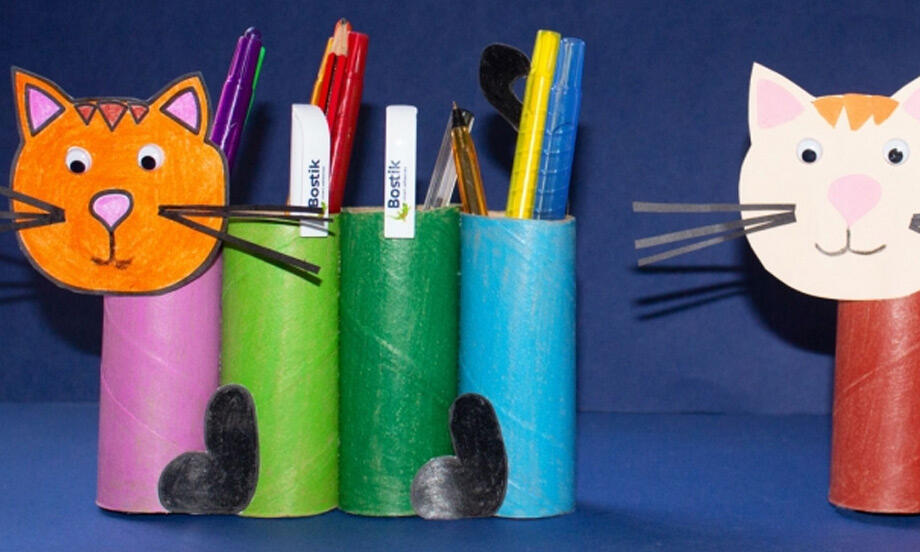
Paper roll cat
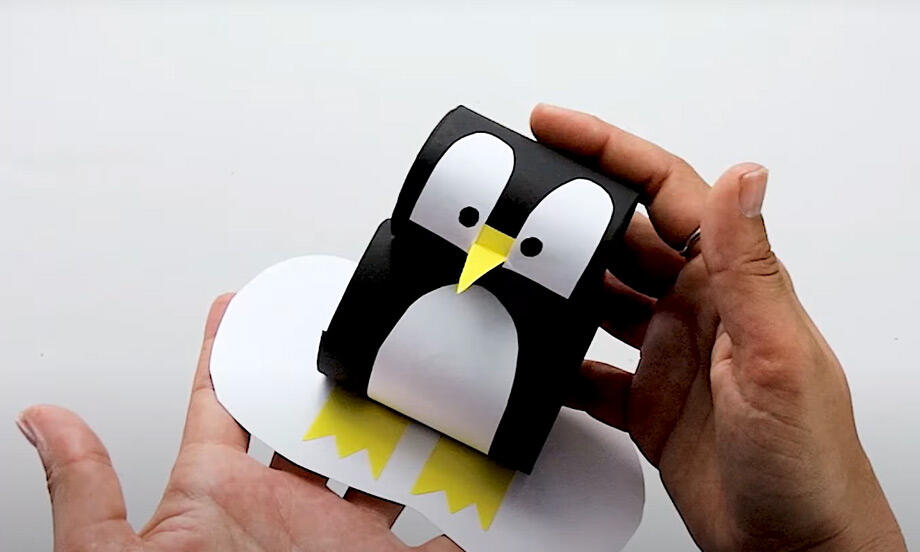
Penguin
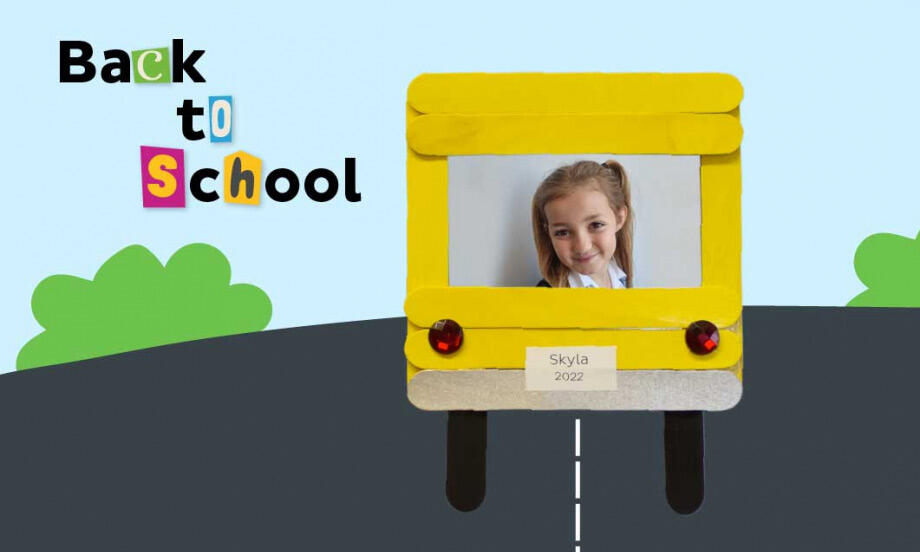
School bus magnet photo frame
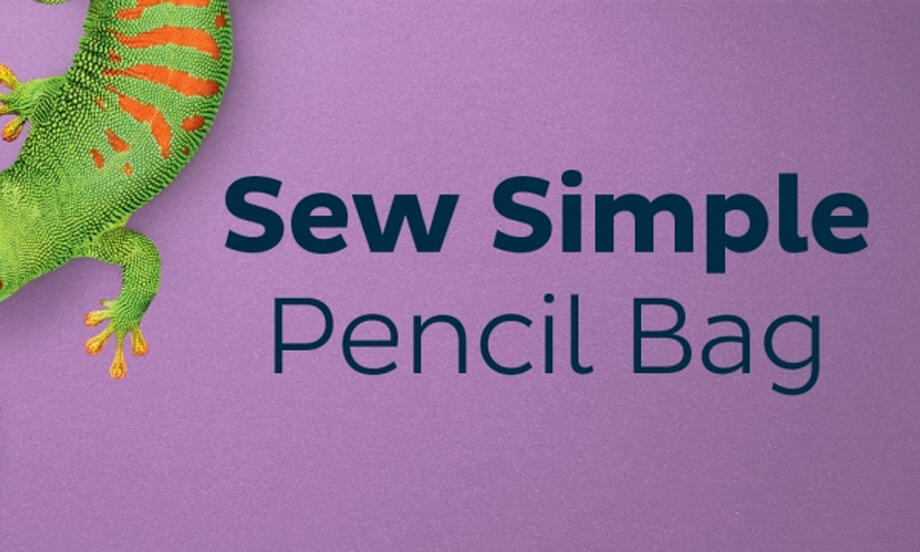
Sew simple pencil bag