How to make a bee-eautiful bumble bee
Bring a smile to your craft time with this bright and playful DIY Bumble Bee🐝! Cut a yellow rectangle and a coordinating strip to form the bee’s body. Use Bostik Glue Stick to fix them together, then attach a black cardboard strip in the middle for stripes. Create antennae with a pipe cleaner—twisted at each end—and secure them with Bostik Paper Glue. Add a pom-pom head, black circle eyes, and a circular smile to complete the cheerful face. Easy to make and adorable to display—this bumble bee is a sweet addition to any springtime craft collection! ✂️🌼
Instructions
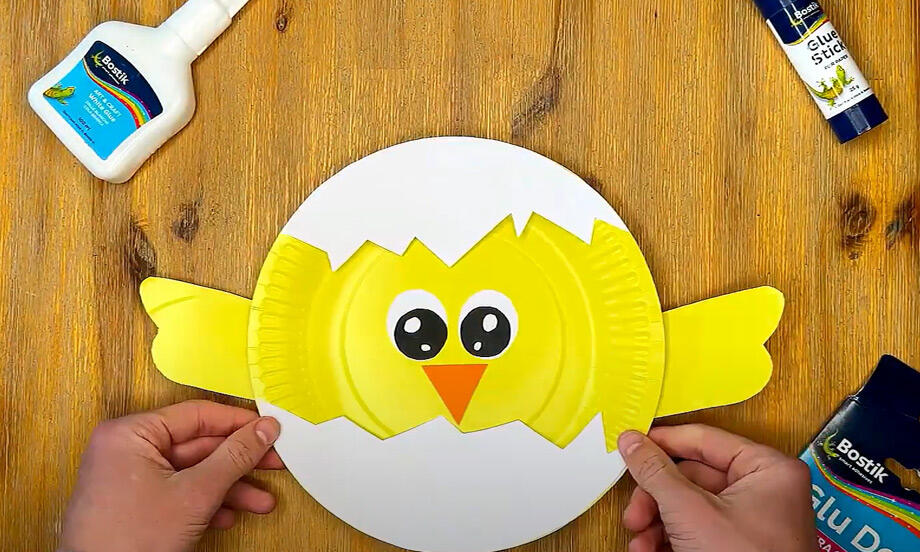
How to make a spring chicken
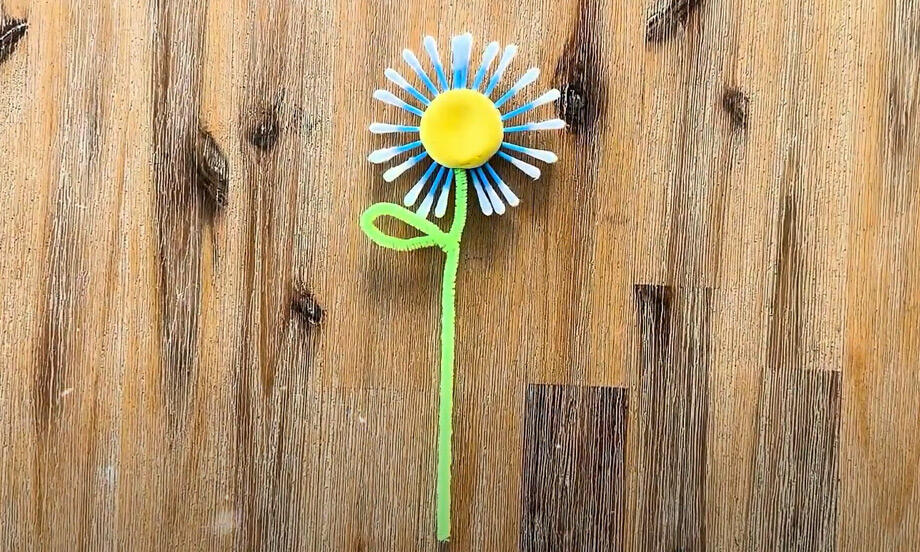
Spring flower craft
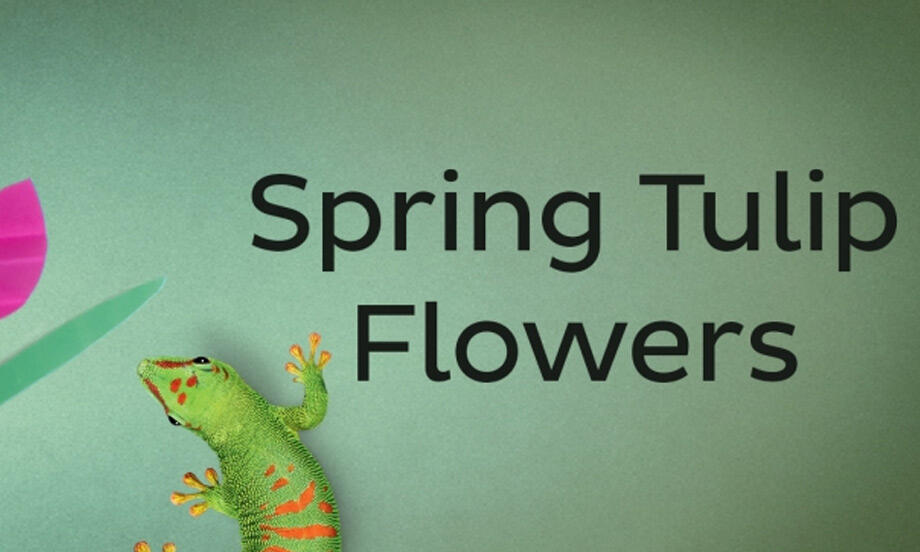
Spring Tulip
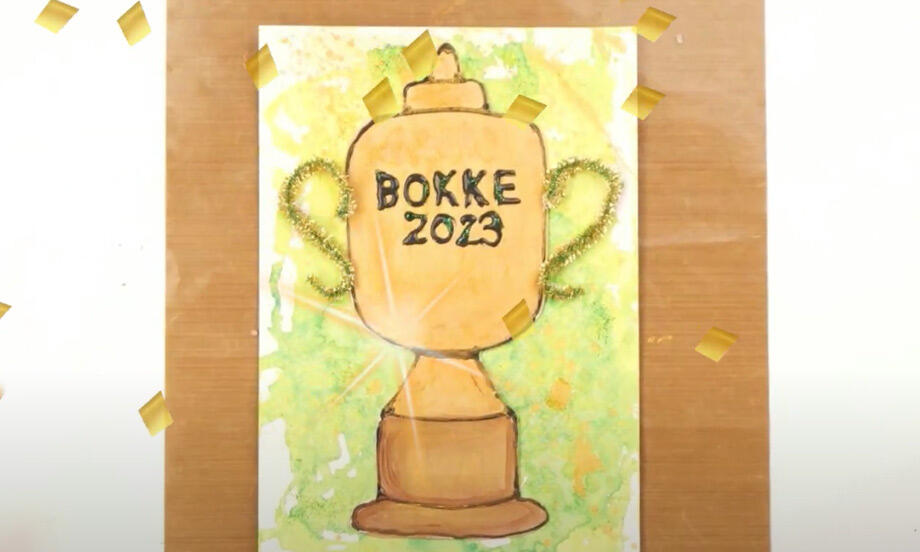
Springbok trophy card craft
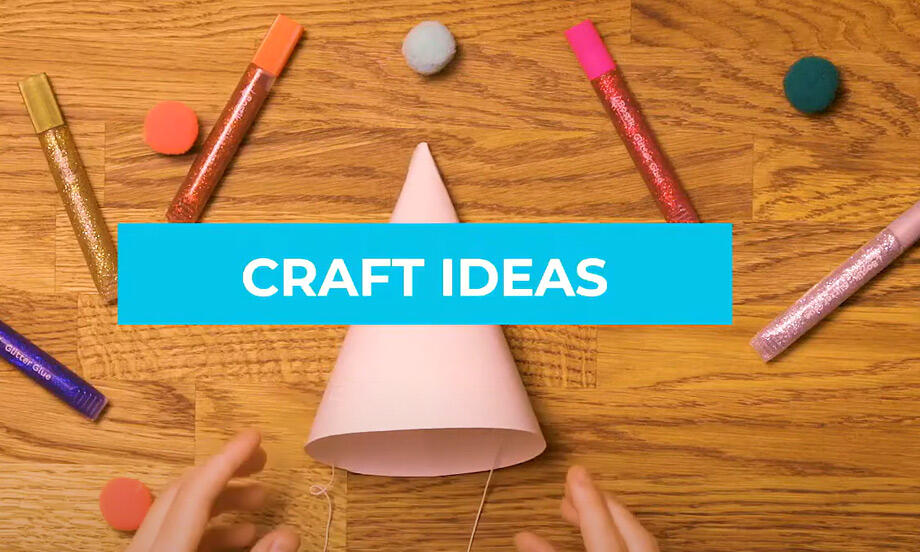
6 Easy glitter glue craft ideas
Christmas unicorn baubles
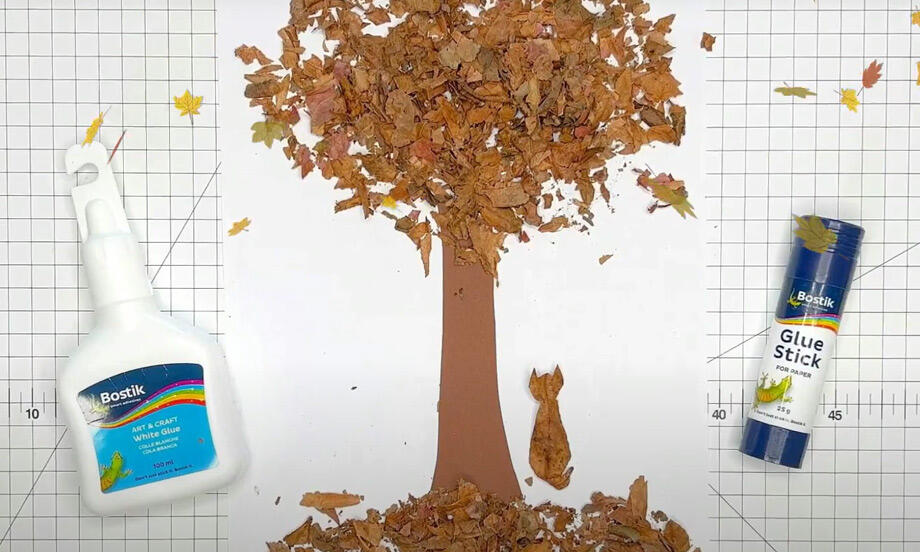
Crafting with leaves
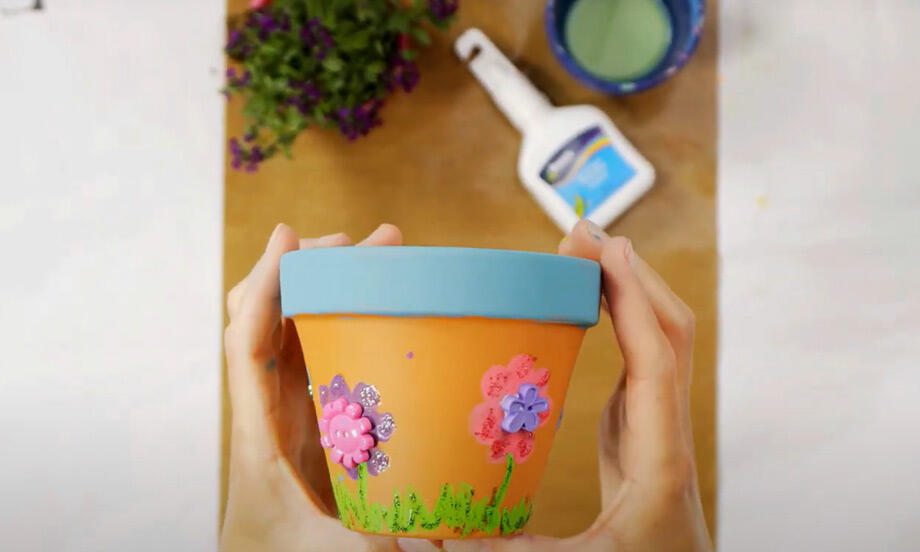
Flower pot decoration
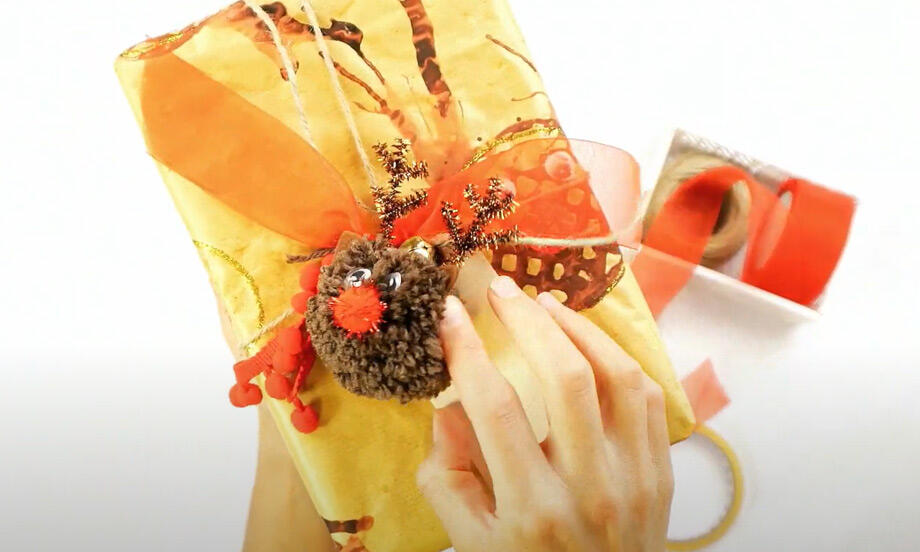
How to make gift wrapping paper
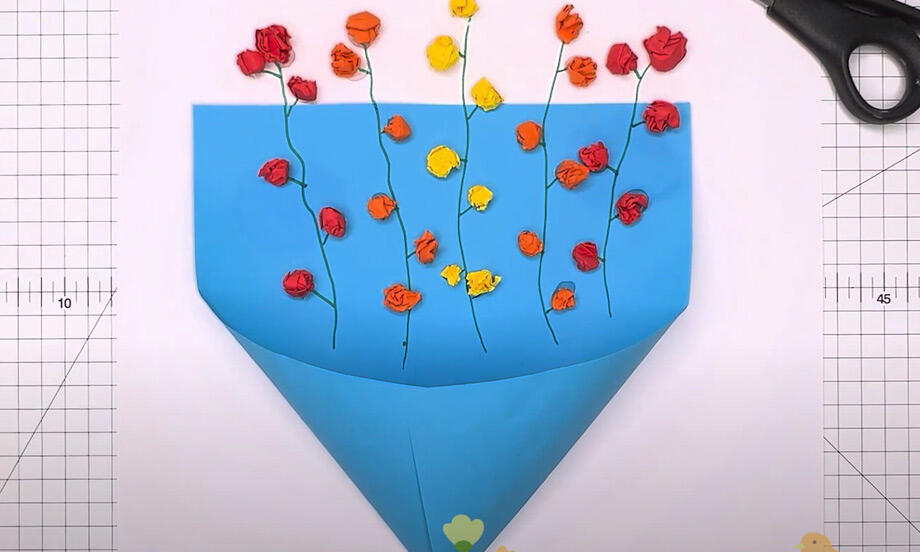
paper flower
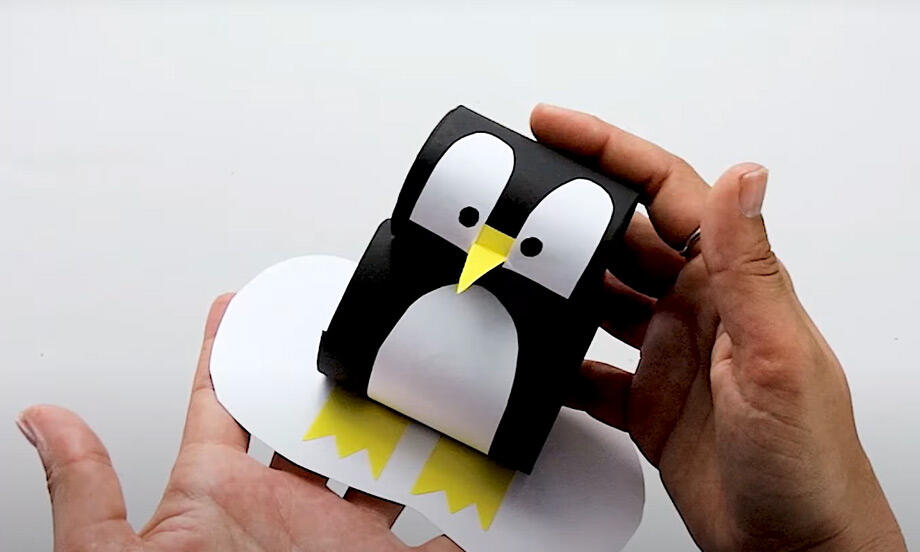
Penguin
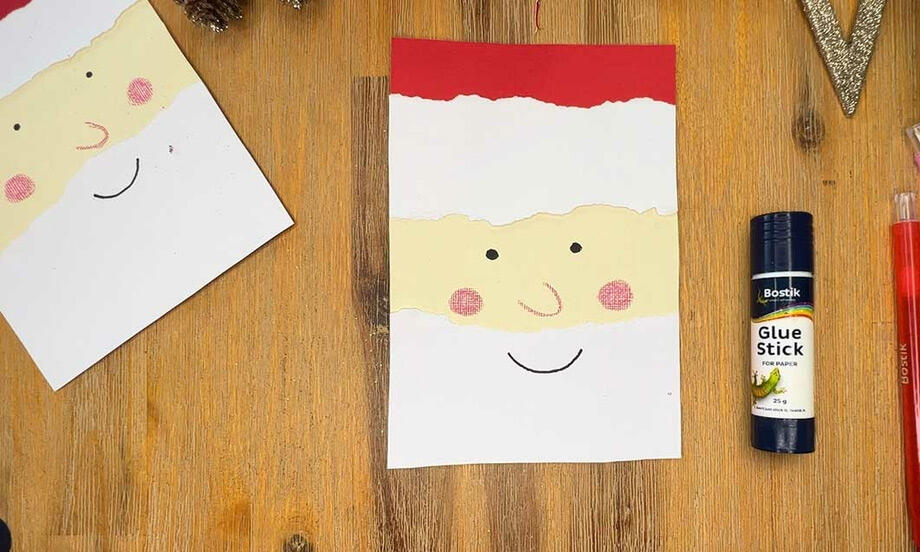
Santa Christmas card
Sew simple pencil bag
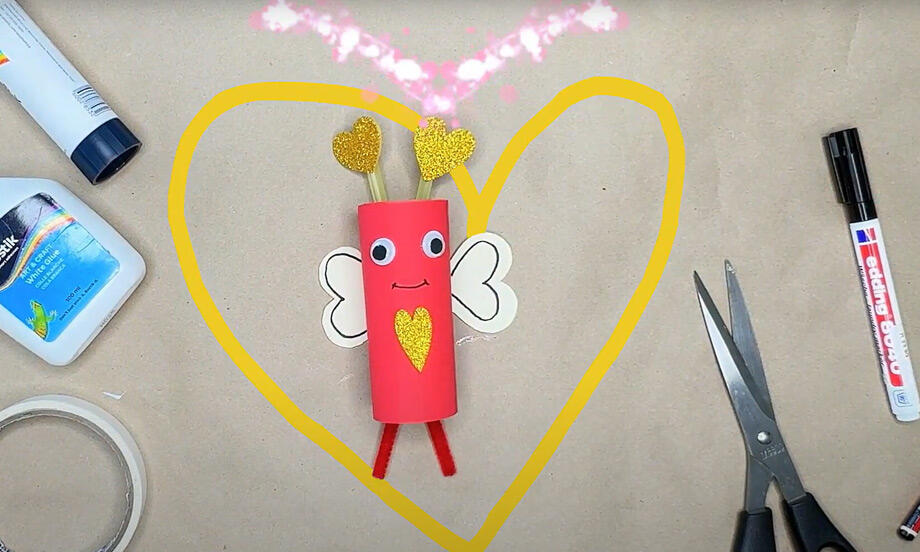
Valentine butterfly
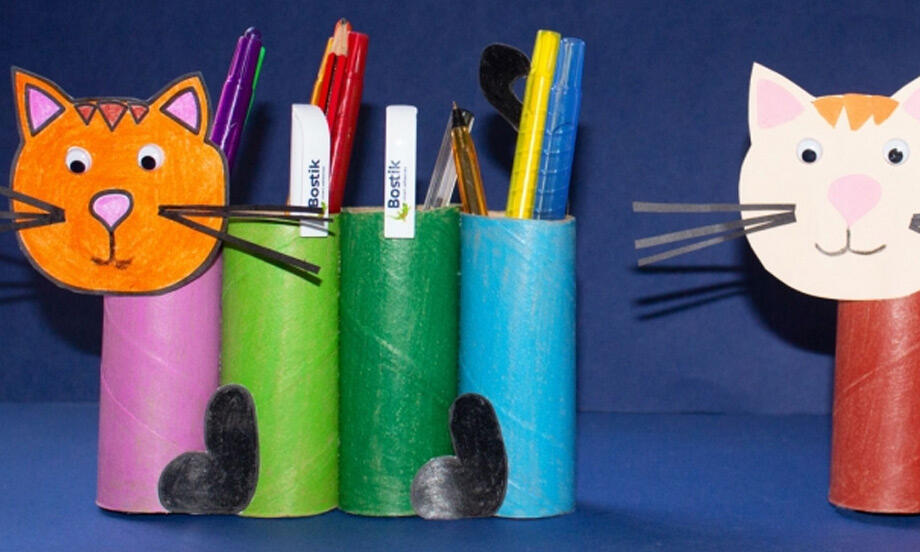
Paper roll cat