Santa Christmas card
Step into festive creativity with this charming DIY Santa Christmas Card🎅 tutorial! Start by folding or trimming red cardstock to make a card base. Tear and layer beige paper for Santa's face, then add white torn paper for his beard and hat trim. Clean up the edges, then draw expressive eyes and a cheerful mouth using a black marker. Add rosy cheeks or a bright red nose with a red crayon or wax tip to finish. Quick, whimsical, and full of festive character, this joyful card is perfect for personalizing your holiday greetings. ✂️🎄
Instructions


Christmas advent calendar

Christmas jolly gift tags

Christmas serviette rings

Christmas unicorn baubles

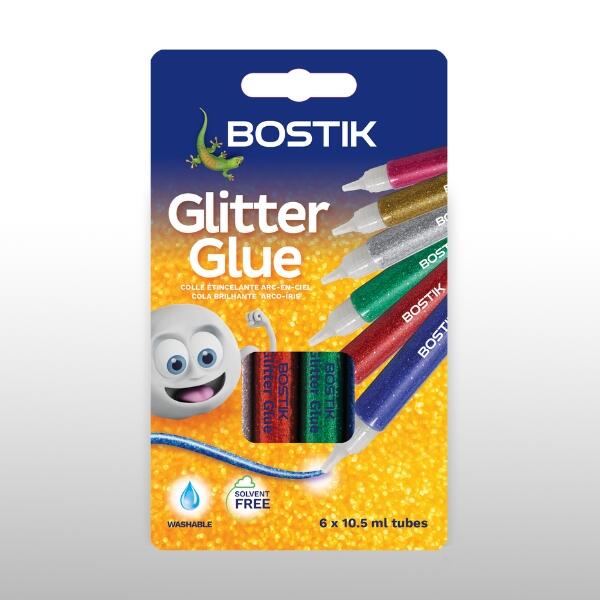
6 Easy glitter glue craft ideas

Butterfly craft
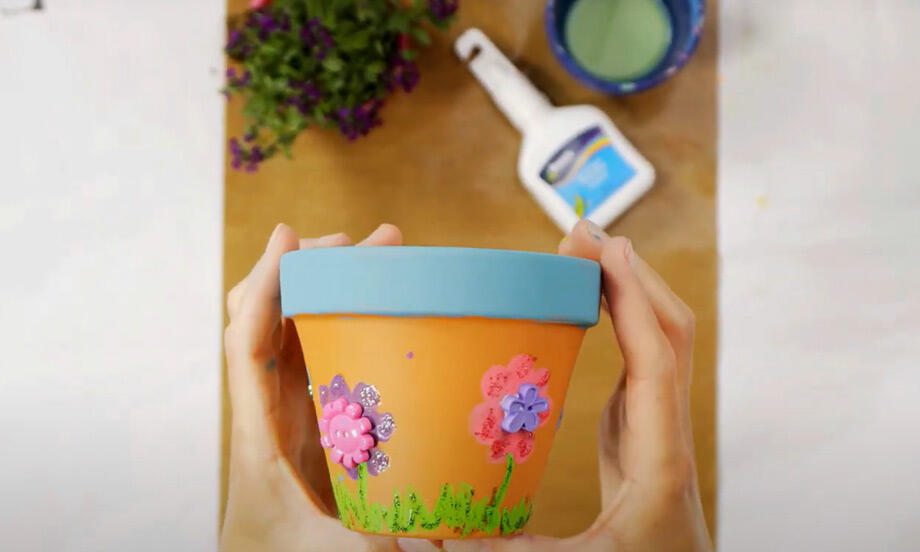
Flower pot decoration
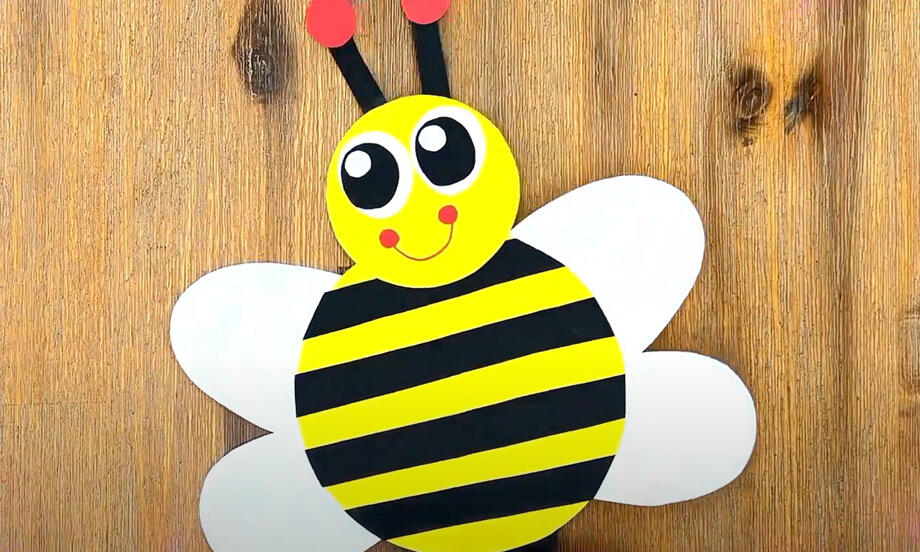
How to make a bee-eautiful bumble bee
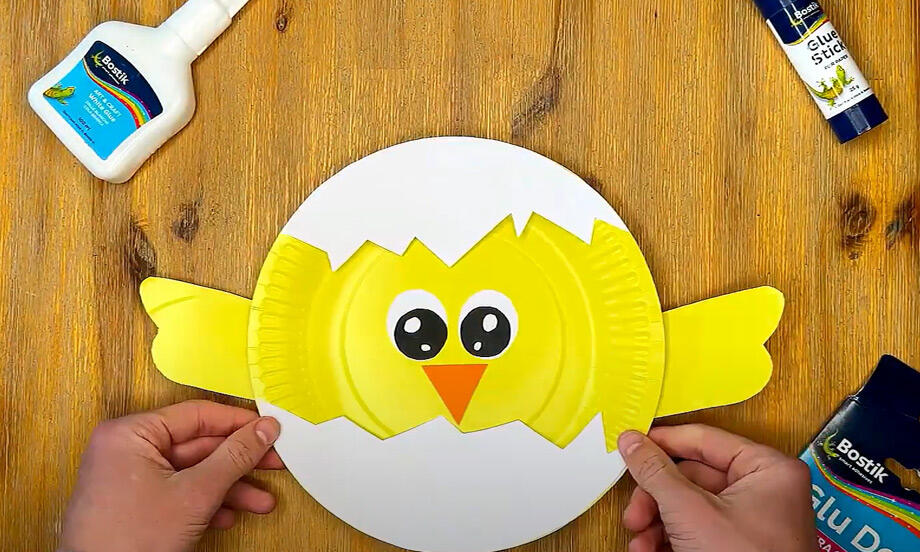
How to make a spring chicken

How to make gift wrapping paper

How to make slime

Penguin
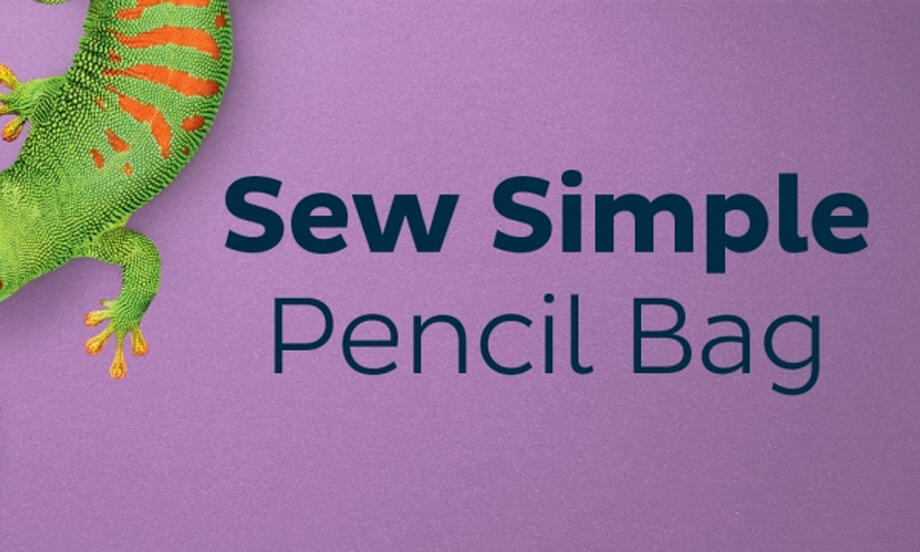
Sew simple pencil bag
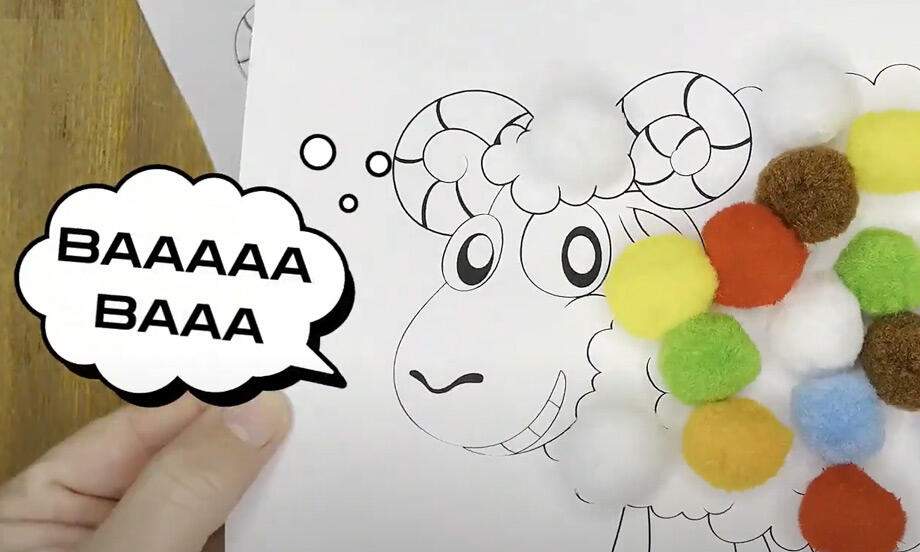
Sheepishly fun craft idea for small kids

Snowman

Spring flower craft
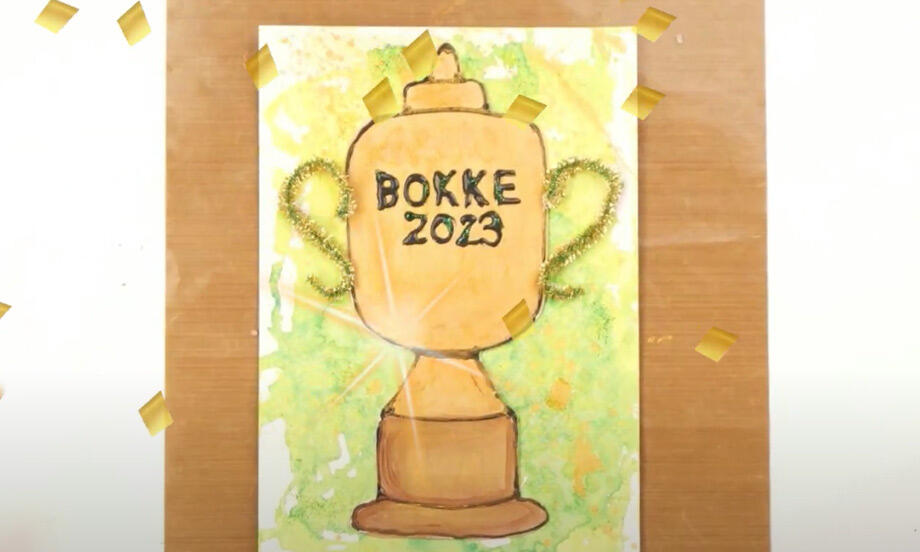
Springbok trophy card craft
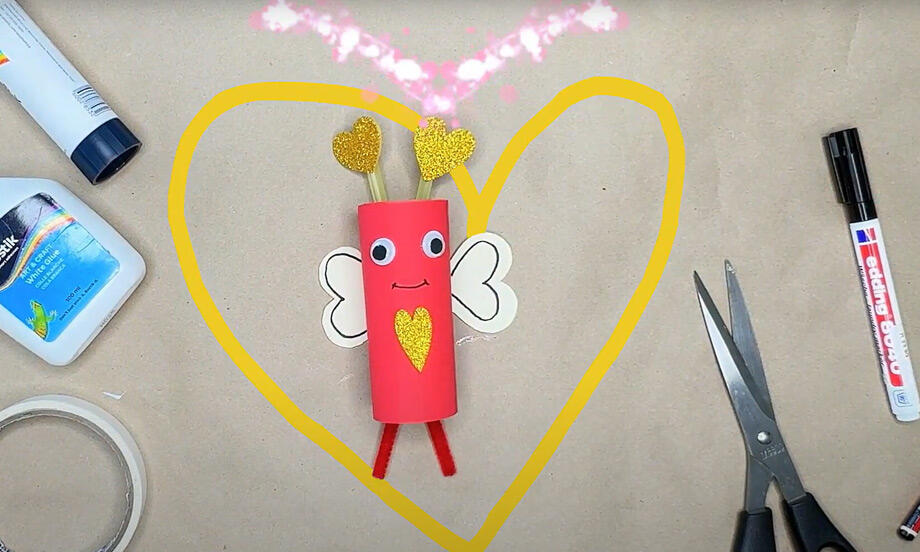
Valentine butterfly
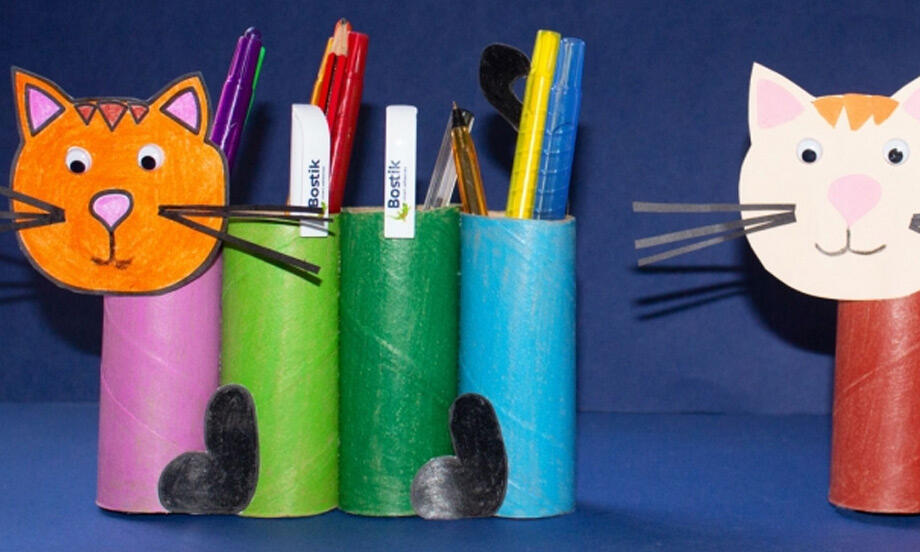
Paper roll cat