Butterfly craft

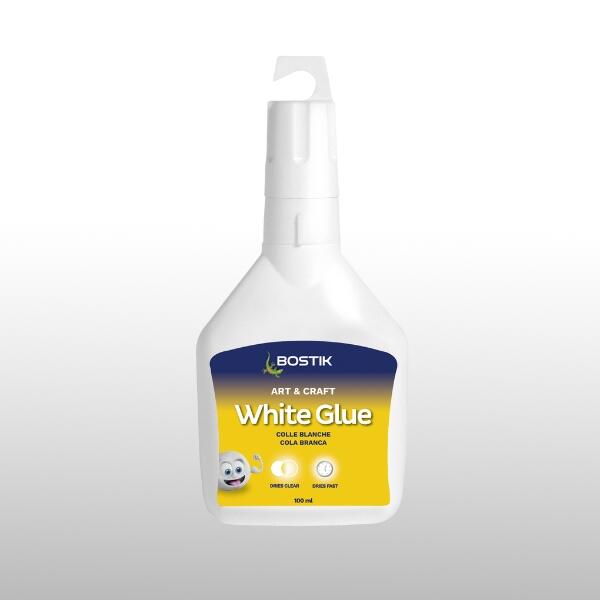
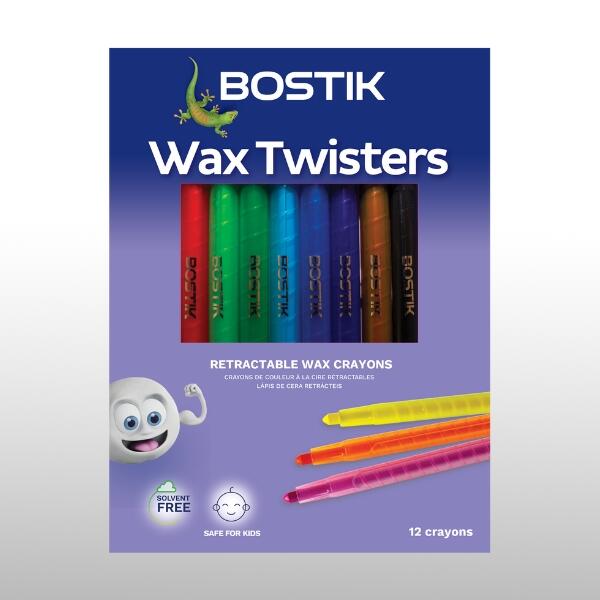
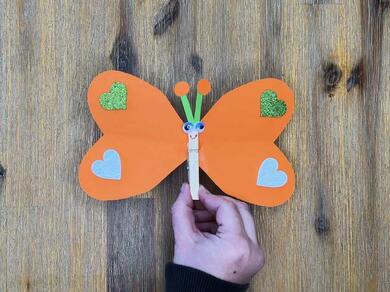
Let your creativity take flight with this cheerful DIY Paper Butterfly🦋 craft! Start by cutting petals or leaf shapes out of cardstock to form the wings. Position and gluing them at an angle onto another small cardstock piece using Bostik Glue Stick to bring the wings to life. Color the wings with pastels, chalks, or wax to add soft, vivid patterns. Finish by bending a paper strip into a spiral to serve as the butterfly's body, and glue it between the wings for a whimsical touch. Bright, simple, and endlessly charming, this butterfly is a beautiful project for all ages, bringing handmade décor to life! ✨
Instructions

STEP 1: Cut & Paste

Fold the A4 sheet and cut out a heart shape to make the wings and glue them together.

STEP 2: Make The Body

Use the peg to secure the wings together, forming the butterfly's body.

STEP 3: Decorate Wings

Using a different coloured piece of paper, create shapes and use them to decorate the wings. In the video, we've chosen heart-shaped craft materials as an example. You can use paper cut-outs or even draw your own decoration.

STEP 4: Create Antennae

Cut two pieces of paper into strips, then glue them to the upper part of the peg in order to create the antennae for the butterfly.

STEP 5: Add Googly Eyes

Glue the googly eyes just below the antennae.

STEP 6: Cut circles for antennae

Cut out two small circles and glue it on the top of the antennae.

STEP 7: Add Smile

Use your colour marker to draw on a smile.

See all products