Paper shark
Dive into a wave of craft fun with this DIY Paper Shark🦈 tutorial! Start by folding and trimming a blue A4 sheet to form the shark’s head and body. Create a finned silhouette using precise cuts, then secure the belly section with Bostik Paper Glue. Craft fins, tail, and eyes from additional blue and black paper, gluing them in place to add detail and personality. The finishing touch? A folded strip of white paper becomes the shark’s jagged teeth, glued into the mouth to create animated motion when manipulated. Quick to craft and delightfully kinetic, this shark will bring playful movement and creativity to any activity session. ✂️
Instructions

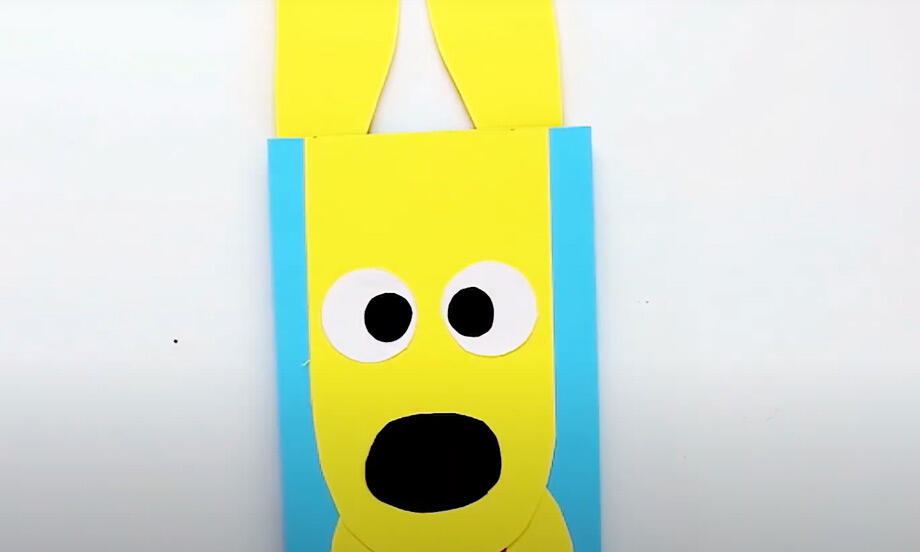
Animated paper dog
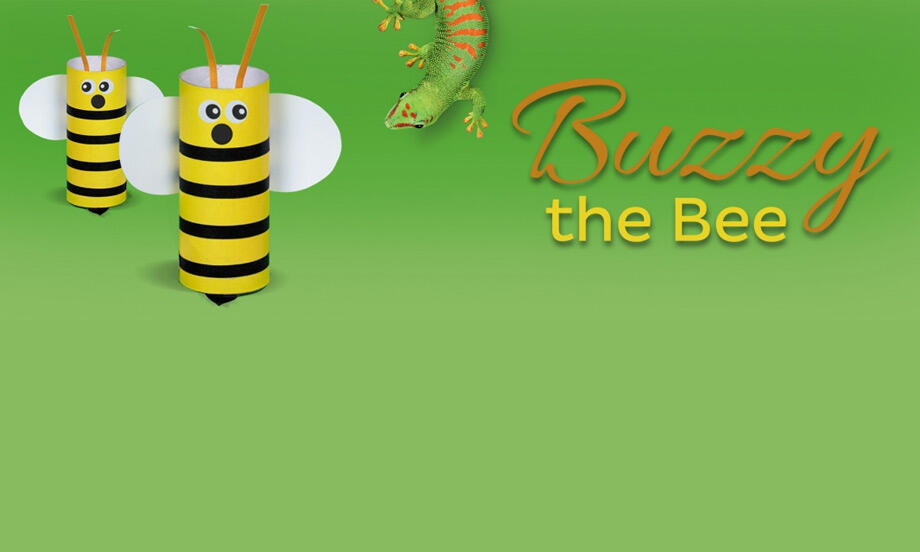
Buzzy the bee
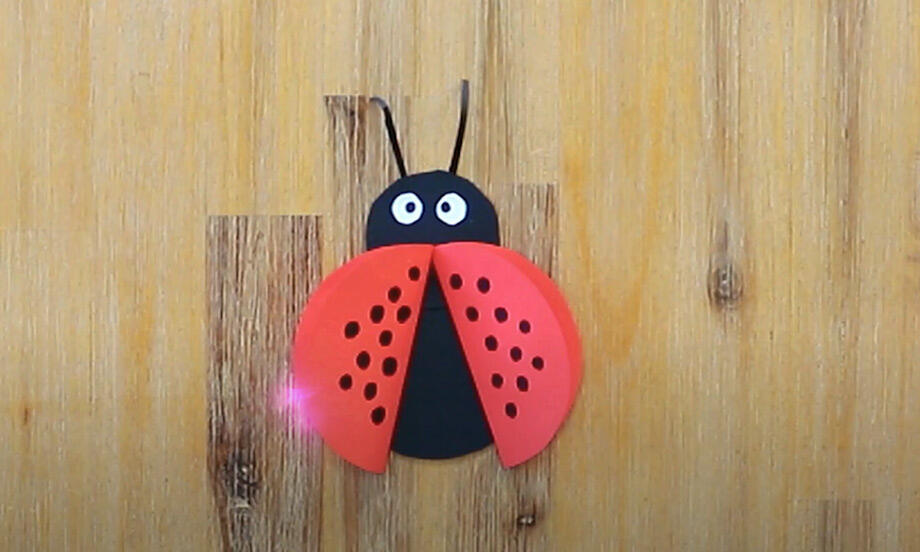
Ladybug
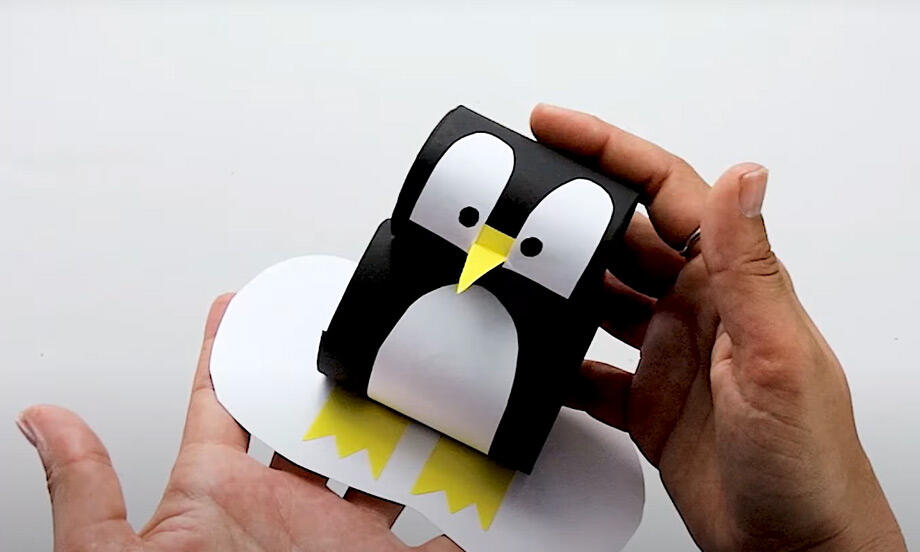
Penguin

Best Dad in the world award
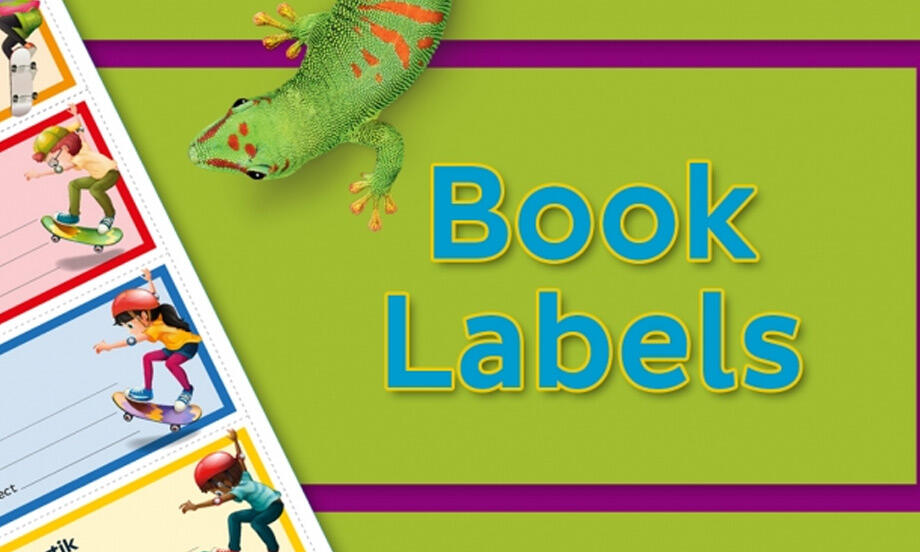
Book labels

Christmas jolly gift tags

Christmas serviette rings
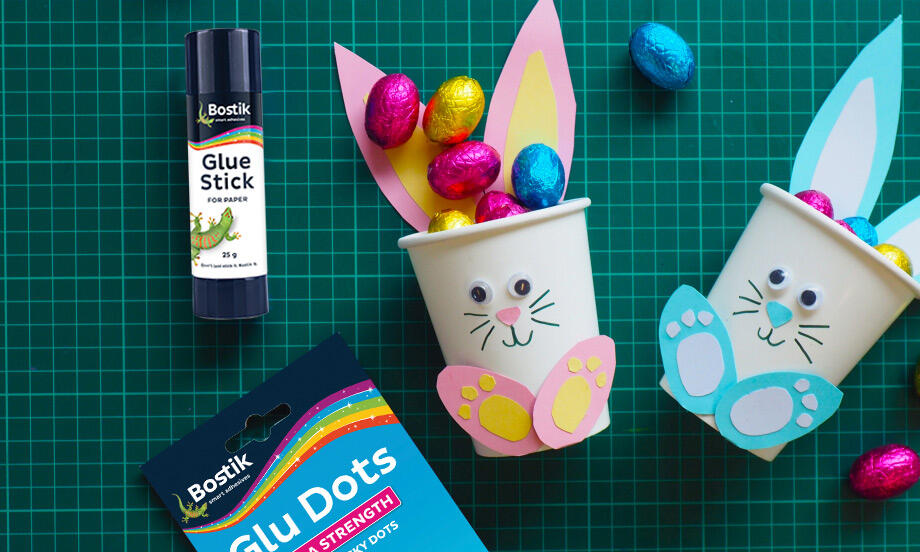
Easter cup bunnies

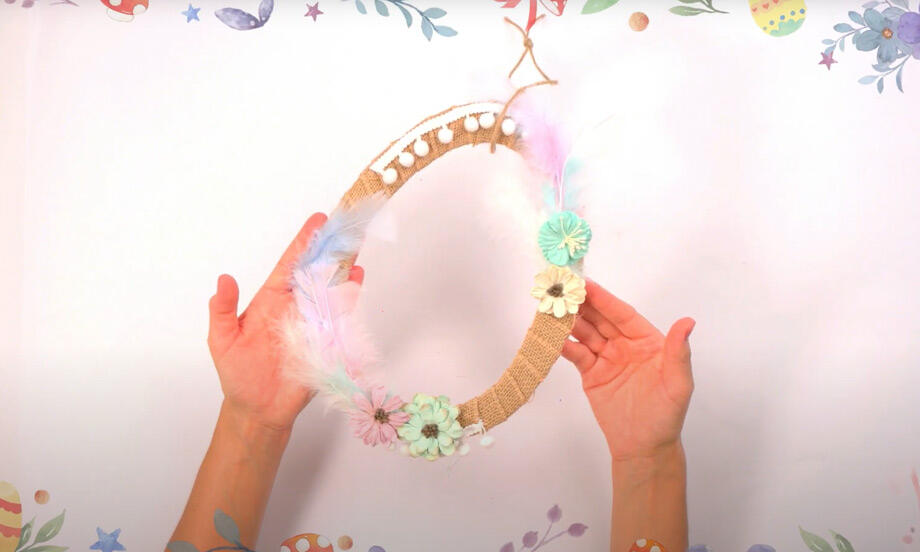
Easter garland
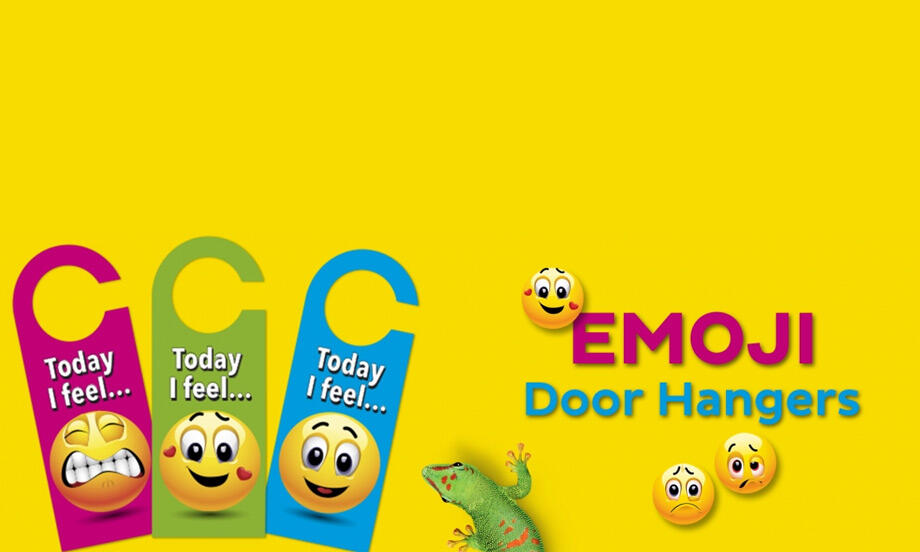
Emoji door hangers

Family tree
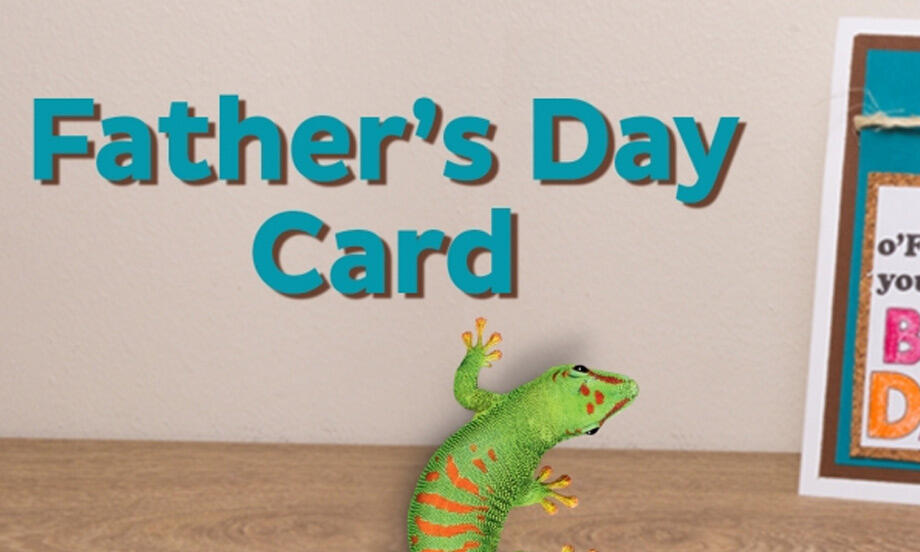
Father's day card
Halloween bats

Halloween decoration pumpkin craft
Halloween masks
Halloween party bags
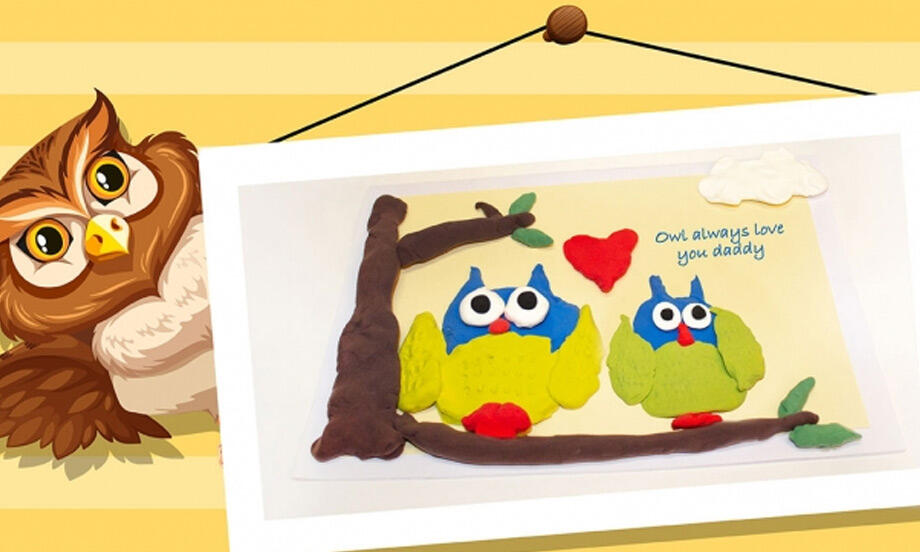
Handmade Father's day owl card
How to make a decorative easter egg
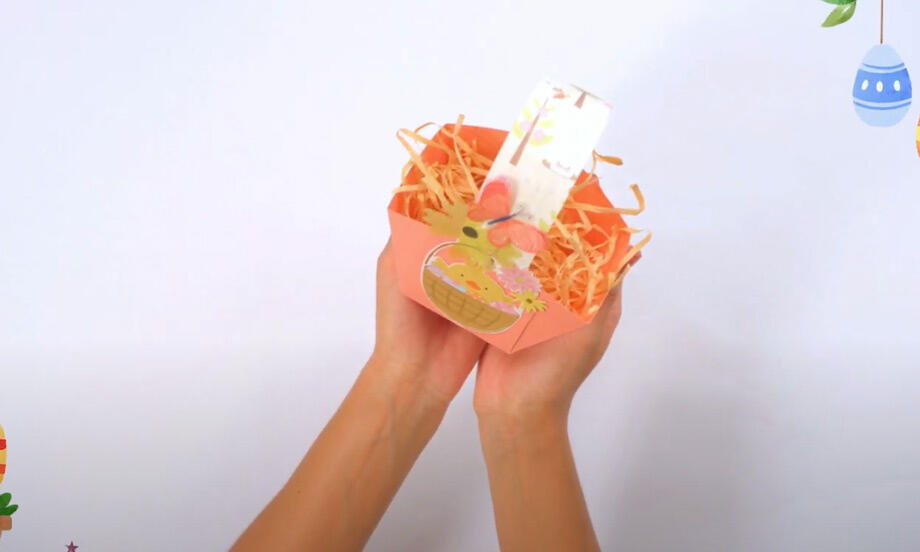
How to make an Easter basket
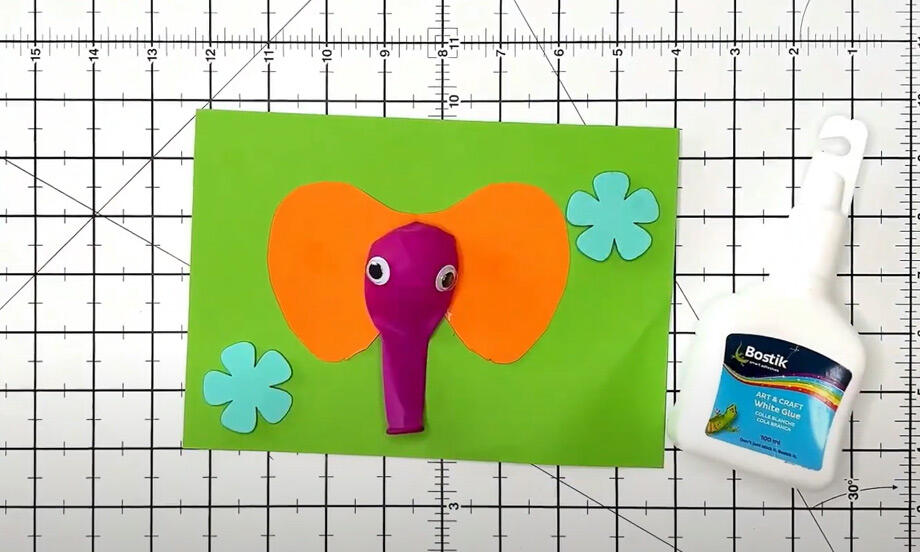
How to make an elephant greeting card
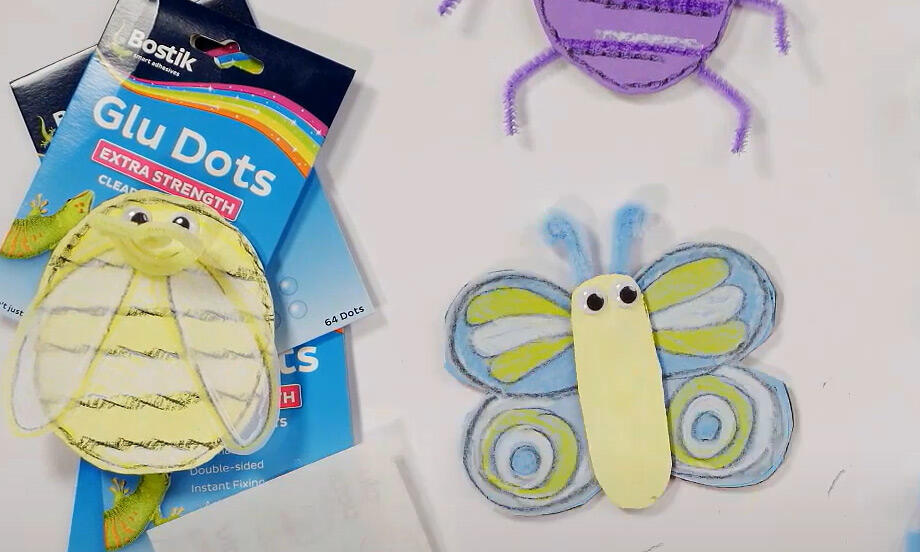
How to make craft bugs

Mother's day card
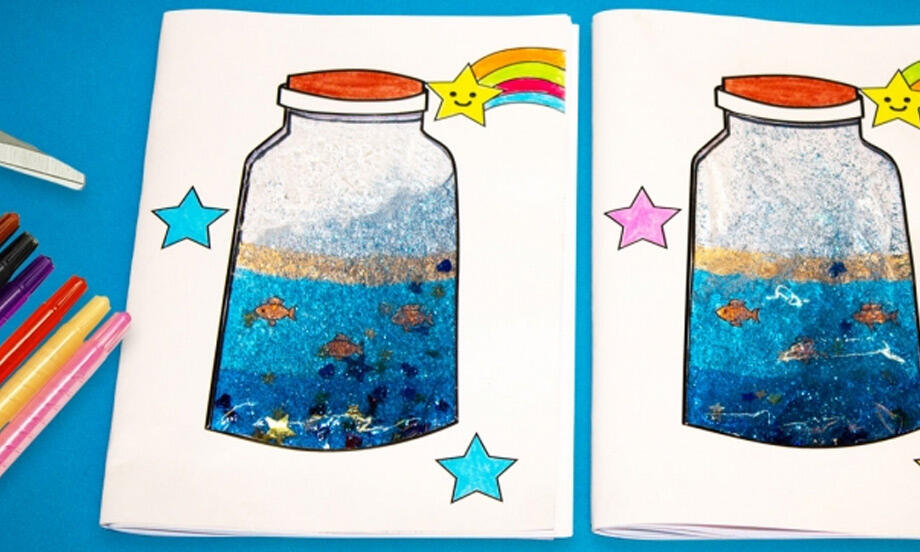
Ocean notebook
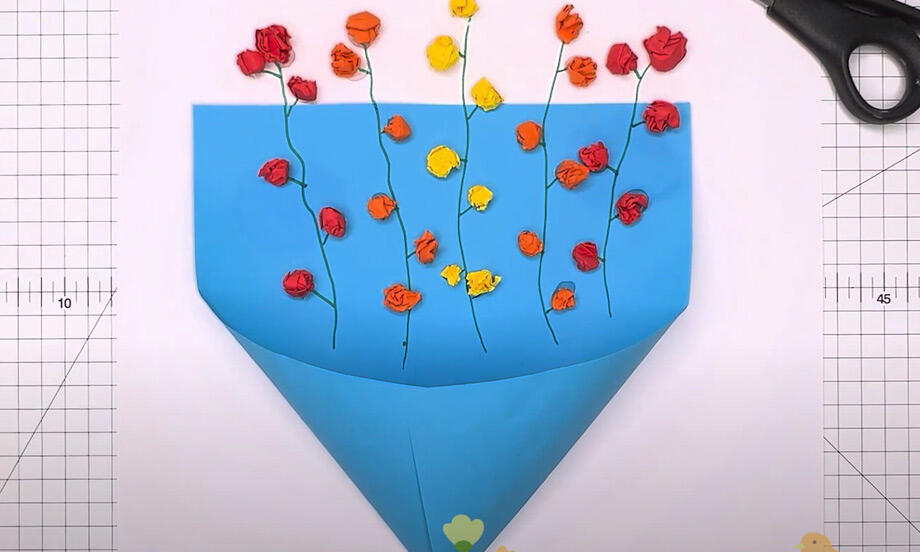
paper flower
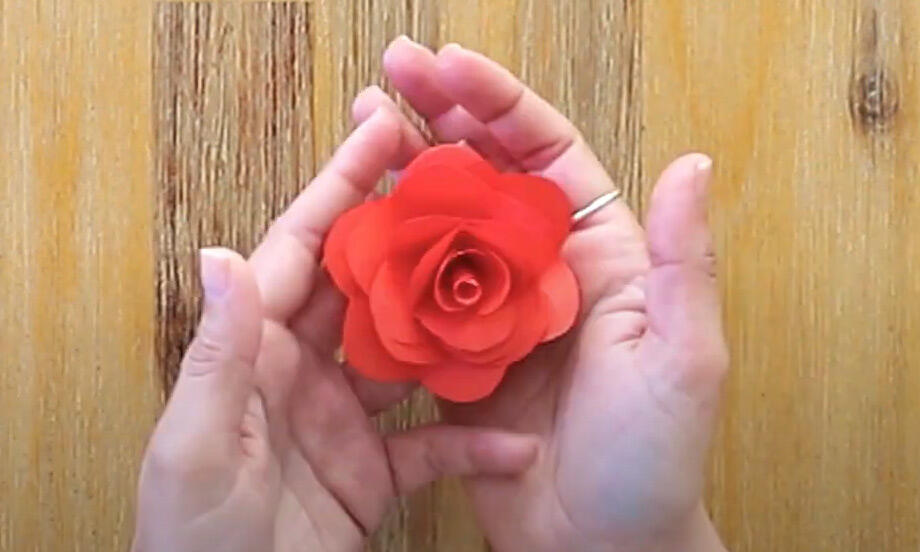
Paper rose
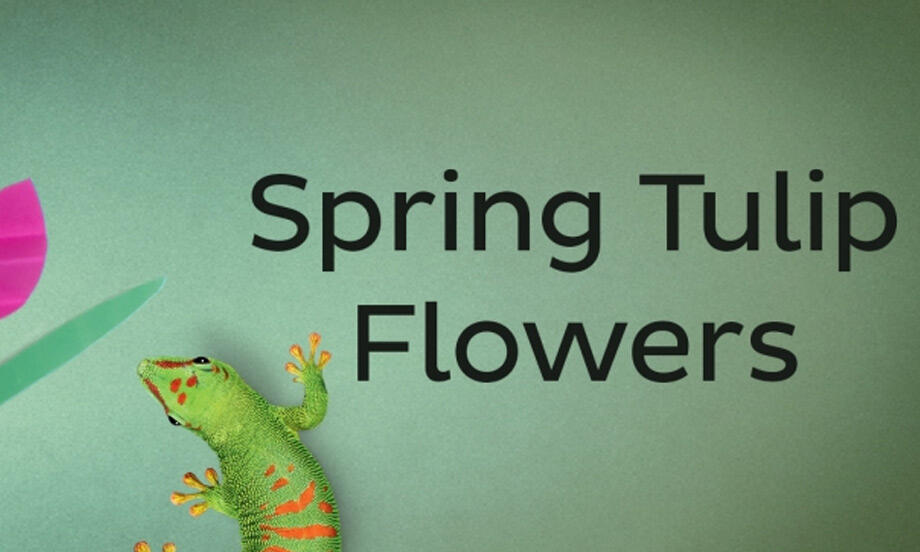
Spring Tulip
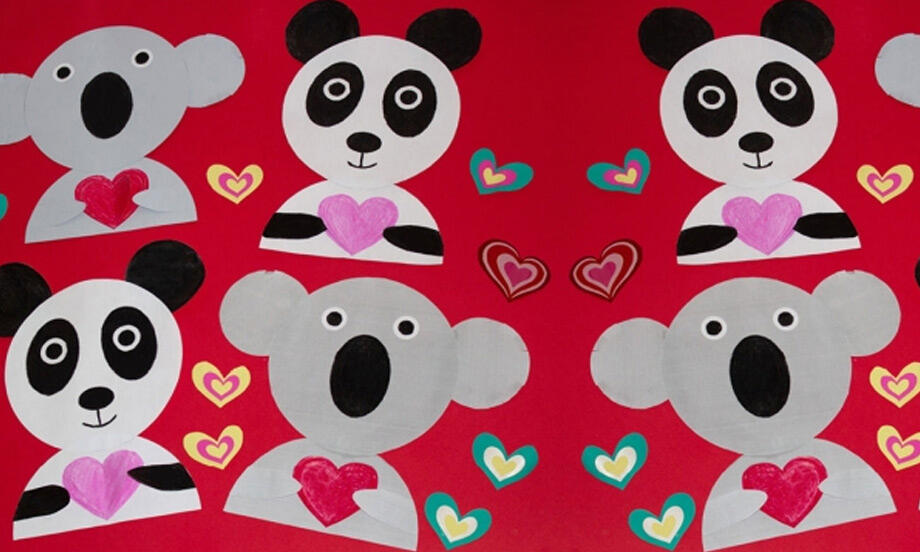
Valentine's day animals
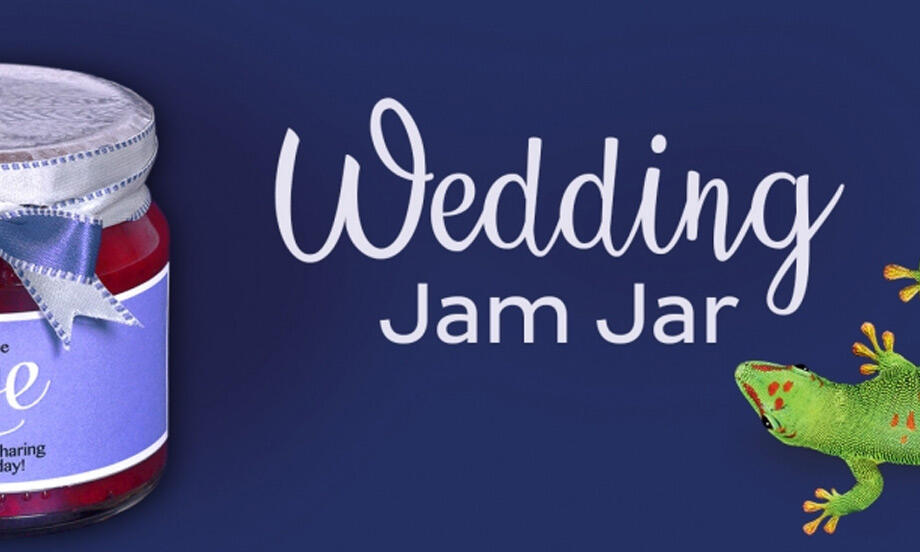
Wedding jam jars

Wedding match boxes
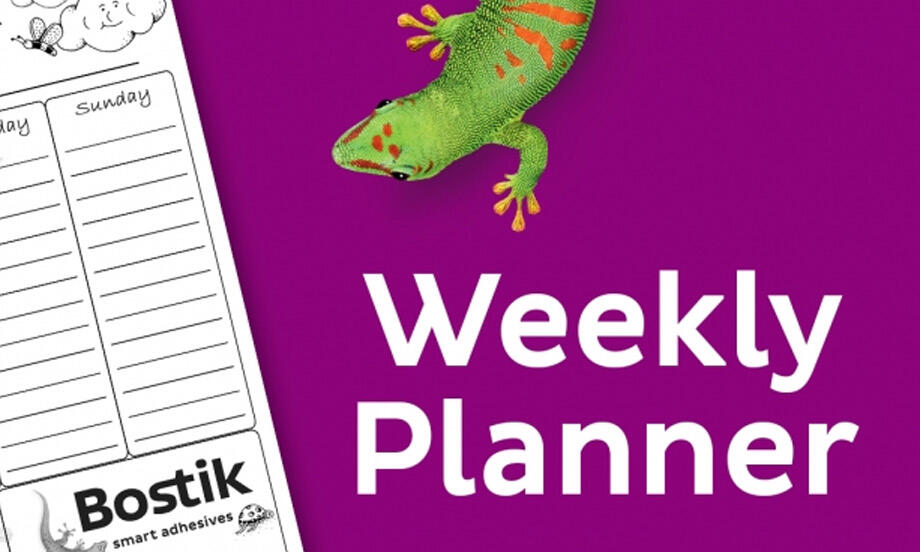
Weekly planner