Animated paper dog
Add motion and personality to your crafts with this delightful Animated Paper Dog🐶 tutorial! Start by cutting a red strip to animate the tongue, then shape it with scissors. Next, craft floppy ears from yellow cardstock, gluing the tongue in place using Bostik Paper Glue to allow playful movement. Build the canvas using blue cardboard and pull the tongue through a neat slit so it pops out as the ears wiggle. Add a yellow body beneath and layer on the head, glued only at the top—so the rounded bottom stays free, giving it animated appeal. Finish the scene with googly eyes, a nose, and you’ve created a charming, DIY kinetic puppet your kids will love!
Instructions
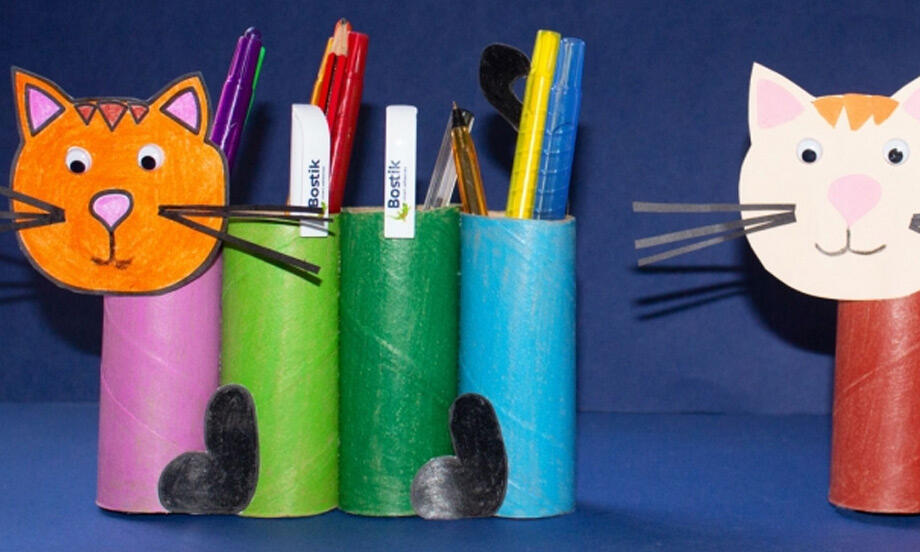
Paper roll cat
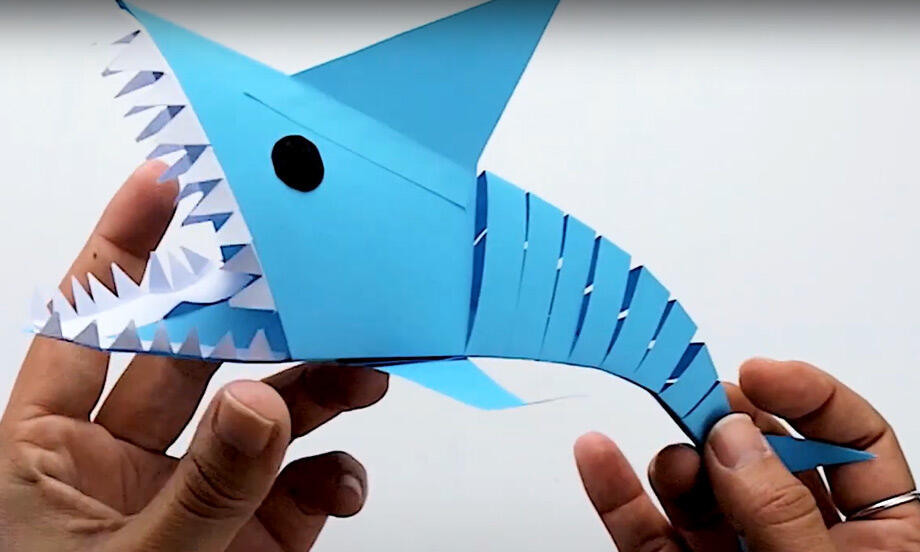
Paper shark
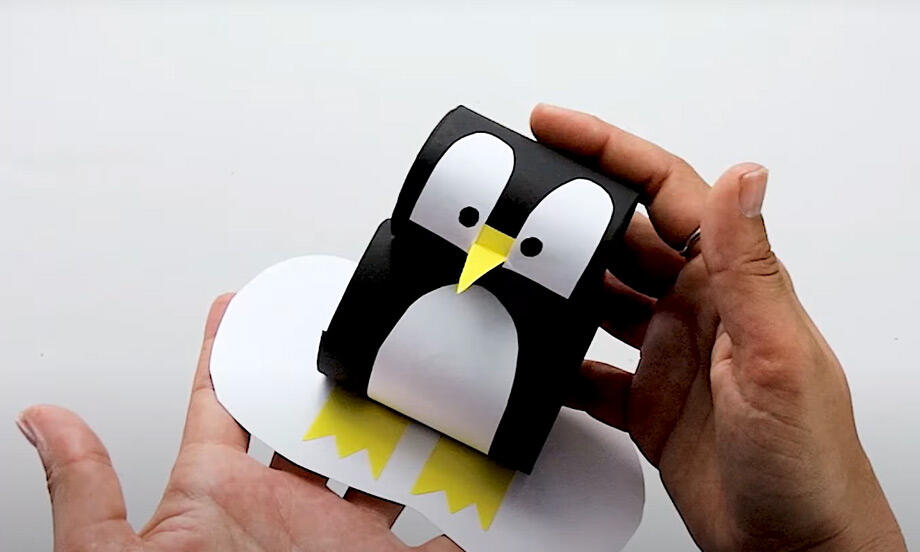
Penguin
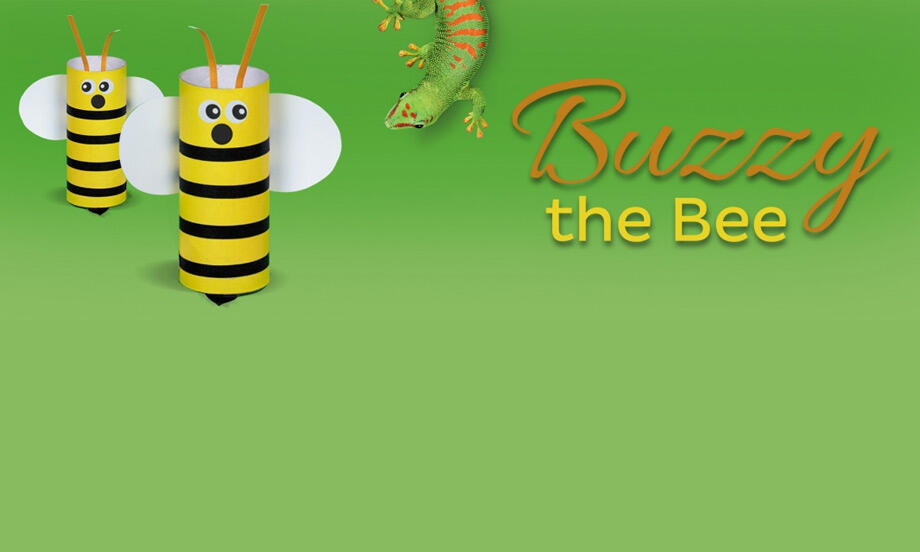
Buzzy the bee

Best Dad in the world award
Book labels
Christmas jolly gift tags

Christmas serviette rings
Easter cup bunnies
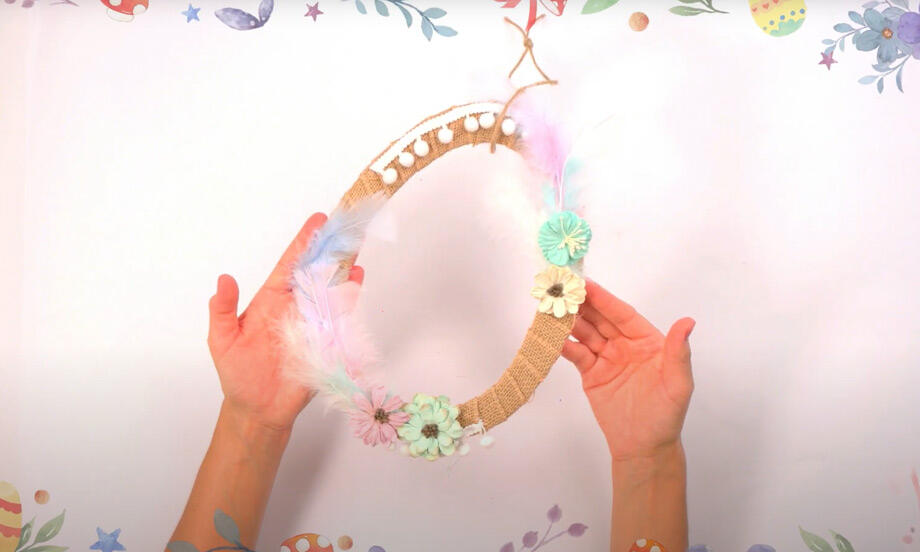
Easter garland
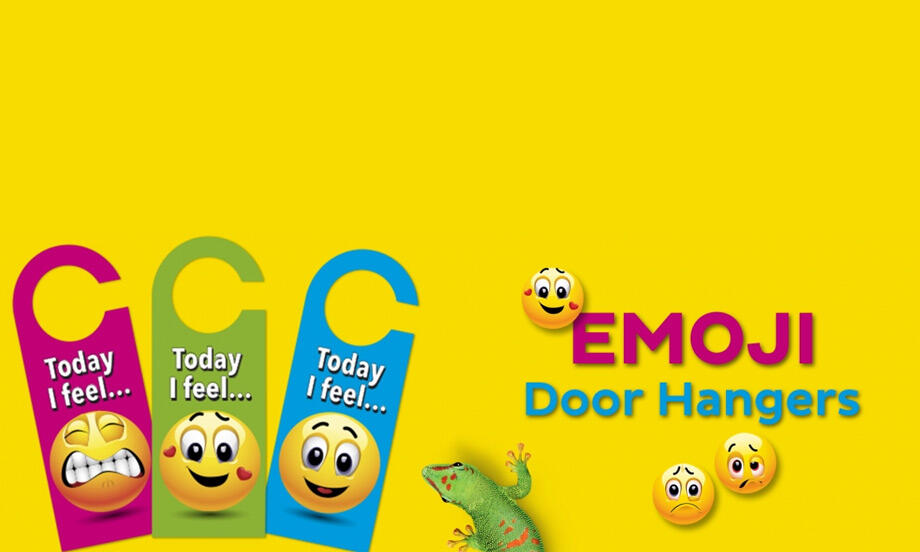
Emoji door hangers
Family tree
Father's day card
Halloween bats

Halloween decoration pumpkin craft
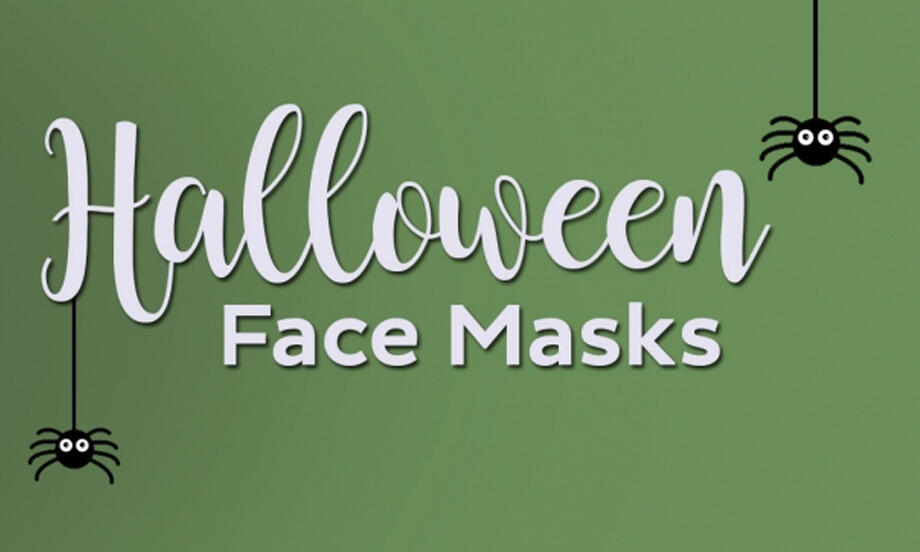
Halloween masks
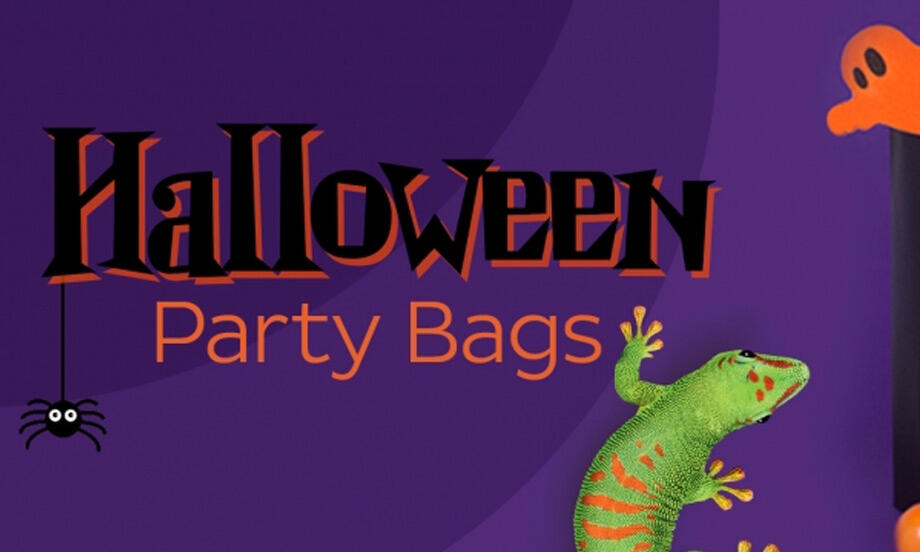
Halloween party bags
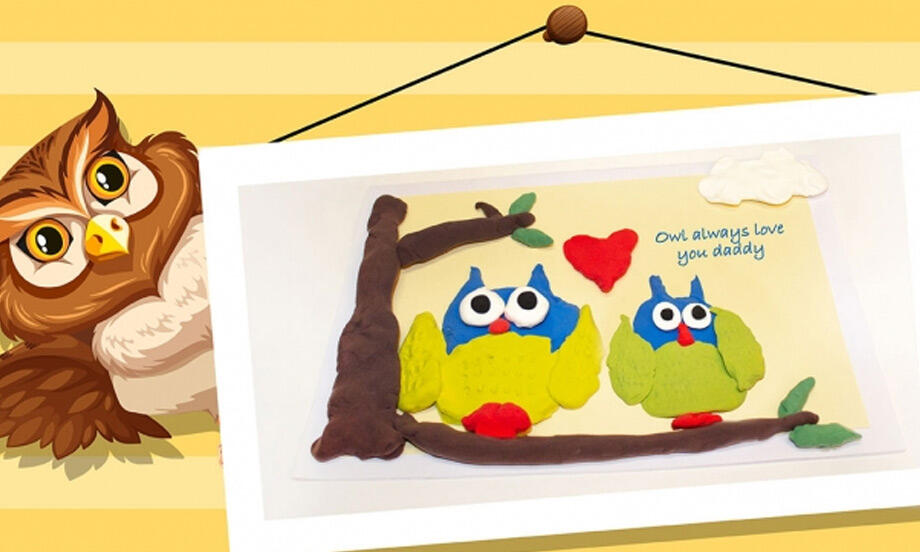
Handmade Father's day owl card
How to make a decorative easter egg
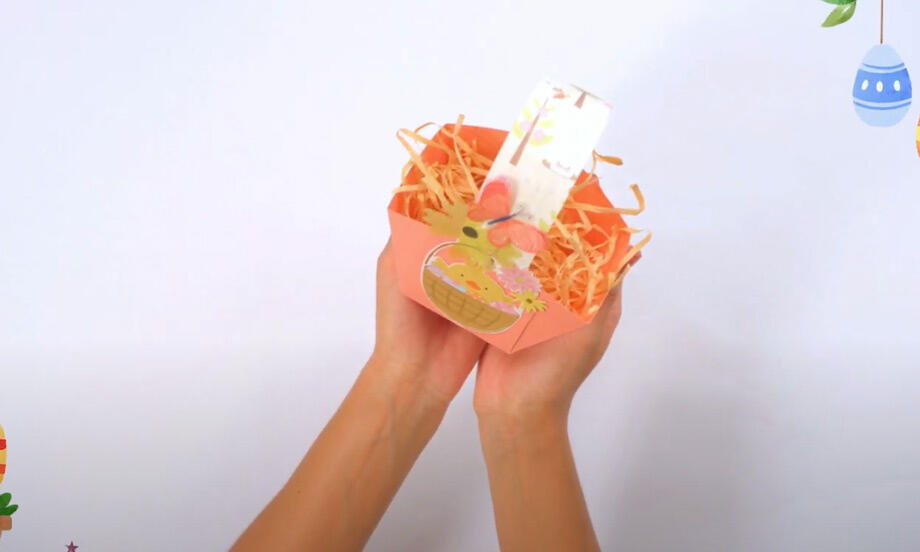
How to make an Easter basket
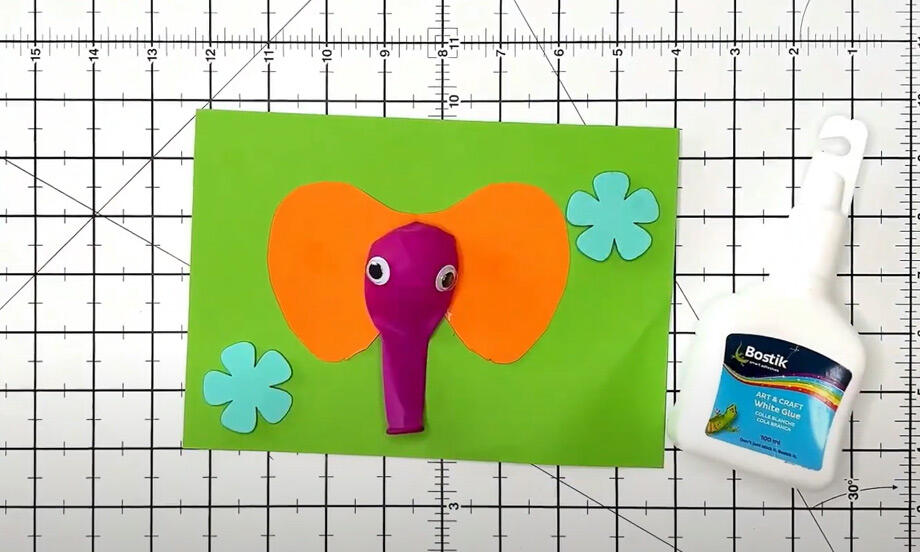
How to make an elephant greeting card
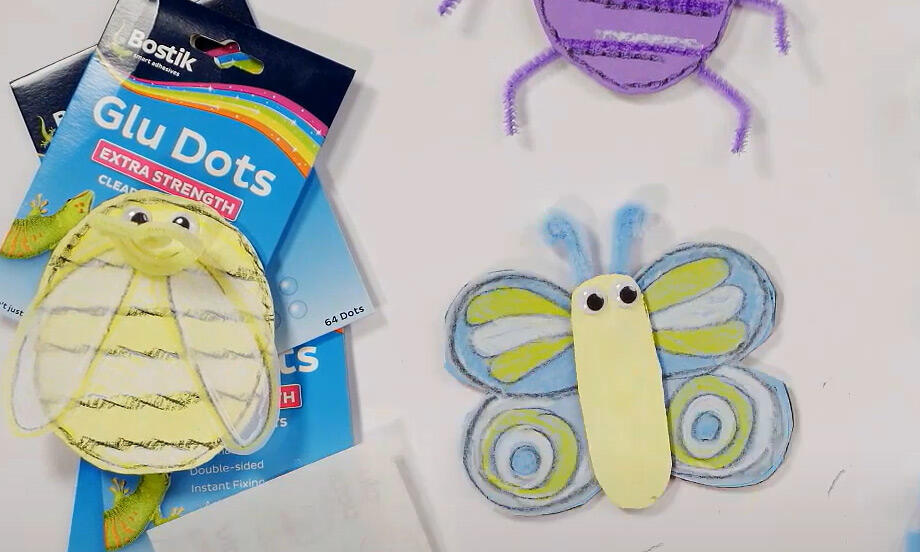
How to make craft bugs
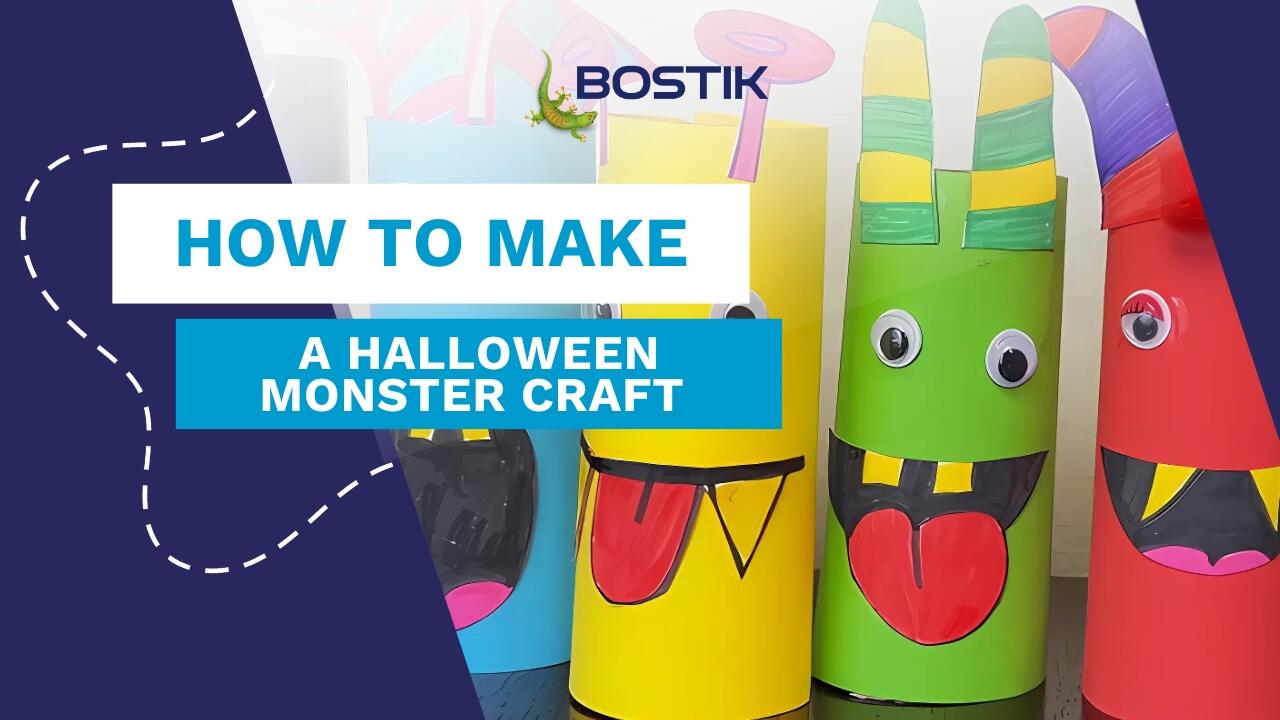
How To Make Monster Crafts for Kids Halloween
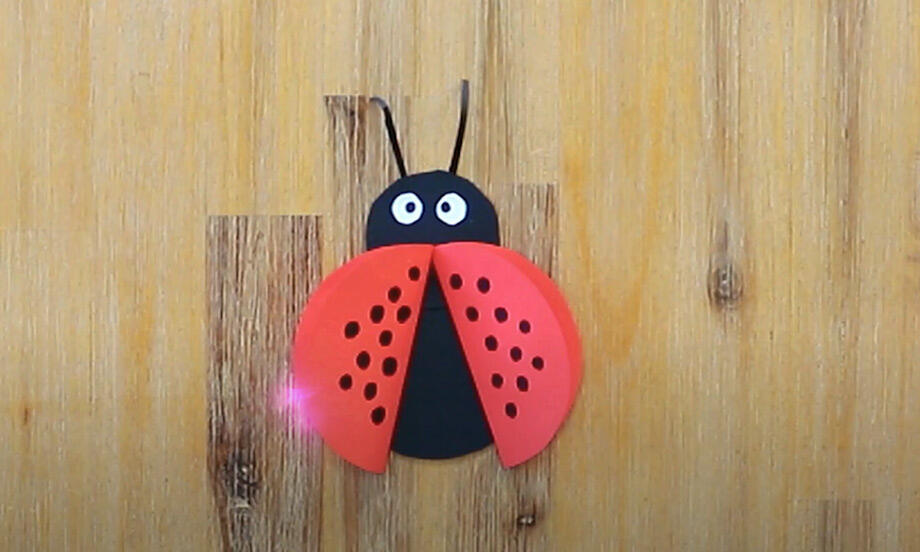
Ladybug

Mother's day card
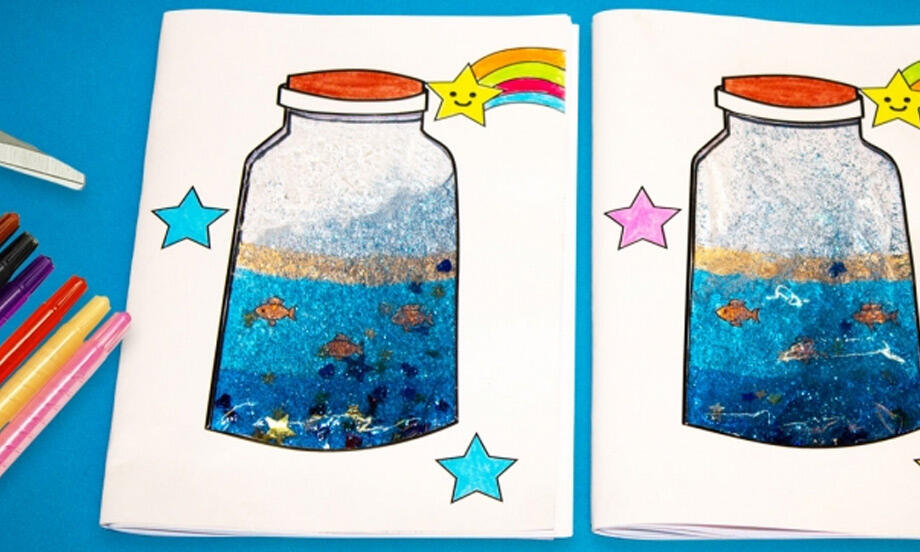
Ocean notebook
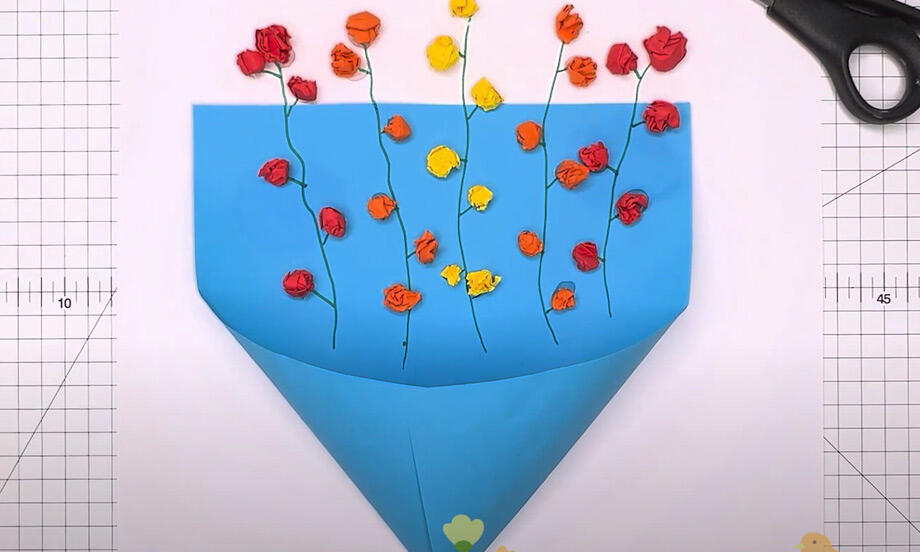
paper flower
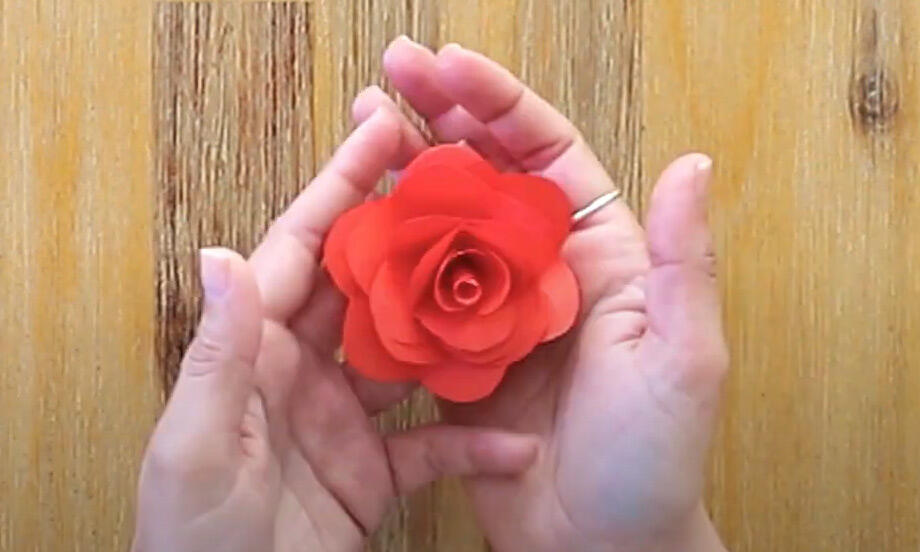
Paper rose
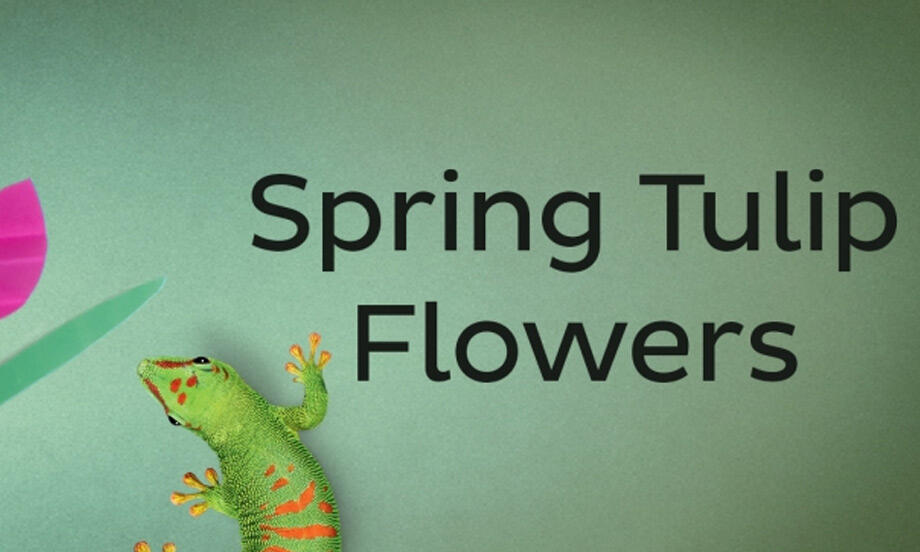
Spring Tulip
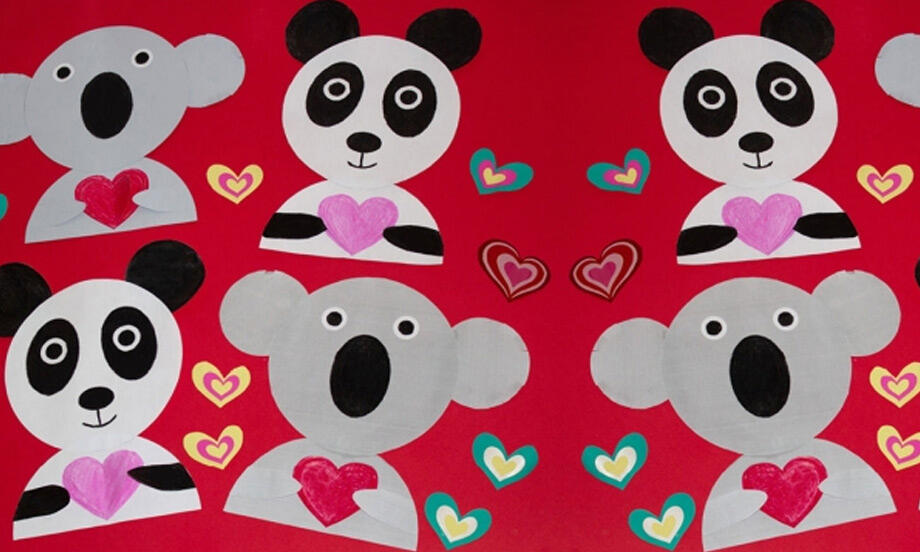
Valentine's day animals
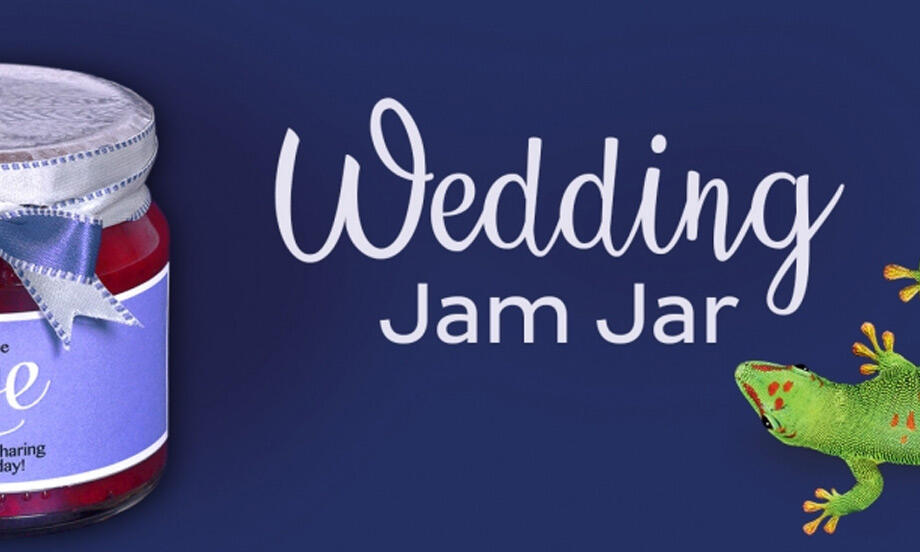
Wedding jam jars

Wedding match boxes
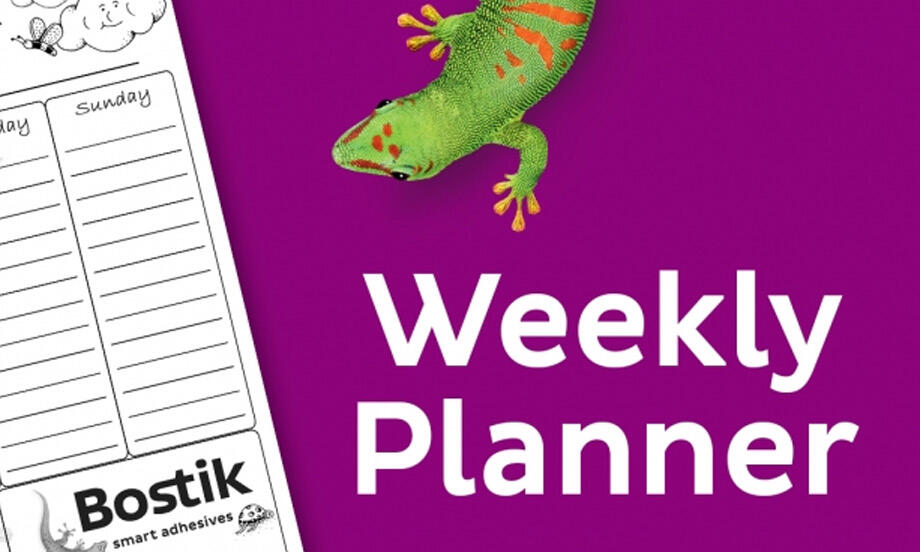
Weekly planner