Snowman
Cozy up your winter décor with this charming DIY Snowman Craft⛄️❄️! Start by cutting the foot of a white ankle sock just below the heel, this forms the snowman's body. Fill it with rice using a funnel, then divide head and body with an elastic band. Trim if needed for shape. Top with a colorful, patterned sock hat, secure it with Bostik Clear Adhesive, and add cozy flair with a white pom-pom. Stick on an orange pom for the nose, then draw two eyes using a permanent marker. Quick, cuddly, and delightfully seasonal, this snowman brings warmth to any winter space.
Instructions


Christmas serviette rings

Christmas unicorn baubles
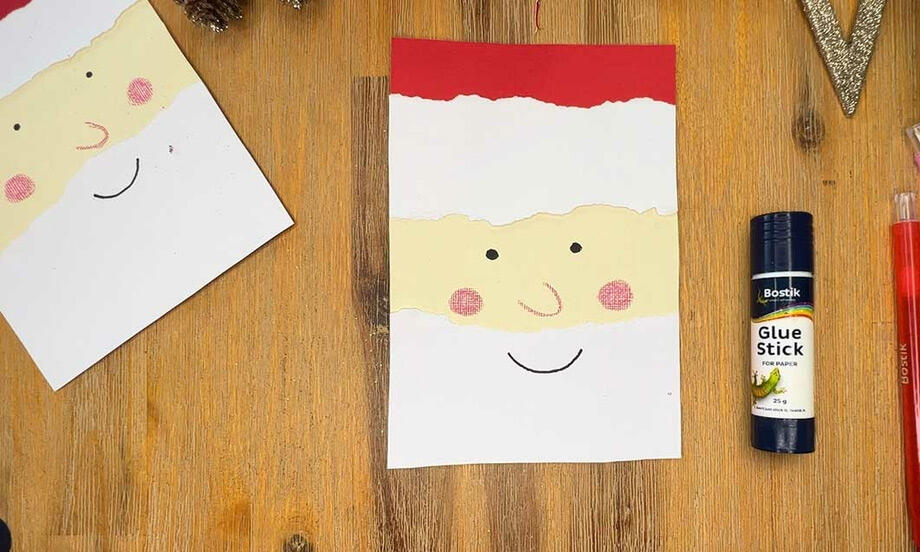
Santa Christmas card
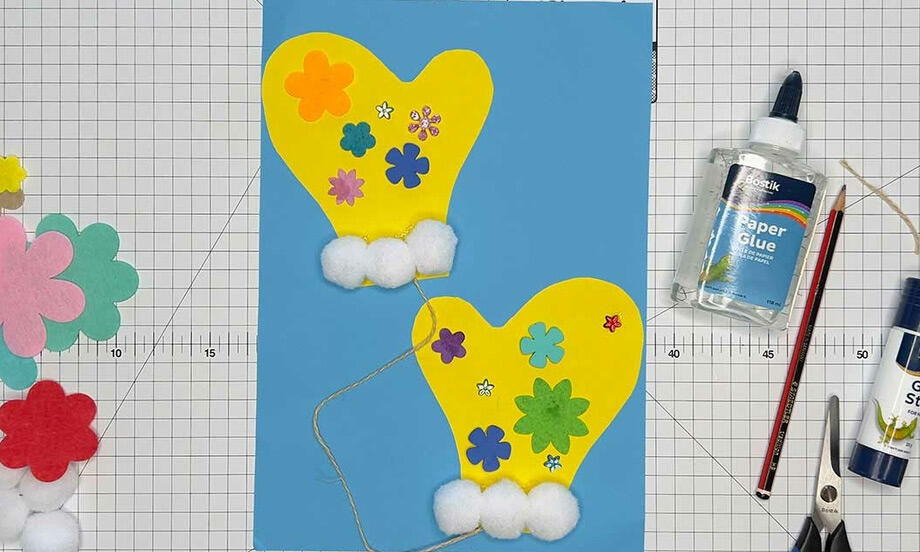
Winter mitten craft
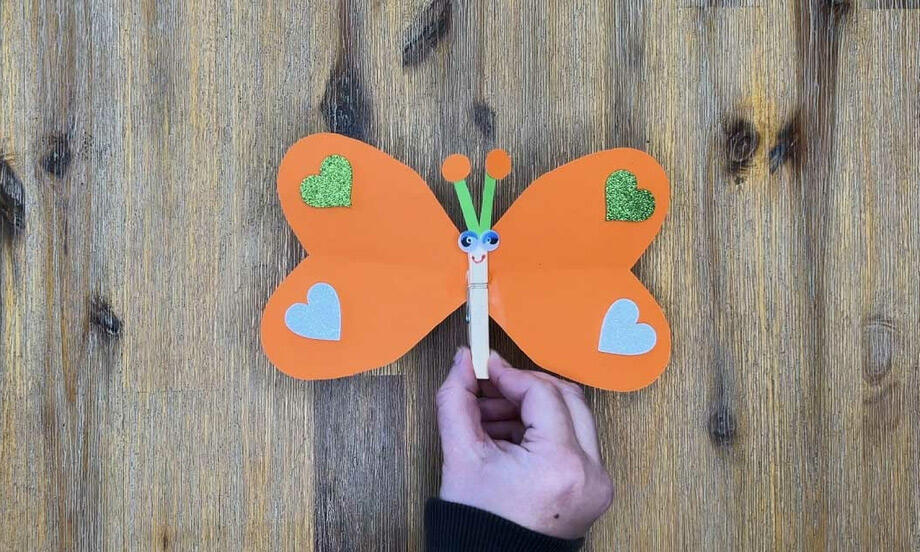
Butterfly craft
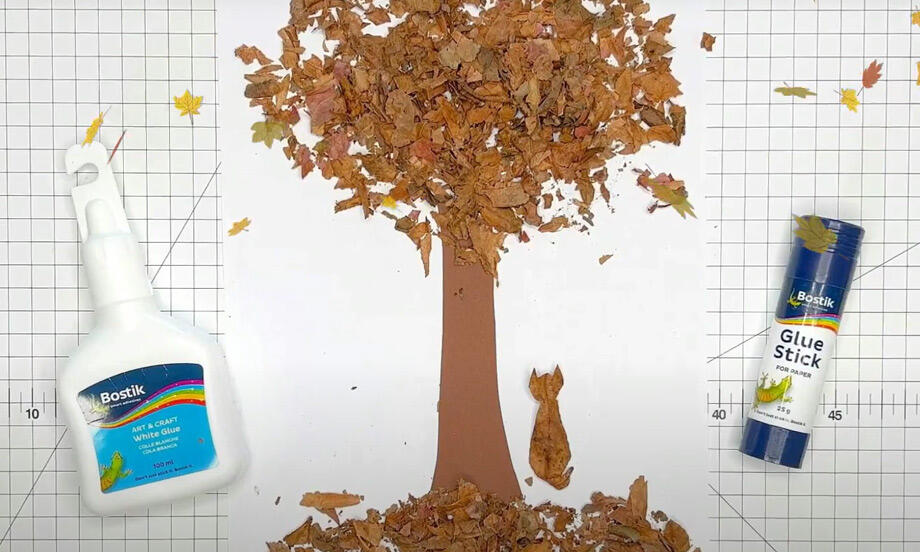
Crafting with leaves
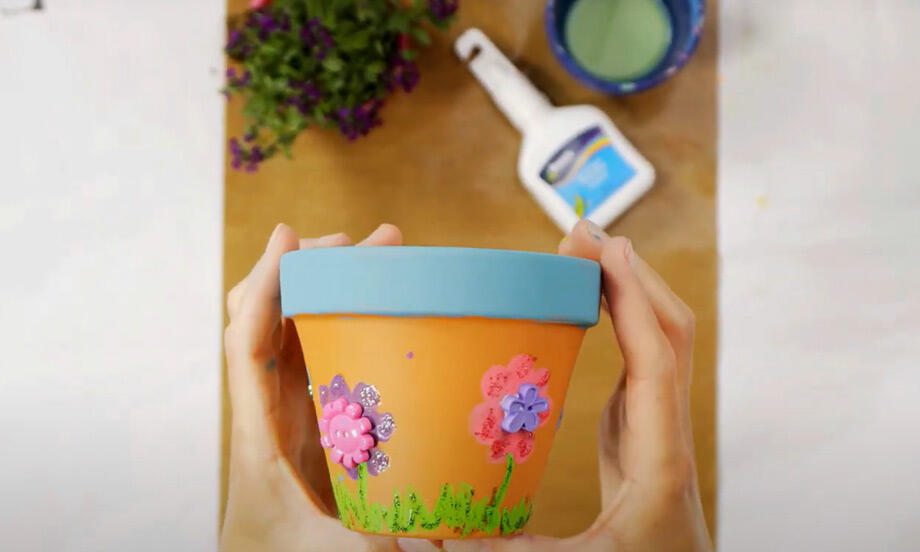
Flower pot decoration
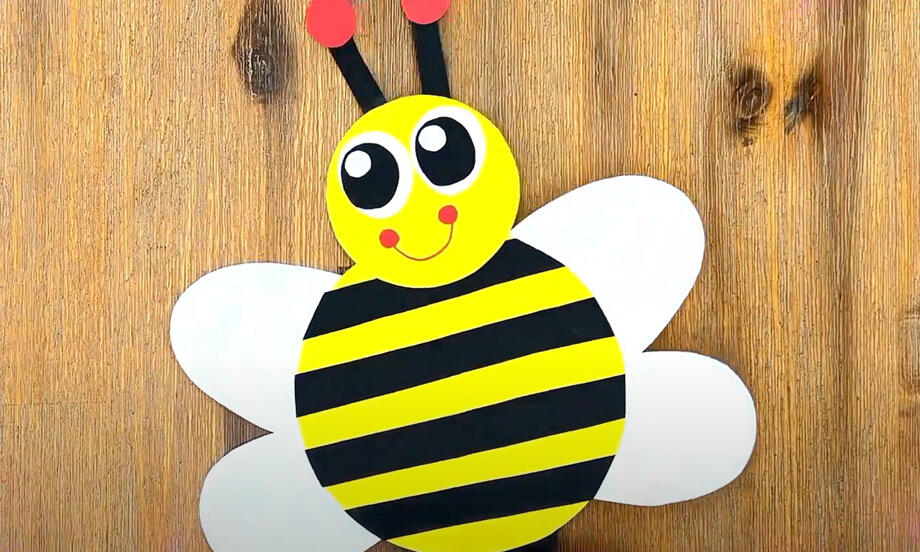
How to make a bee-eautiful bumble bee
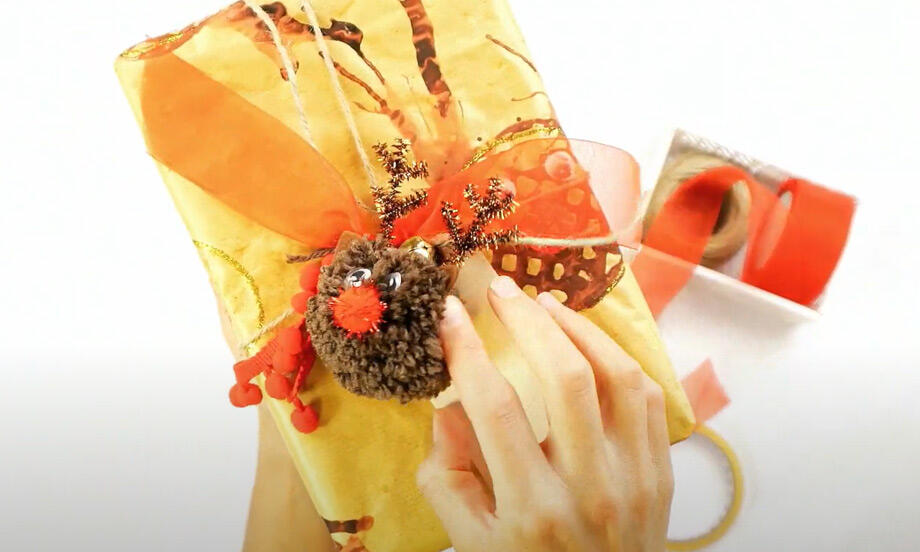
How to make gift wrapping paper
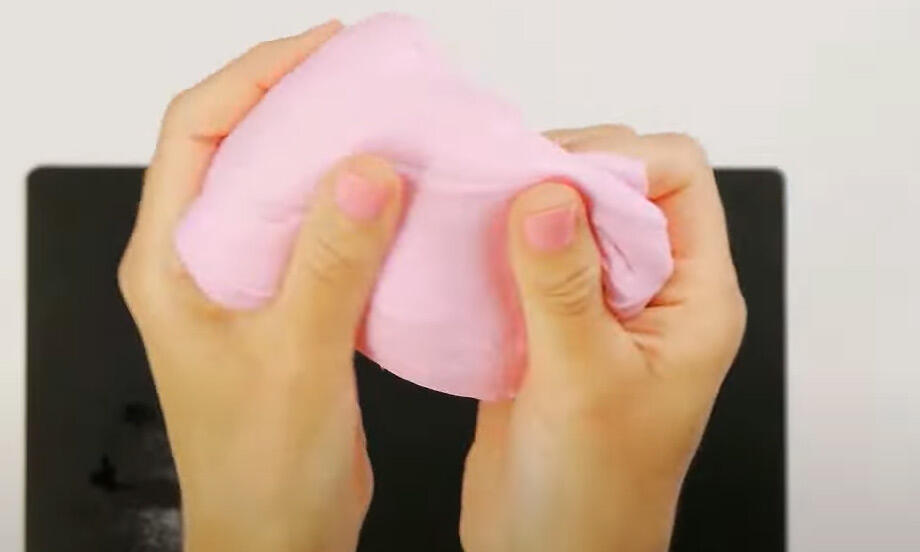
How to make slime
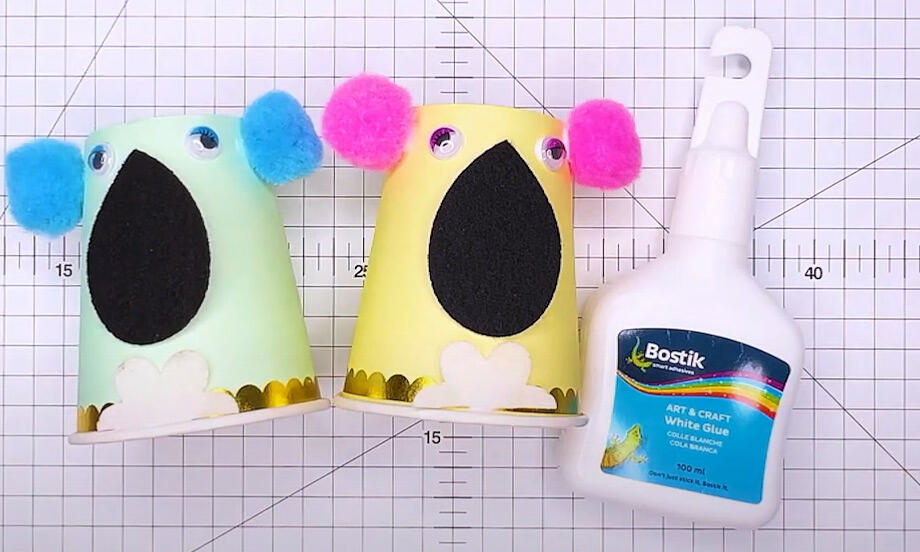
Paper cup kaola bear
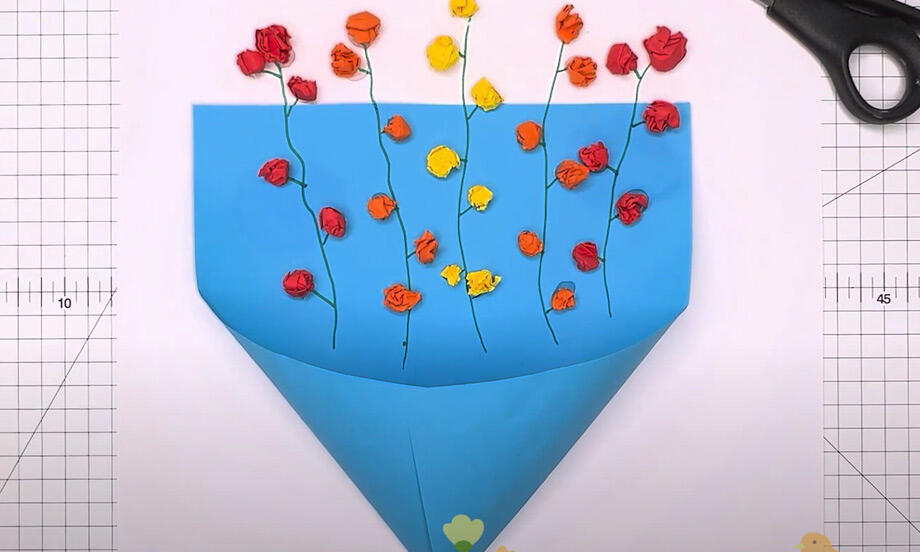
paper flower
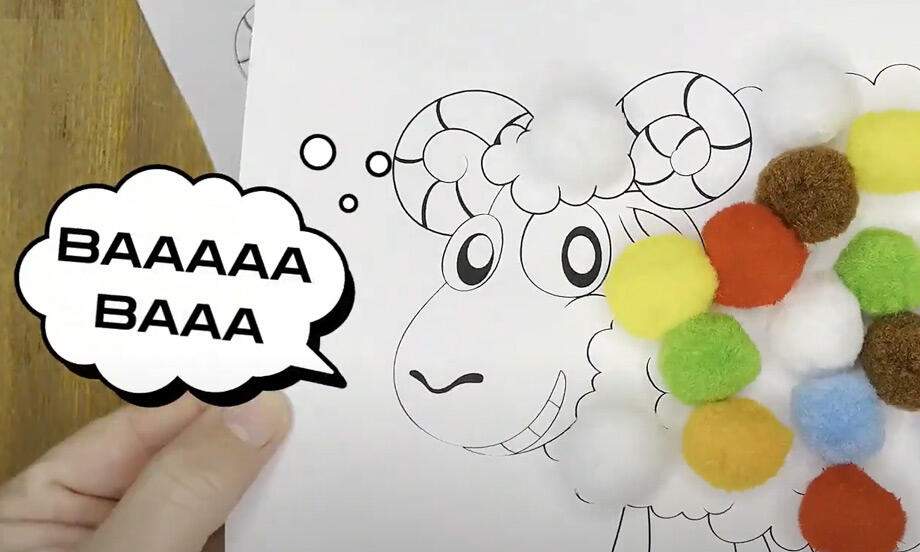
Sheepishly fun craft idea for small kids
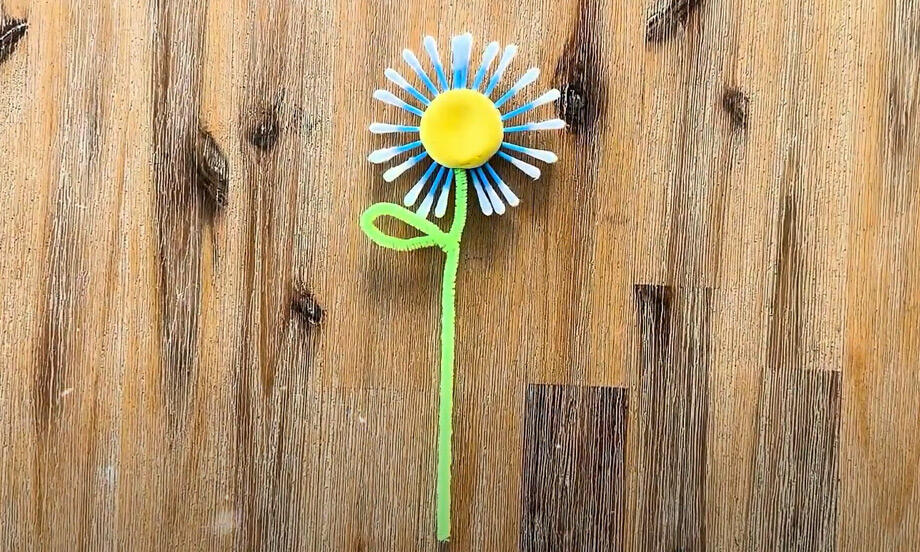
Spring flower craft
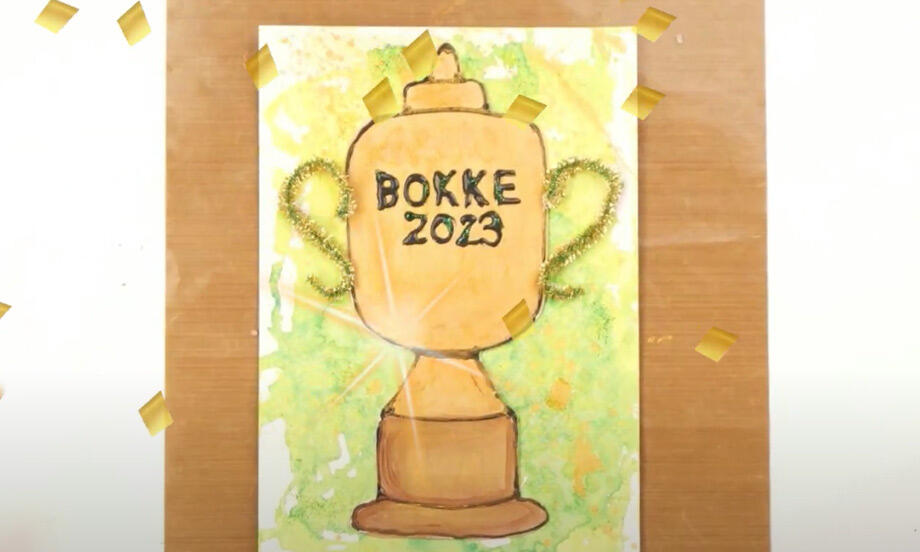
Springbok trophy card craft
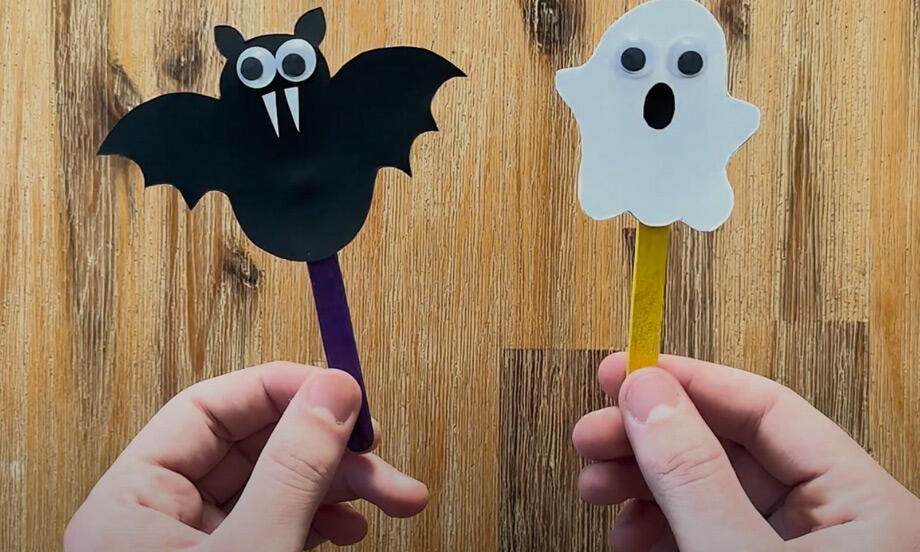
Halloween stick monster craft