How make your own wand
Despite the tradition of the wand choosing the wizard, we'd like to think that sometimes the wizard can pick their own magical stick. Today is one of those days...
Welcome wizards, witches, sorcerers, warlocks, and all magic people! We’re going to take you on a journey of enchantment and charm to make your own wand.
Follow our 6 simple steps for this DIY magic wand craft and be equipped to cast spells in just a few magical minutes.
What you will need
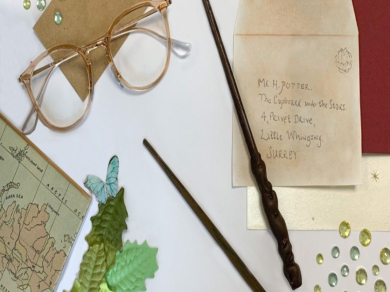
- Chopsticks (or a wand-sized stick from the garden)
- Brown paint (or any colour of your choice)
- Paintbrushes
- Craft embellishments
Instructions
Step 1: Summon your craft supplies
Lay the old newspaper on the work surface to protect it from any spillages.
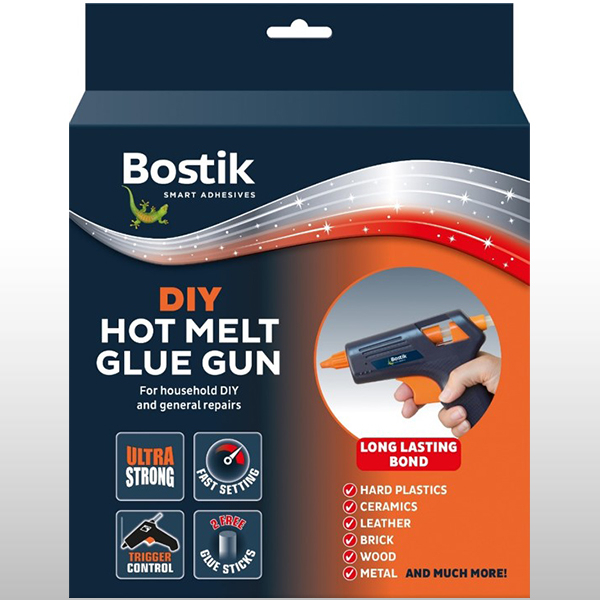
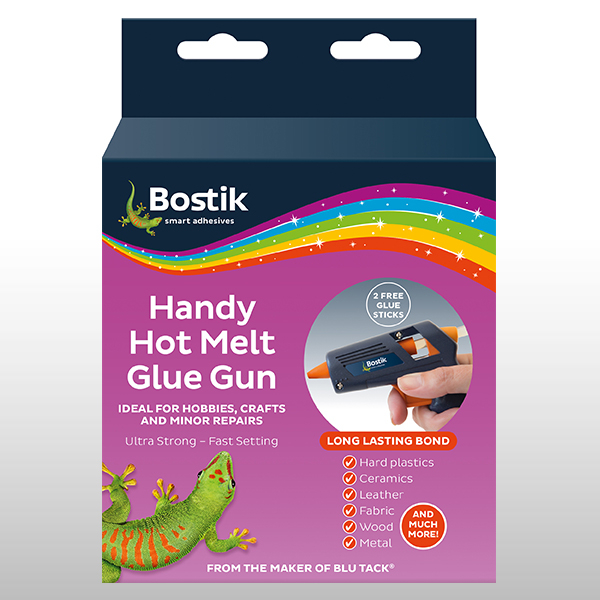
Prepare the Hot Glue Gun for use by fitting the metal stand, loading the grip ring at the rear of the gun with a glue stick and pressing the trigger several times to ensure the stick is secure.
Plug in the gun and a light will indicate it is in operation. Rest the gun on its stand to warm up for approximately 5 to 10 minutes.
Step 2: Apply the hot melt glue
Hold your chopstick at the thinnest end and prepare to apply the hot melt glue to the thicker end.
Press the trigger until the adhesive flows from the nozzle and carefully add the glue to the thick end of the chopstick in your desired pattern - your DIY magic wand is taking shape. We applied the glue in a continuous string to create a twirl-effect covering the top third of the wand.
Step 3: Allow the glue to dry
Wait for the glue to dry fully for a couple of minutes - the hot melt adhesive will create an initial bond within 15 seconds of application.
If you'd like to make your wand design thicker, apply your glue in layers, ensuring it is fully dry after each application to create an ultra strong, long-lasting bond.
Step 4: Paint your DIY wand
Once the glue has dried, prepare to paint your chopstick.
We used brown paint for the traditional 'wand-like' effect. Your design can be as bold and bright as you’d like - unleash your inner magician on the wand!
Tacky's tip
Fancy adding jewels and gems? Create small blobs of hot melt glue onto your dried wand and very carefully press your craft embellishments into the warm adhesive before it fully cures. If using small, fiddly gems, we recommend using a pair of tweezers to stick your jewels into place, avoiding the adhesive from contacting your skin.
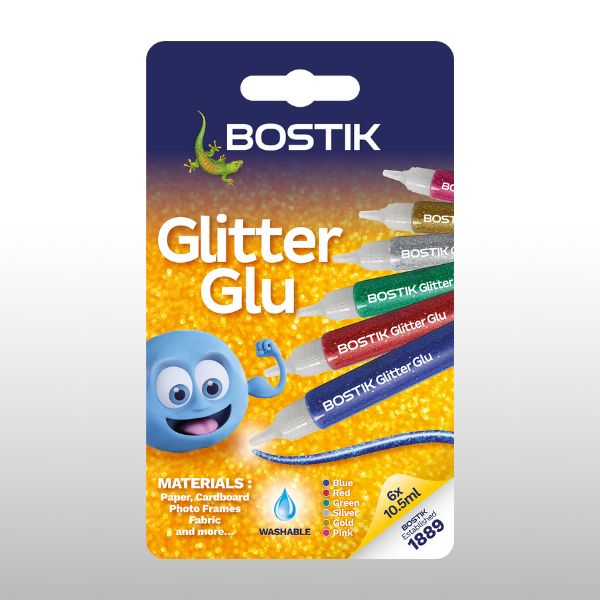
Plus, you can easily decorate your wand with some sparkle using our Glitter Glu pens, available in six colours - blue, pink, green, red, gold and silver.
Step 5: Leave the paint to dry
Allow your paint to dry fully before casting any spells.
Step 6: Voilà! The DIY magic wand craft is done
Voilà! You've followed our Harry Potter wand tutorial and now have a DIY magic wand of your own. Welcome to the world of wizardry and witchcraft.
Hot Melt Glue Gun

