6 steps to make a handmade elf card using our printable template
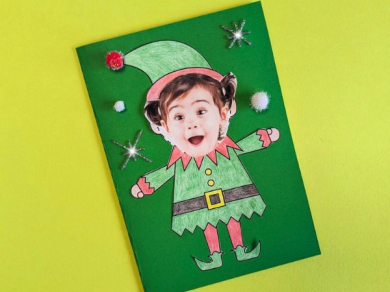
Looking for a Christmas elf craft to get stuck into? Christmas is a time for giving, so surprise your loved ones with a handmade elf card and share your thanks in a unique and personalised way.
Using our elf craft template, you can 'elf yourself' into Santa's little helper, perfect for getting the little ones into the festive spirit whilst keeping them busy during the half term holidays.
Follow our guide and create a DIY elf card in six simple steps…
What you will need
- 1 x Picture of yourself or a person of your choice (we recommend using a close-up selfie)
- 1 x Coloured card (we recommend a festive red or green)
- Coloured pens or pencils
- Paints and paint brushes
- Scissors
- OPTIONAL: Craft embellishments such as sequins, stickers, gems, or buttons
Instructions
Step 1: Print out the elf craft template
Print the elf template onto white card or paper. You may want to have a couple spare in case of mistakes.
Step 2: Colour in your elf
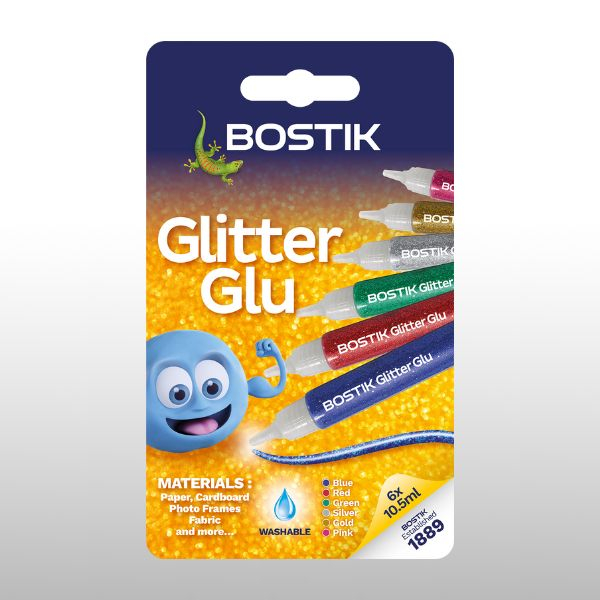
Colour in your elf as desired using pens, pencils, paints or similar. To minimise the mess that loose glitter can create, use Bostik's Glitter Glu pens.
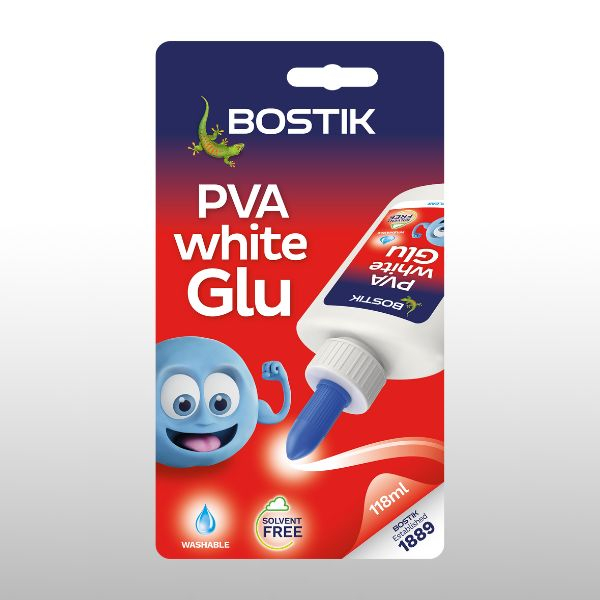
Use PVA white Glu to add craft embellishments such as sequins, gems or similar.
Tacky's tip:
Remember to stay within the lines and to shade carefully so there aren't any white gaps.
Important:
Step 3 includes using scissors. Please ensure children are supervised when using scissors. If necessary, an adult should complete the cutting on behalf of a child.
Step 3: Cut out the elf stencil
Next, carefully cut out your elf craft template. We recommend saving any spare paper cut outs for future use and don't forget to recycle them.
Step 4: Fold the coloured card
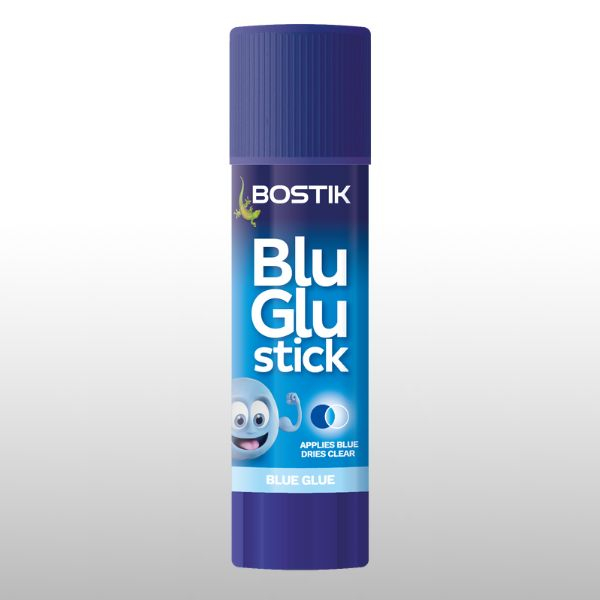
Fold the coloured card in half taking care to accurately align the edges. Then, using Blu Glu stick, apply glue to the back of the elf cut out and attach it to the front of the card.
Step 5: Cut and stick your selfie
Cut out your chosen selfie that you're featuring on the card - you only need to cut out the face.
Stick the picture in place at the top of the elf's body as indicated by the dotted line, using Blu Glu stick.
Tacky's tip:
Make sure your photograph is big enough to fit proportionally on top of the elf's body. We recommend the diameter of your chosen selfie to be approximately 6cm.
Step 6: Decorate your DIY elf card
Add some finishing touches to the outside of the card by attaching sequins, gems or buttons using PVA white Glu and leave them to dry.
Tacky's tip:
We love drawing sparkly snowflakes to our cards using our Glitter Glu pens - a mess-free alternative to loose glitter as it's suspended inside the glue.

