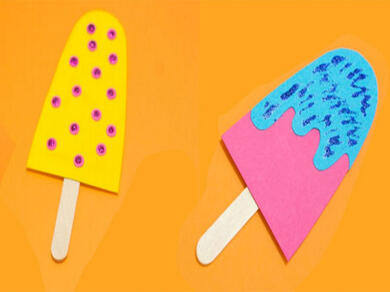
Bostik icy pole
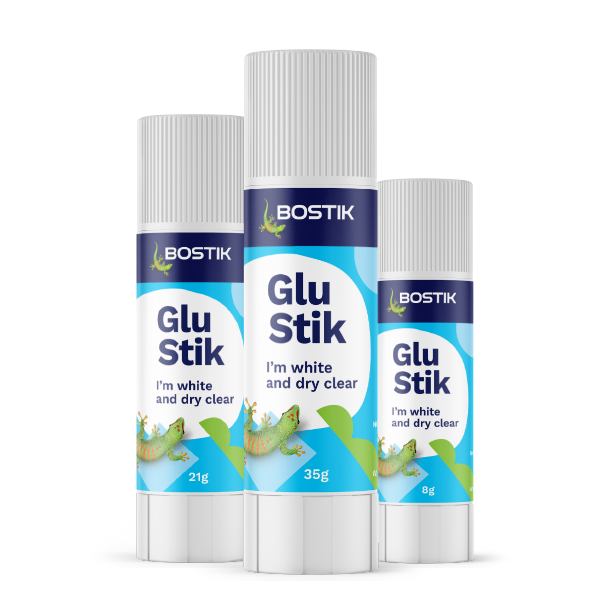
Cool off your creativity with this bright and breezy DIY Bostik Icy Pole Craft🍦, a perfect summer activity for makers of all ages! Start by sketching your icy pole shape onto coloured card, then decorate it with fun designs using Bostik Glu Stik. Apply the design over a popsicle stick base using Clag Kids PVA, and top it off with sparkly flair using Bostik Glitter Glue for that perfect freeze-out style. It’s a wonderful way to indulge in creative play without melting the fun. This simple craft blends colour, texture, and imagination into a delightful keepsake, no freezer required! ✂️
Instructions
Animal Games
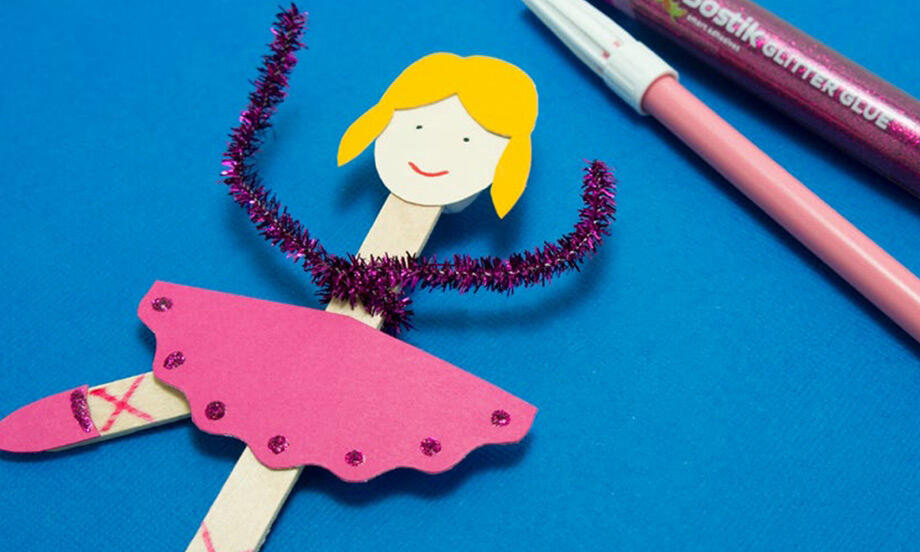
Ballerina
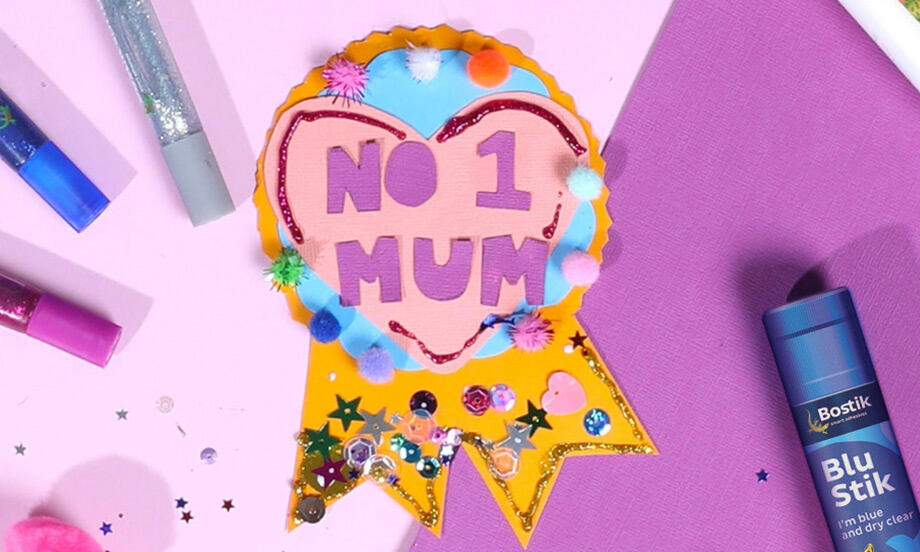
Best Mum Ribbon
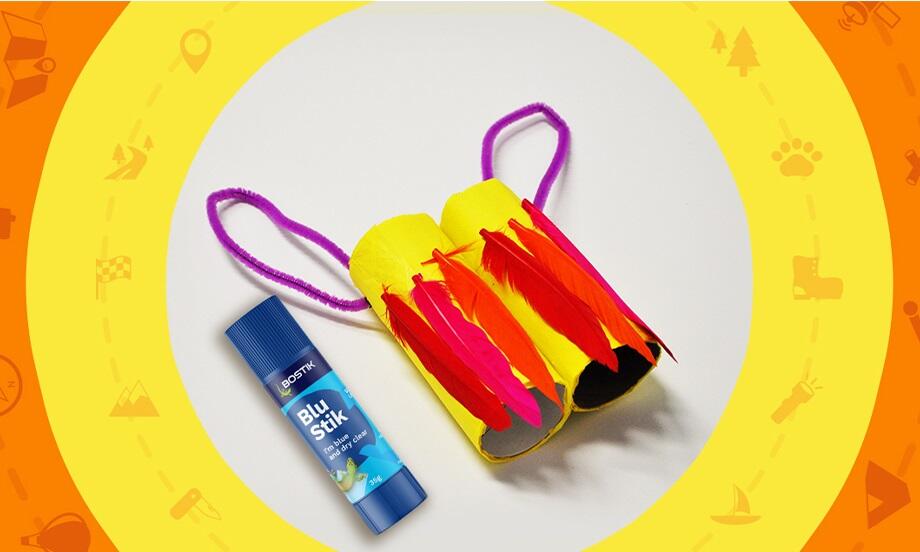
Binoculars
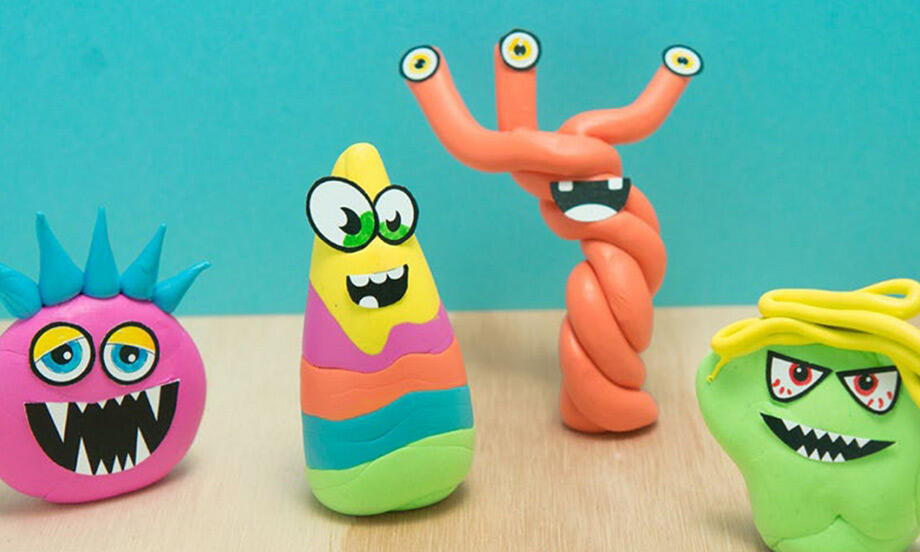
Blu Tack® Monsters
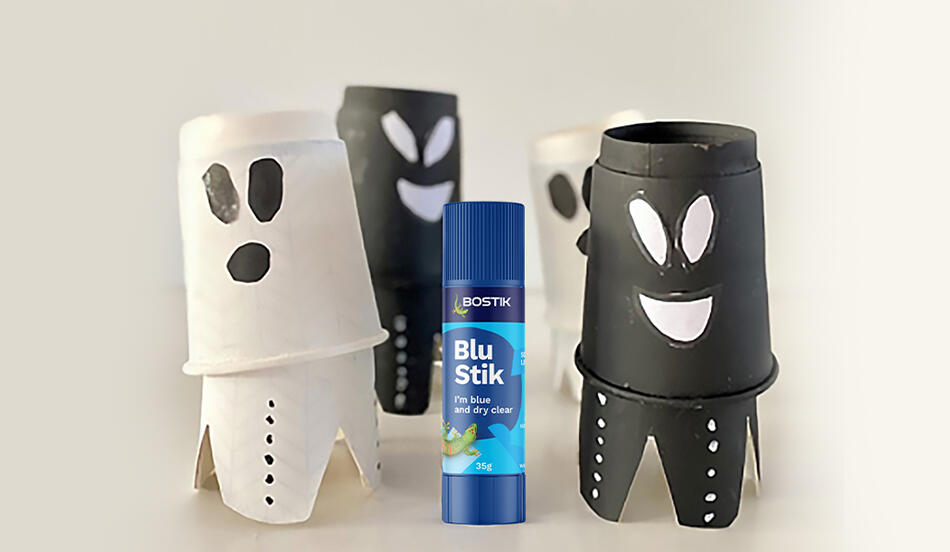
Bobbing ghosts
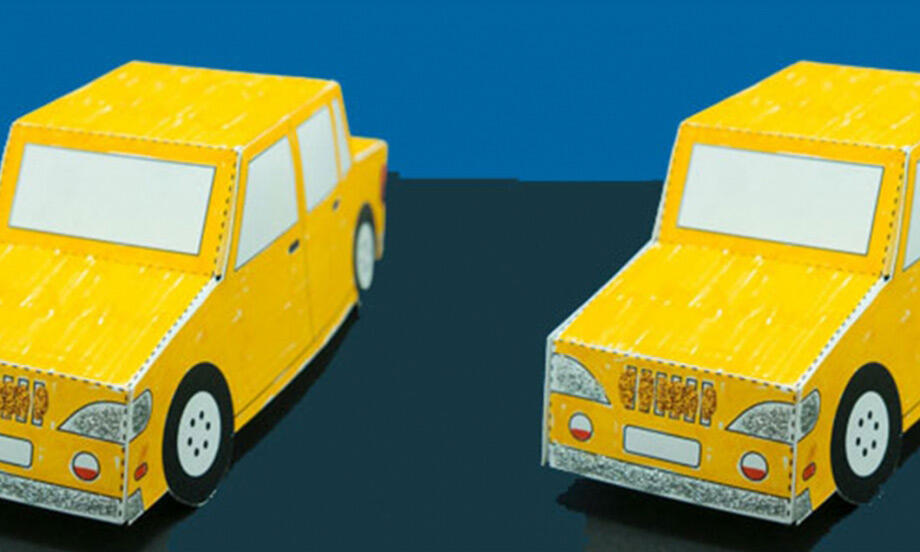
Bostik car
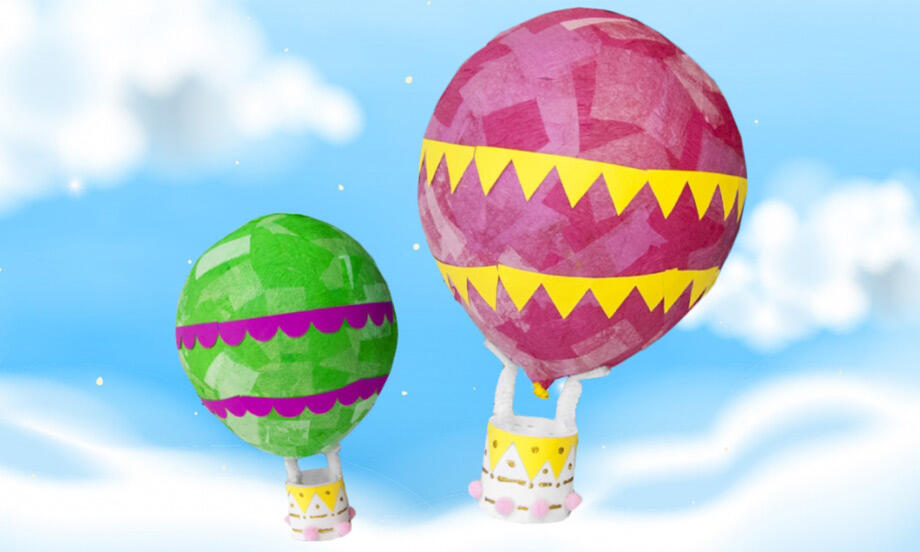
Bostik Hot Air Balloon
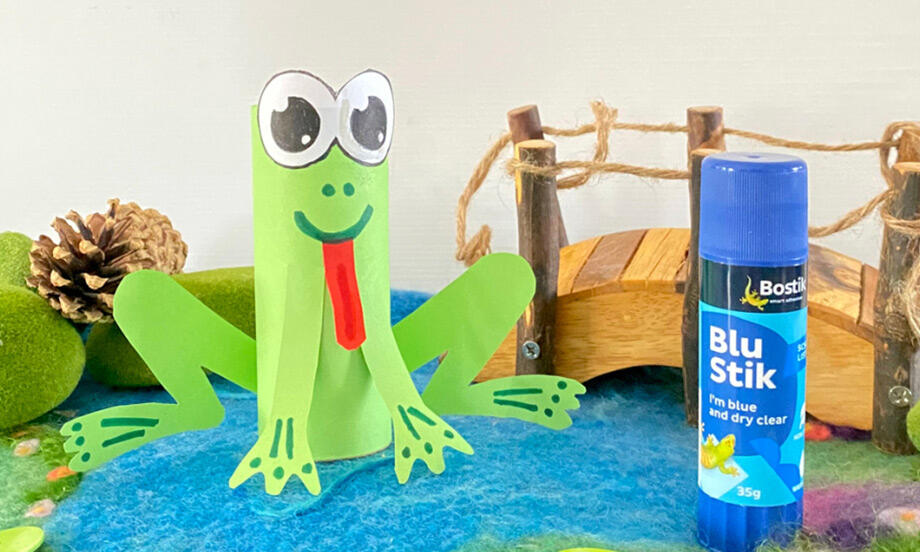
Cardboard Frog
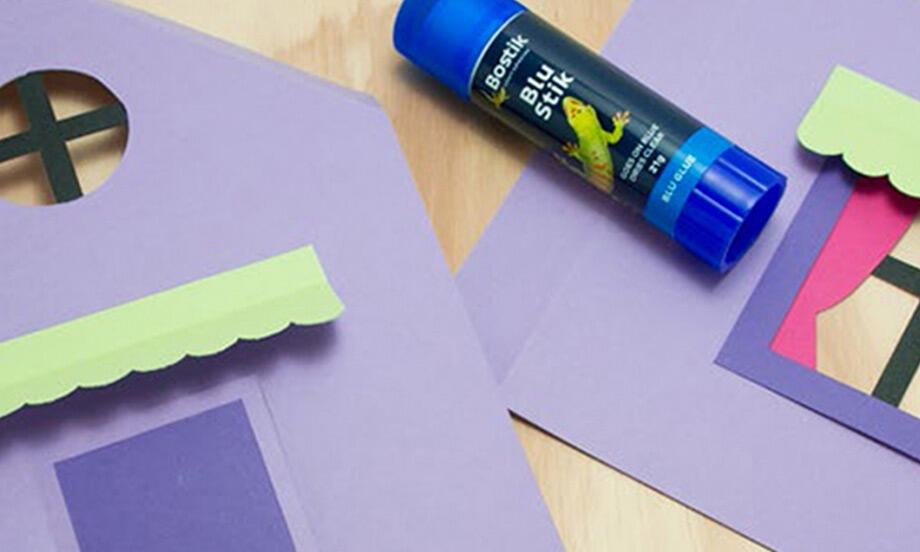
Cardboard House
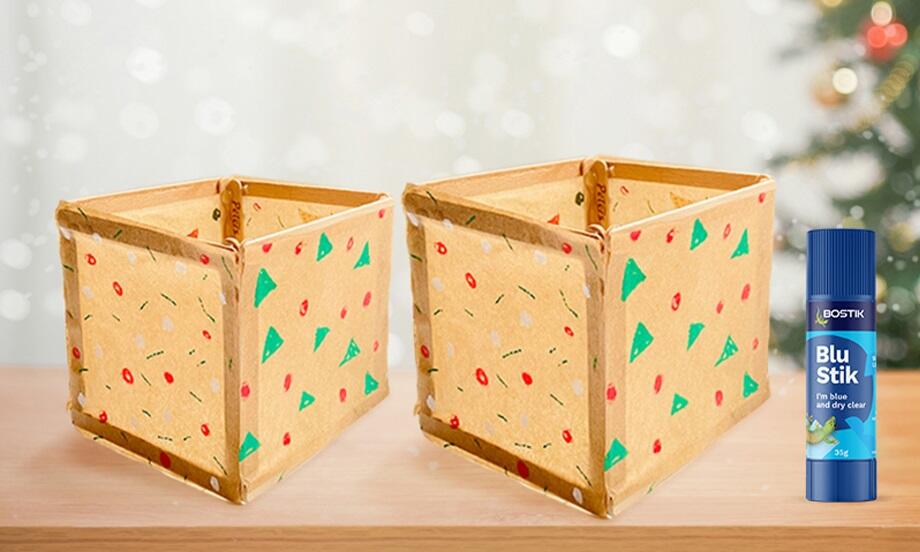
Christmas lanterns
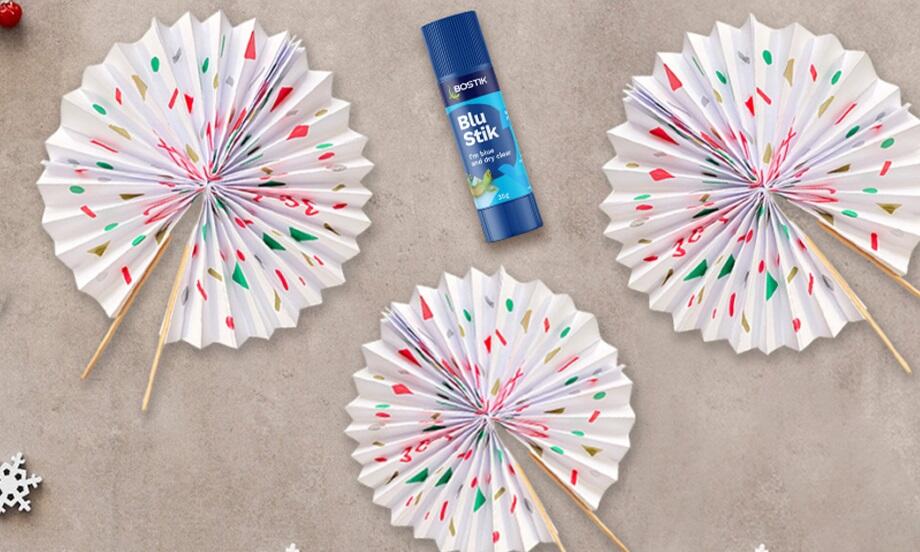
Christmas party fan
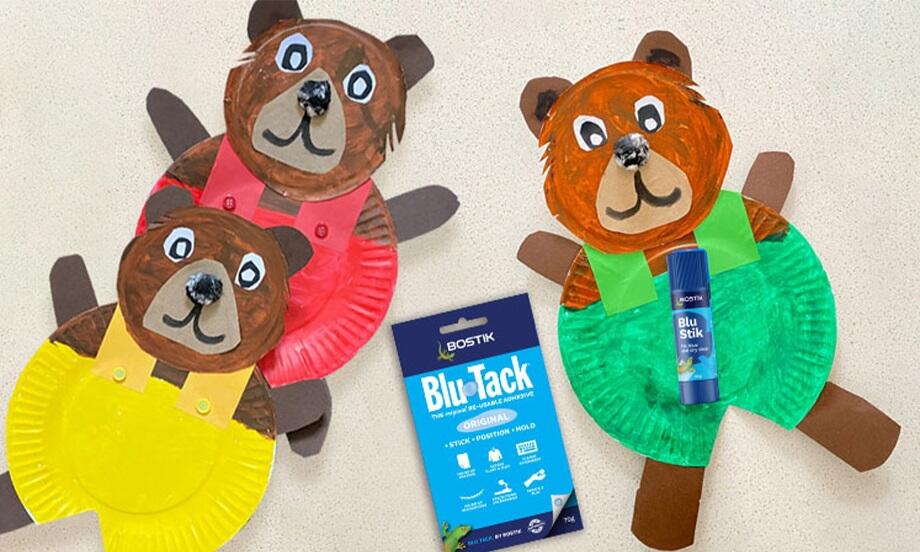
Corduroy the bear
DIY bunting
DIY solar oven
DIY Stationery Holder
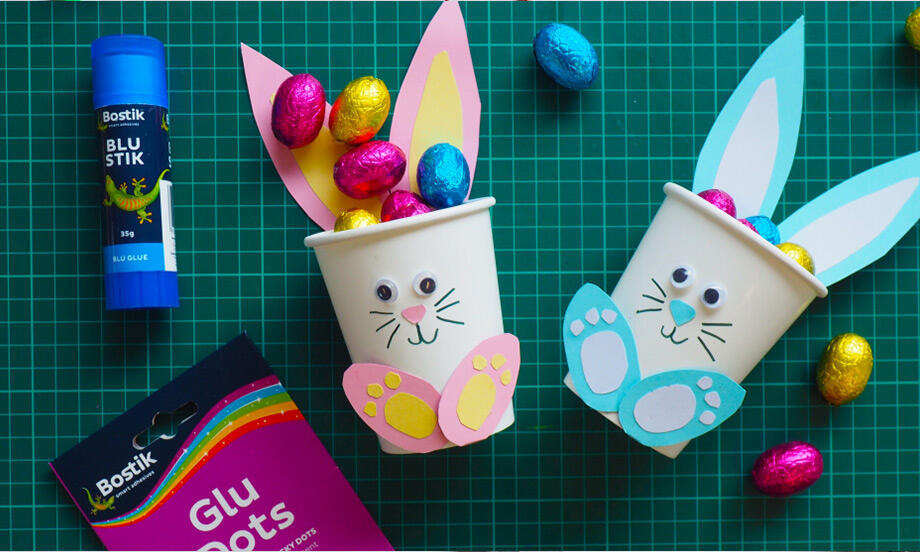
Easter cup bunnies
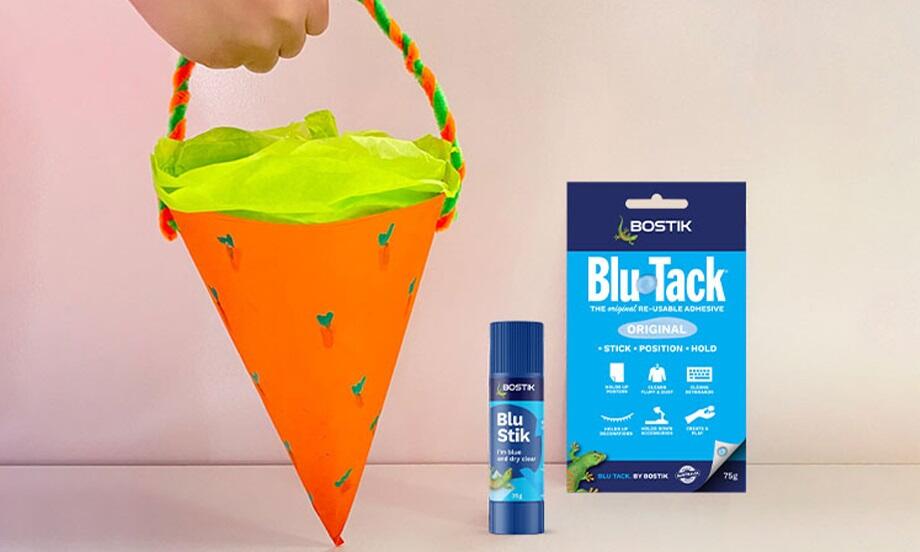
Easter Egg Basket
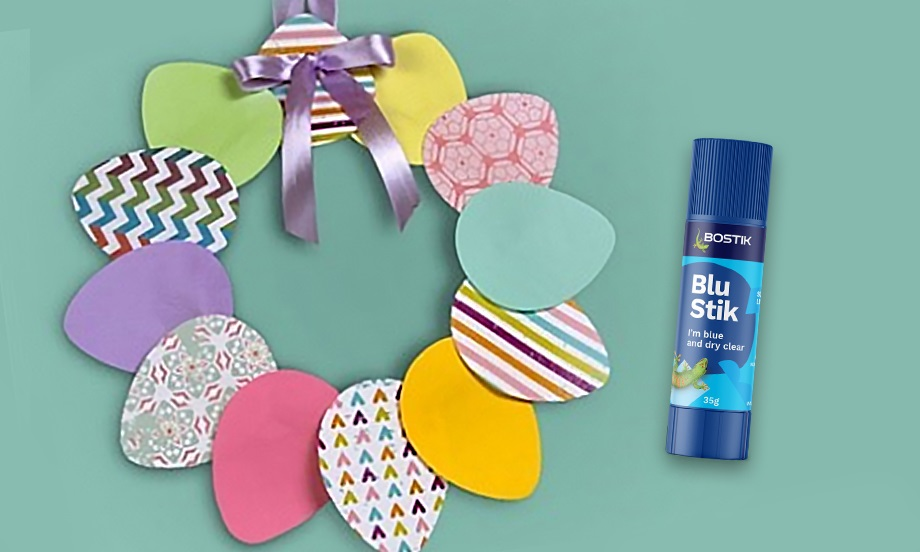
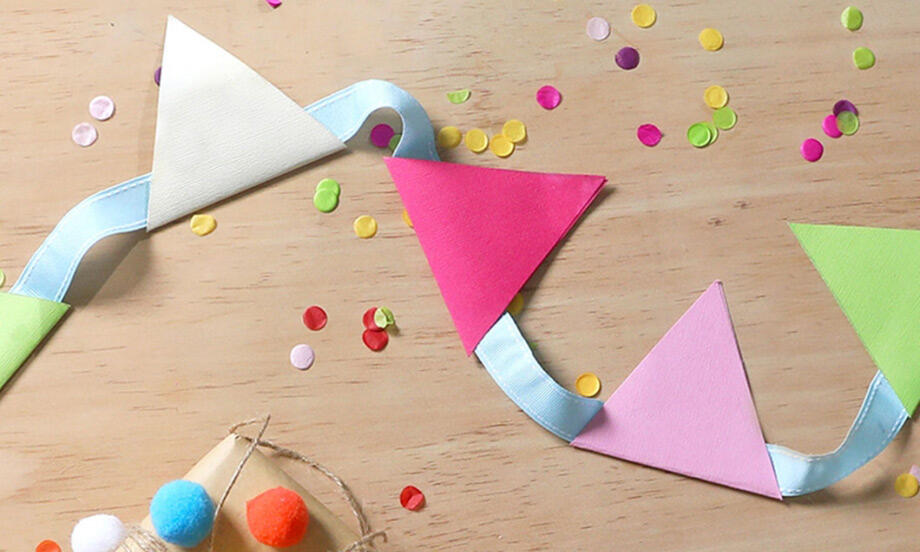
Easter Garland
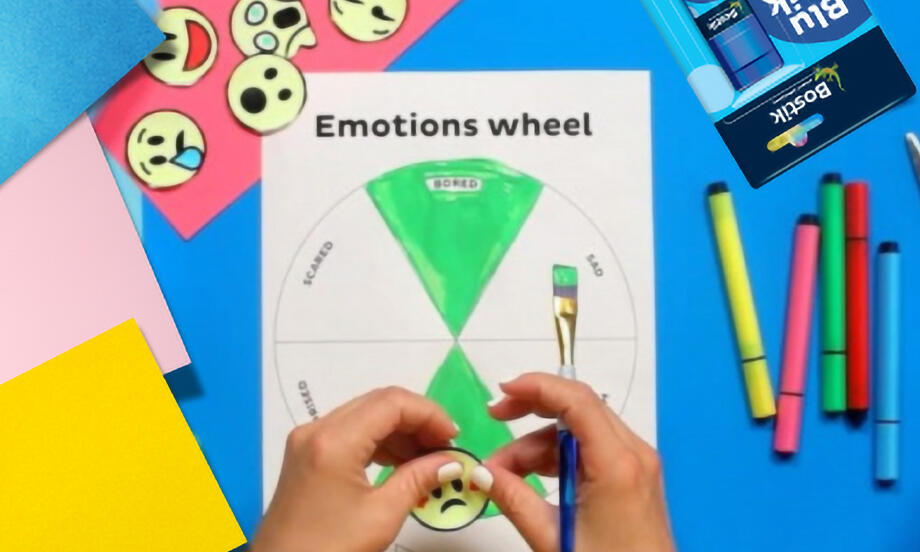
Emotions wheel
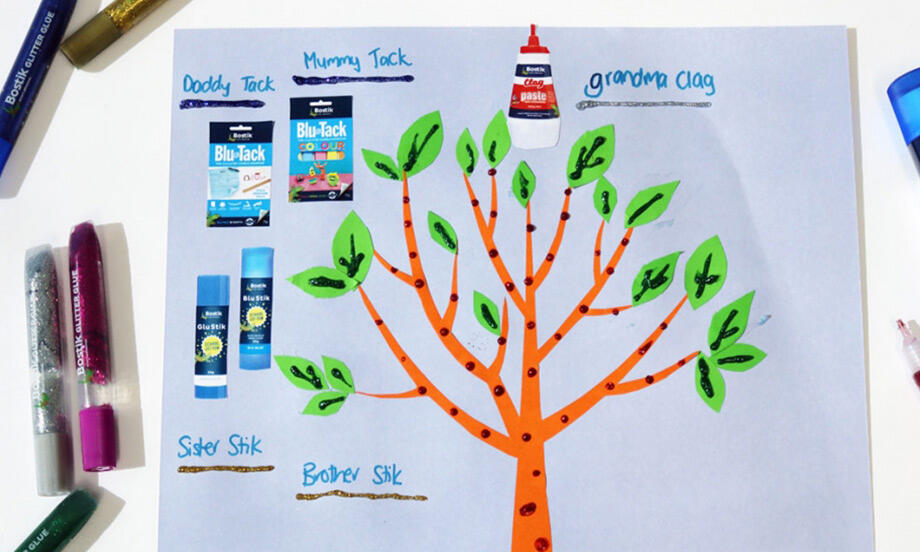
Family tree project
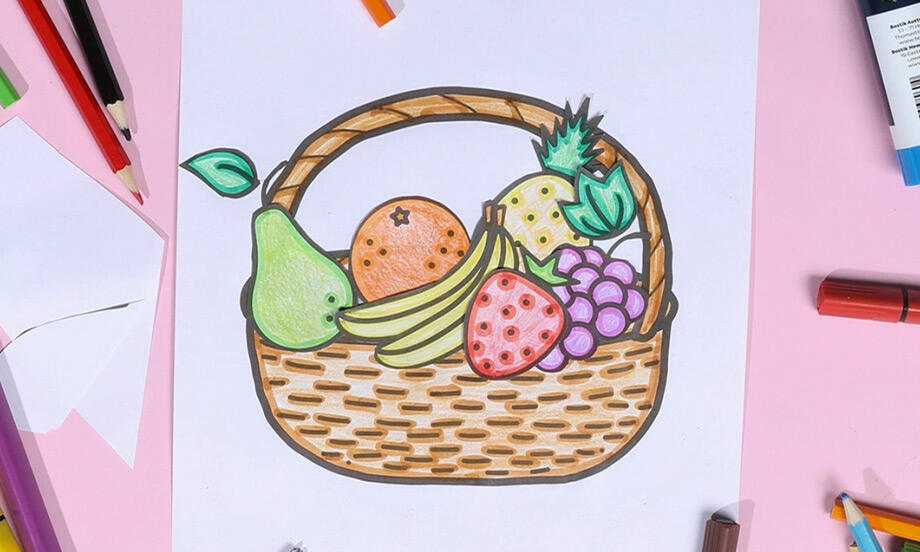
Fruit basket
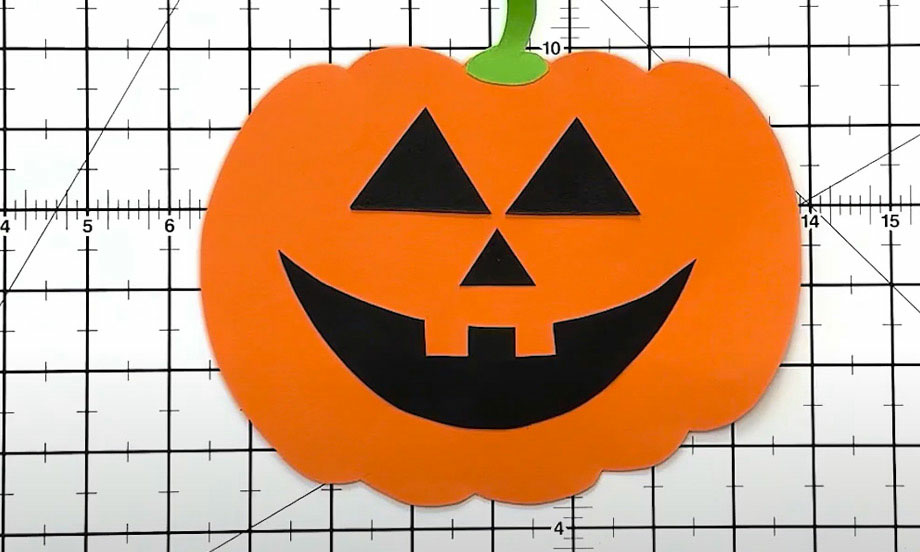
Halloween decoration pumpkin craft
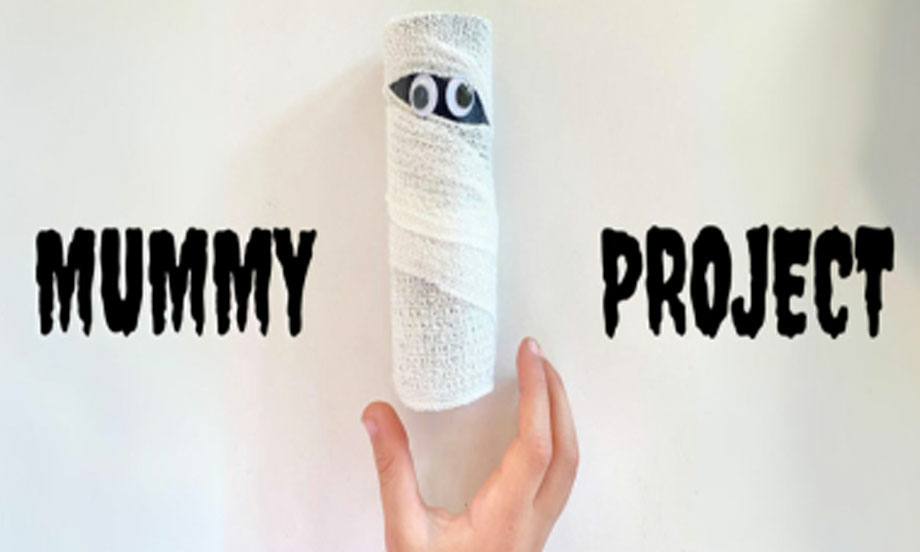
Halloween mummy
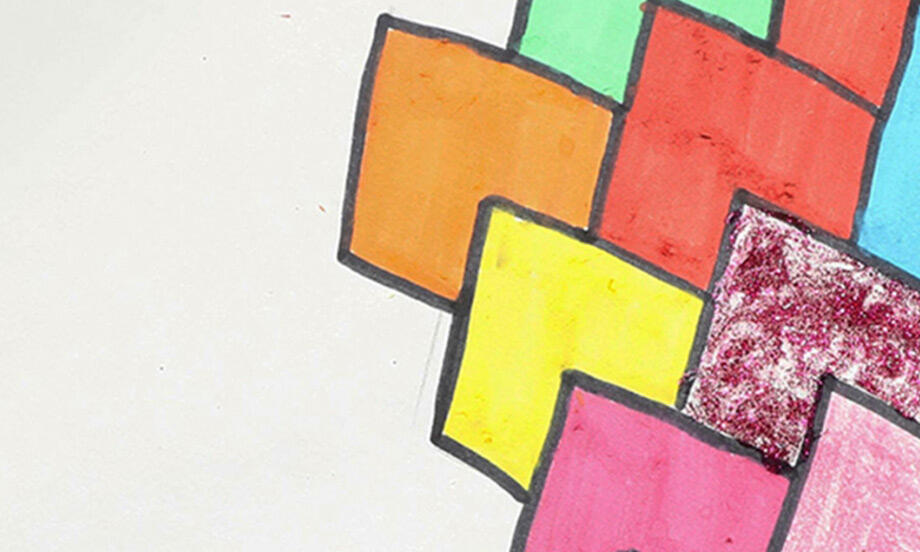
Heart tessellations
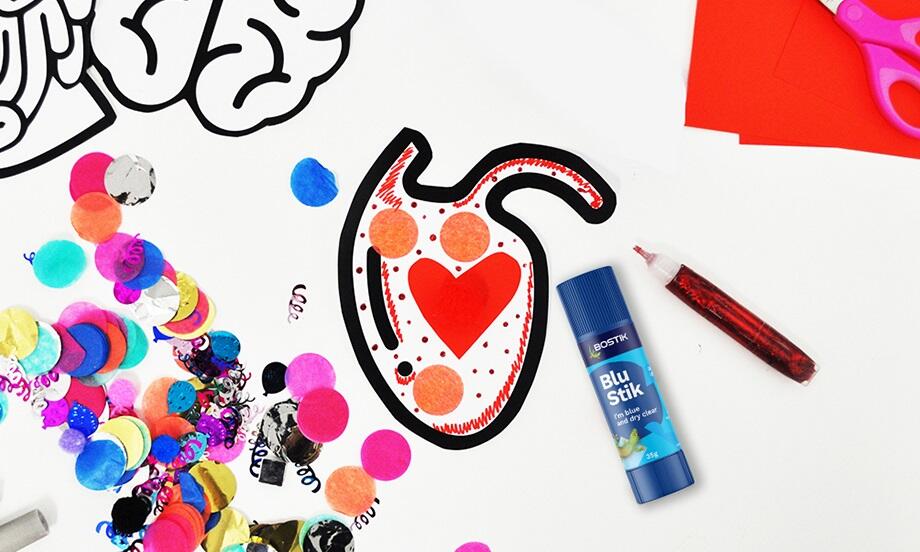
Human Body Project
Mechanical Gary Gecko
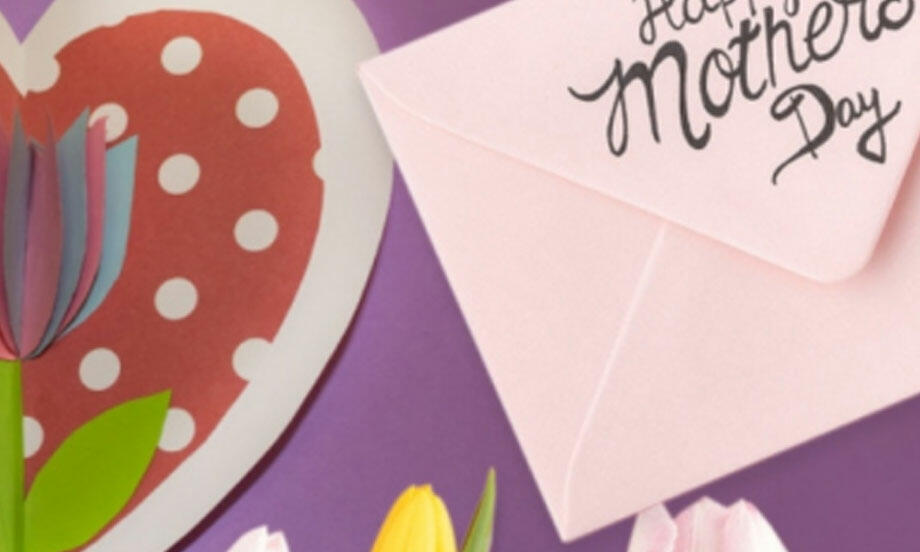
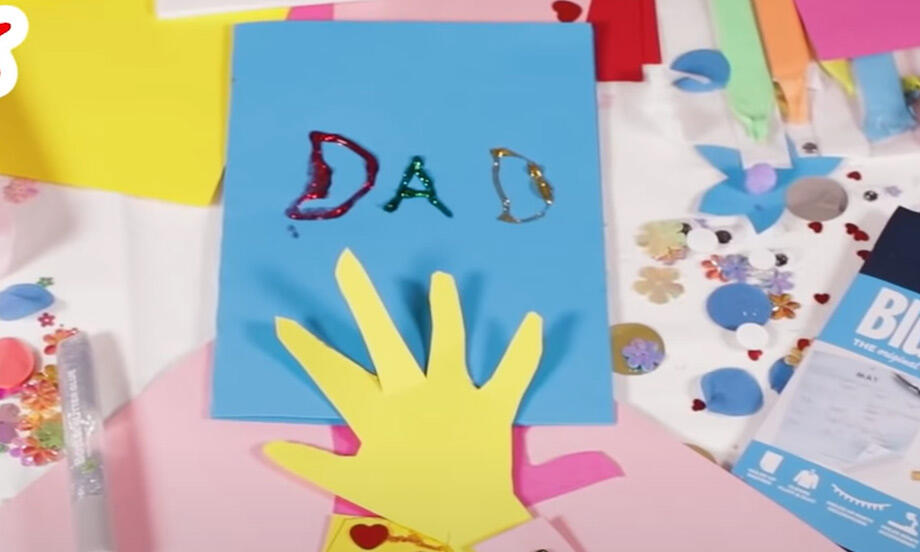
Mother's day card
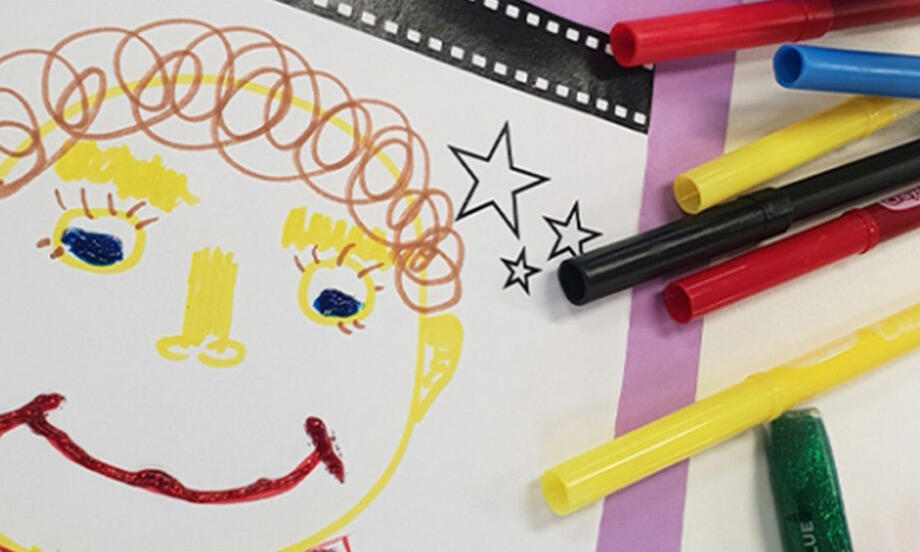
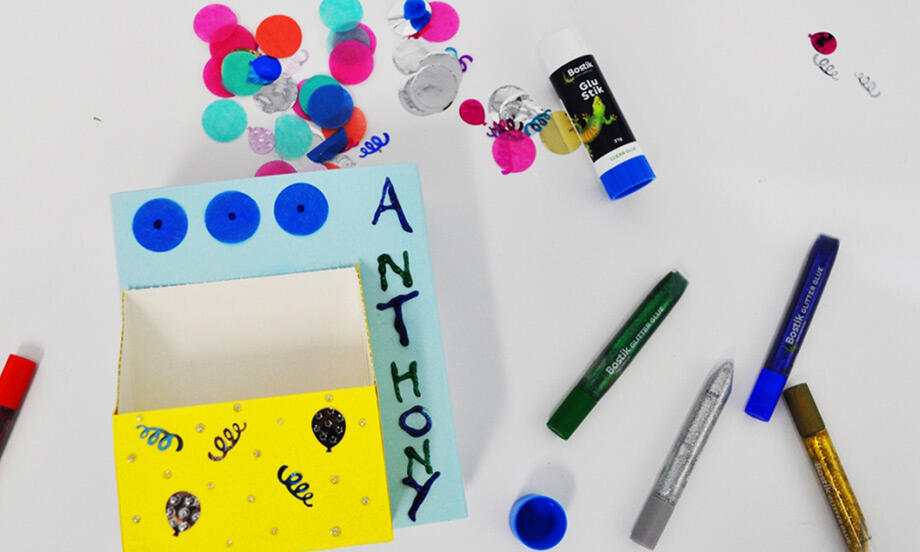
My name is
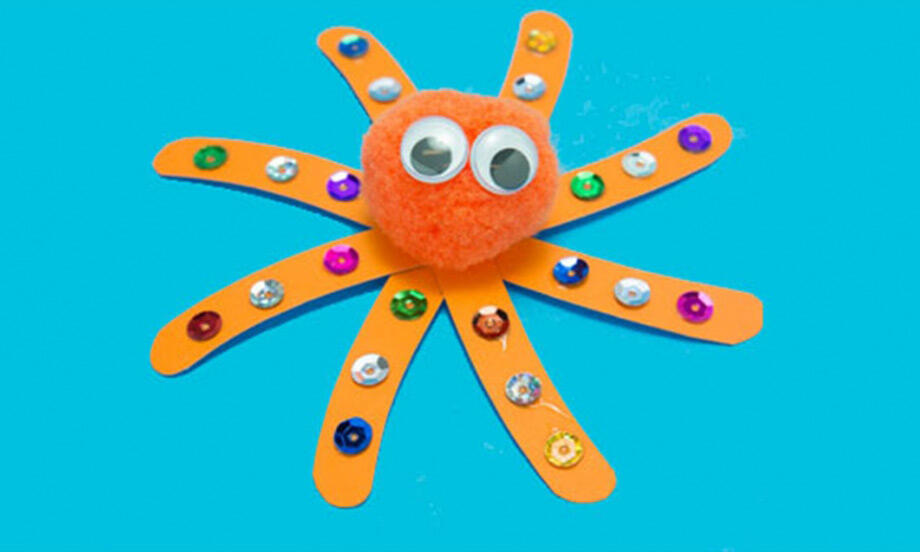
Octopus
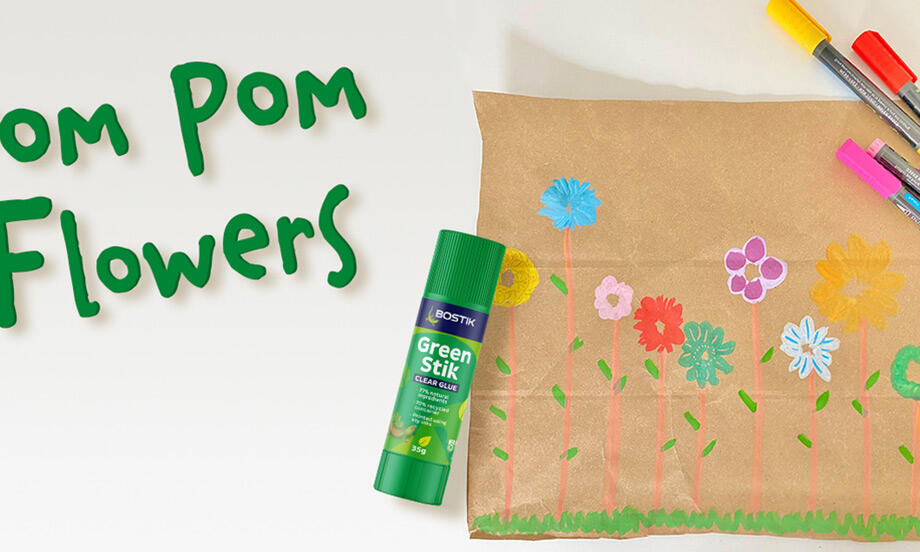
Pom Pom flowers
Round of applause card holder
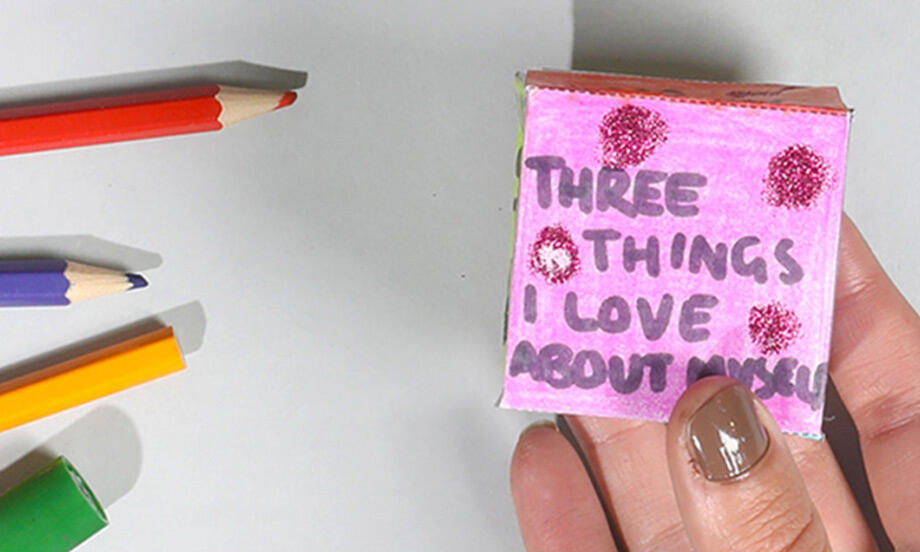
Self esteem die
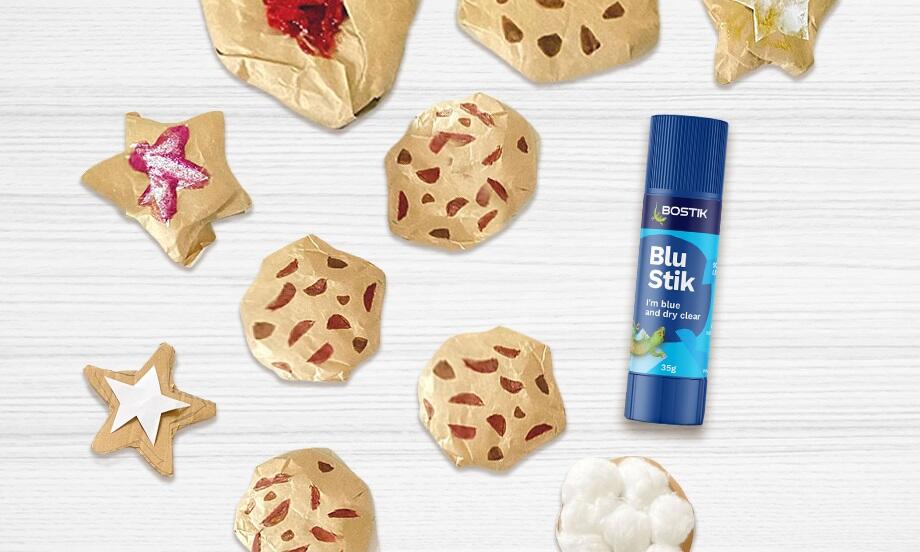
Smart cookie
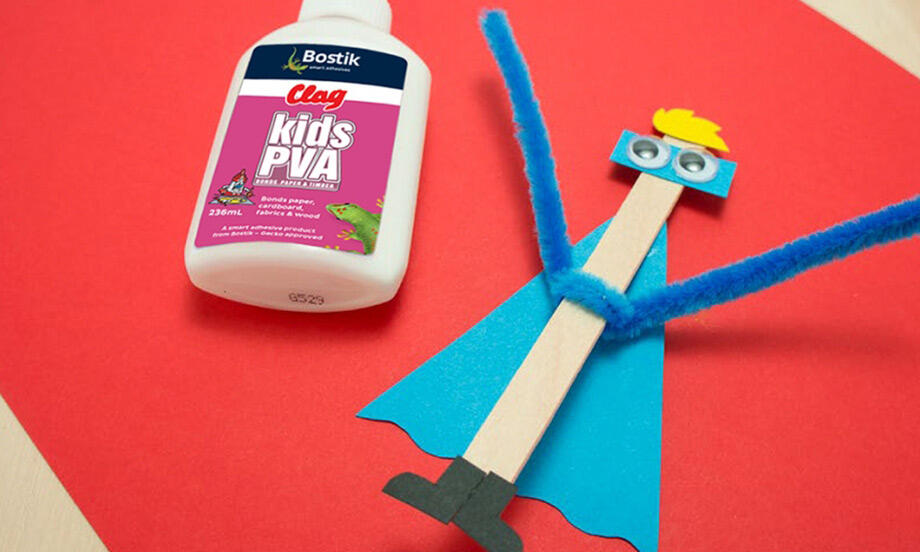
Superhero
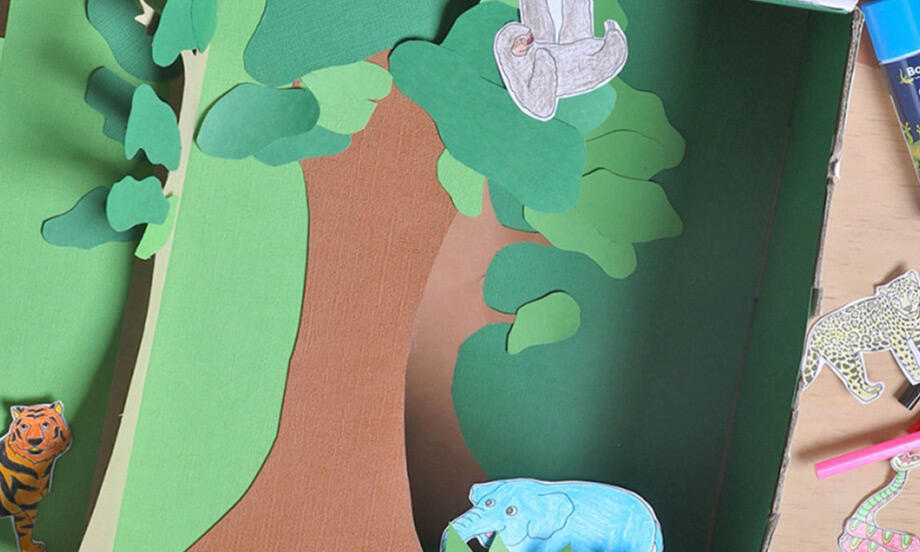
Tropical Rainforest Diorama