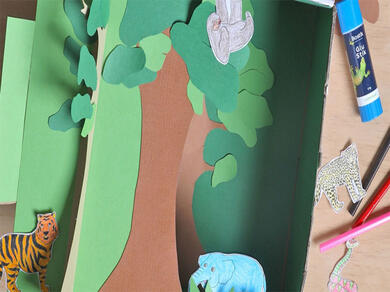
Tropical Rainforest Diorama
Bring the lush magic of the tropics to life with this creative DIY Tropical Rainforest Diorama🌴, a perfect blend of learning and hands-on fun for all ages! Start by lining a shoebox with green paper to create a vibrant base, then draw and cut out tree shapes with tabs that fold neatly into place using Bostik Glu Stik. Add layers of leafy detail by gluing green crepe and paper foliage to mimic real rainforest textures. Finally, populate your mini-world with drawn or cut-out rainforest animals🐒 and position them creatively among the trees. This immersive craft not only teaches about ecosystems and biodiversity, but also encourages artistic expression and storytelling, all using simple materials and your imagination.
Instructions

Animal Games
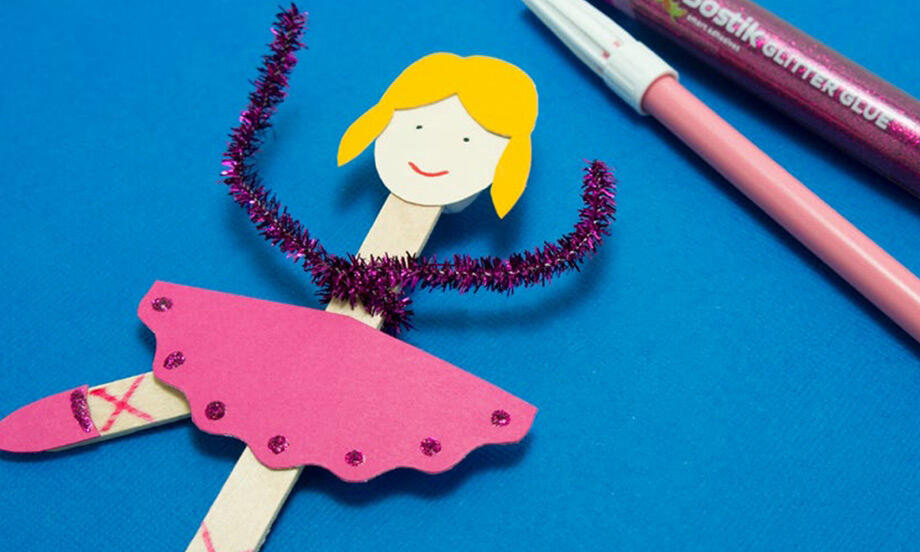
Ballerina
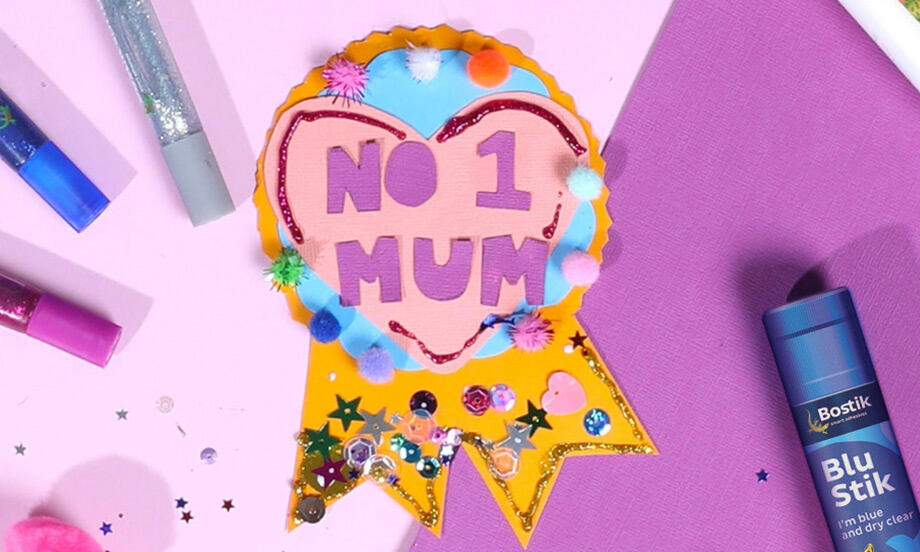
Best Mum Ribbon
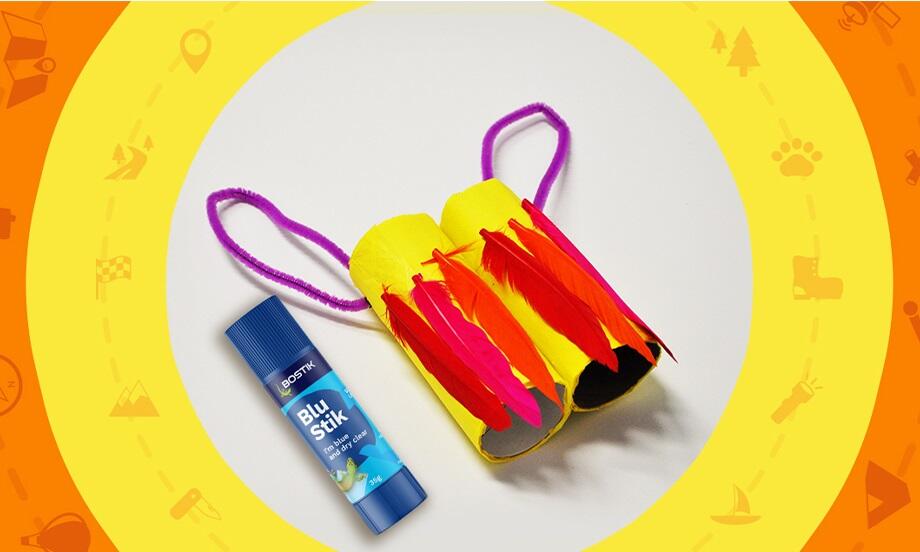
Binoculars
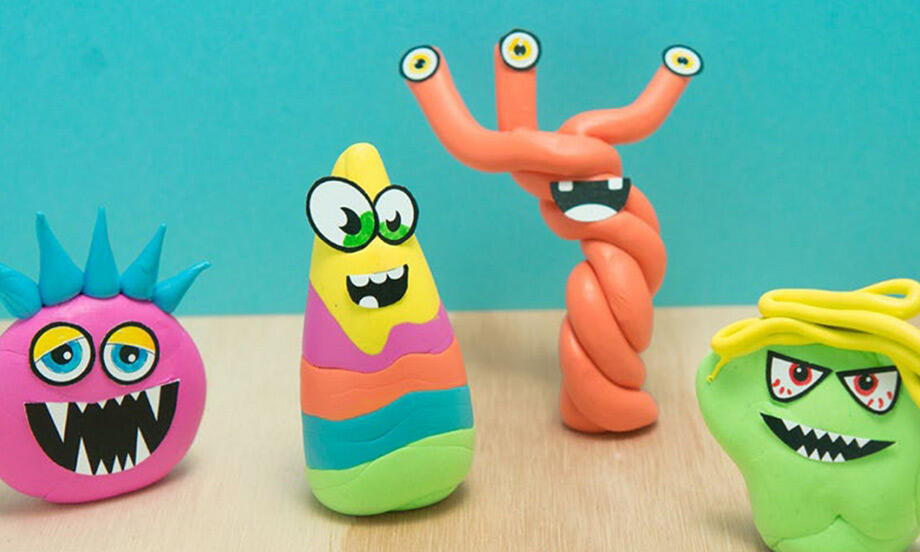
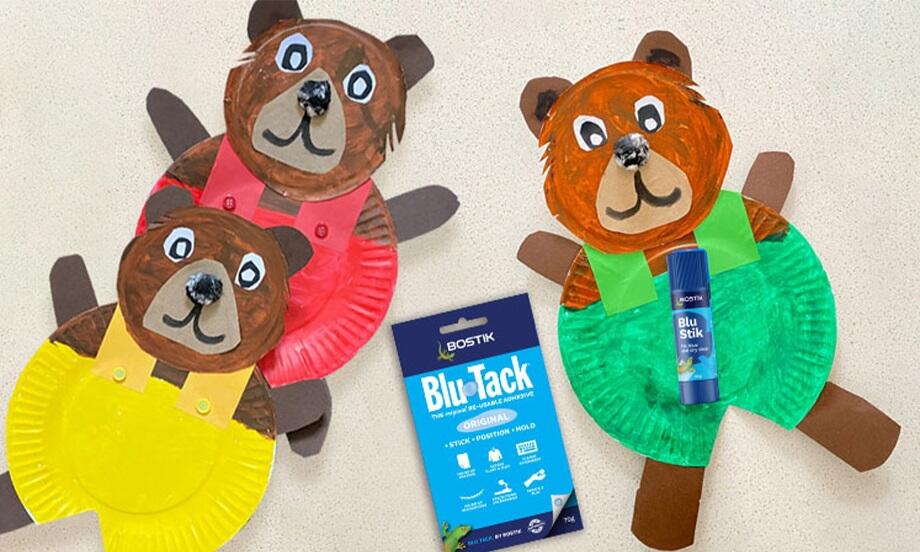
Blu Tack® Monsters
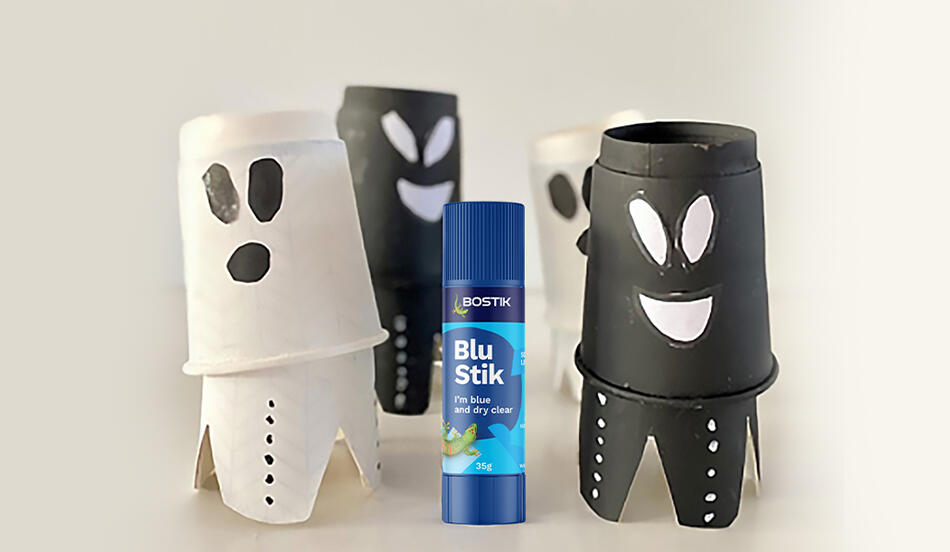
Bobbing ghosts
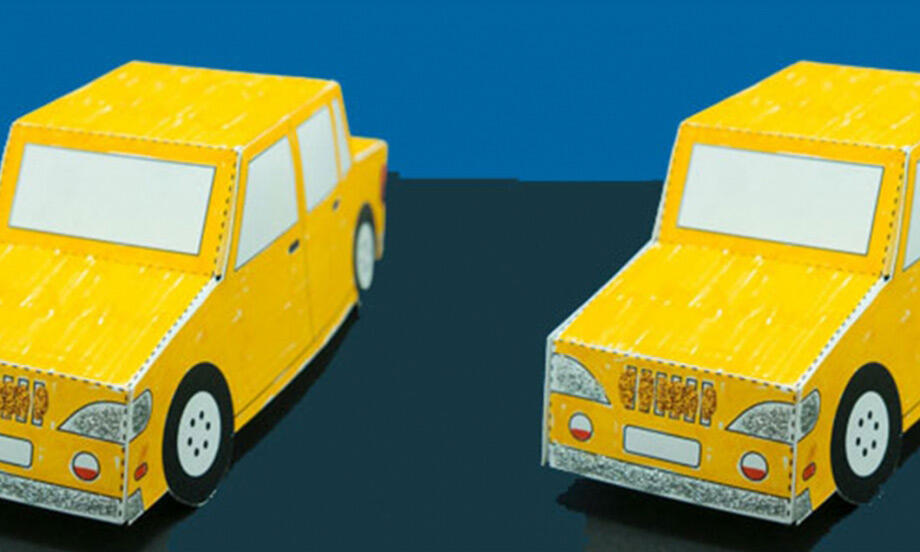
Bostik car
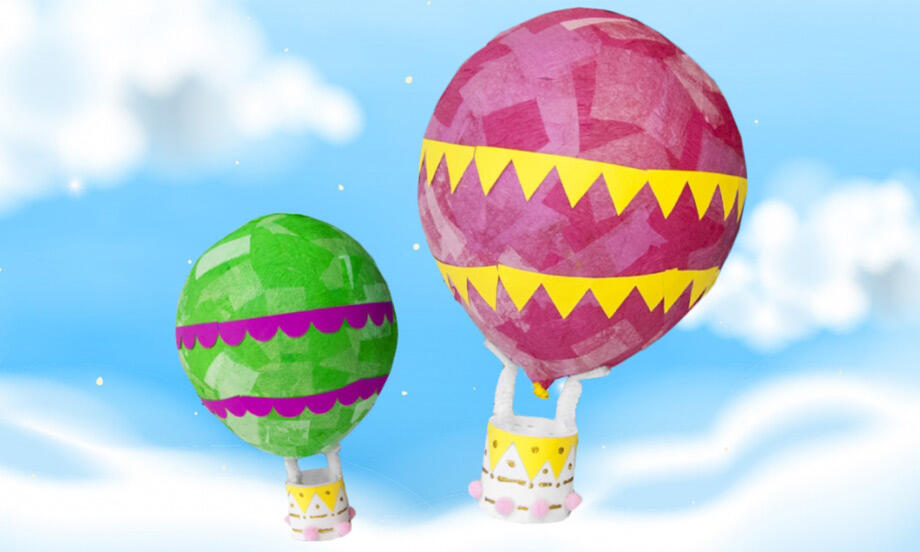
Bostik Hot Air Balloon
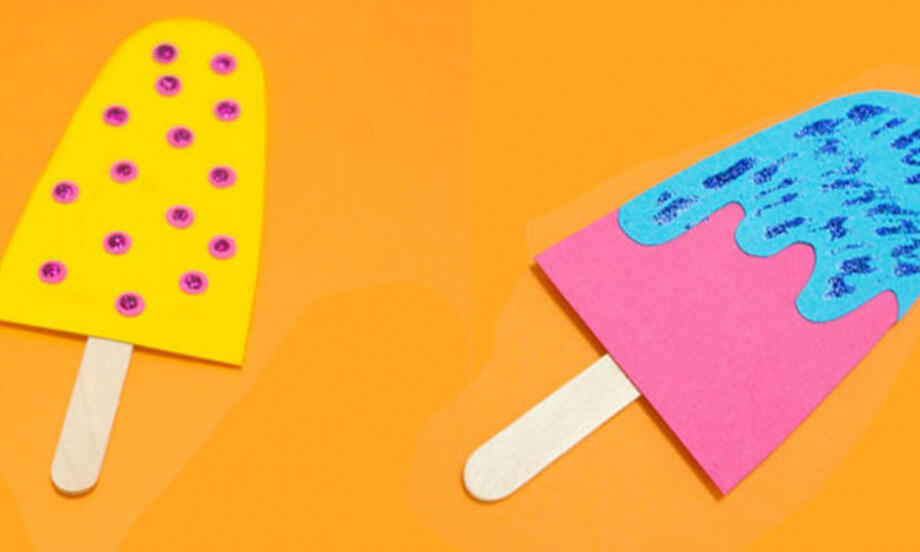
Bostik icy pole
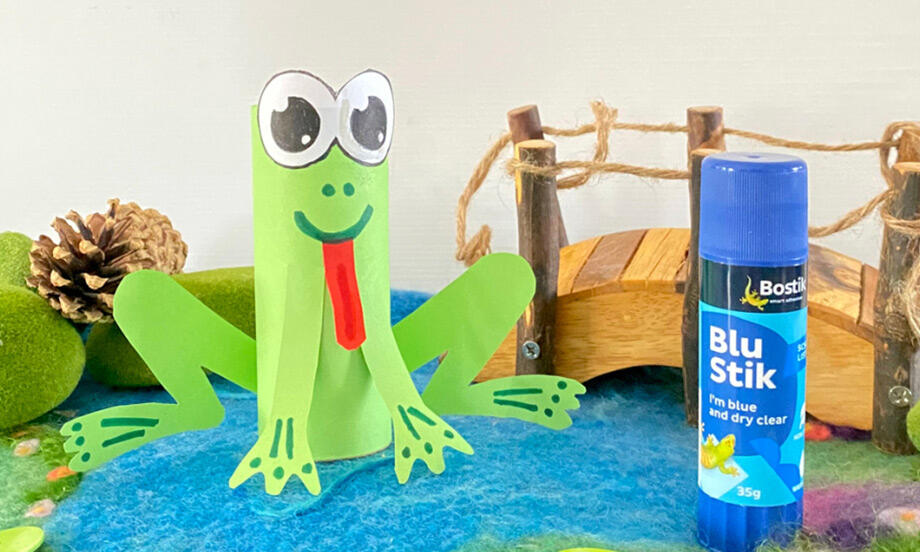
Cardboard Frog
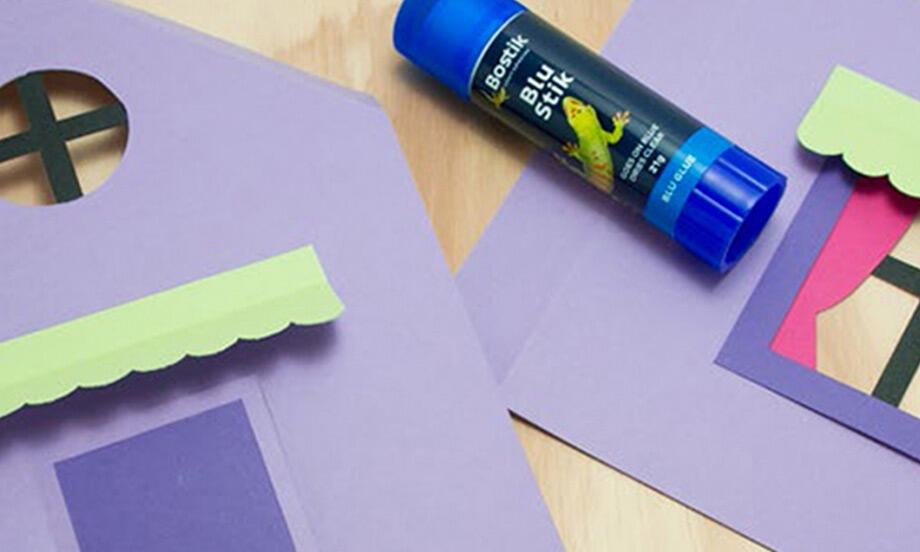
Cardboard House
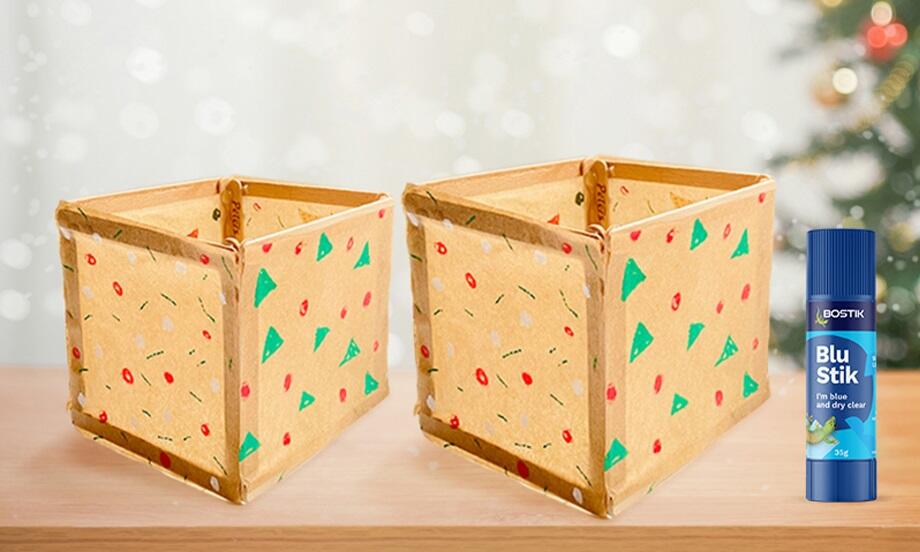
Christmas lanterns
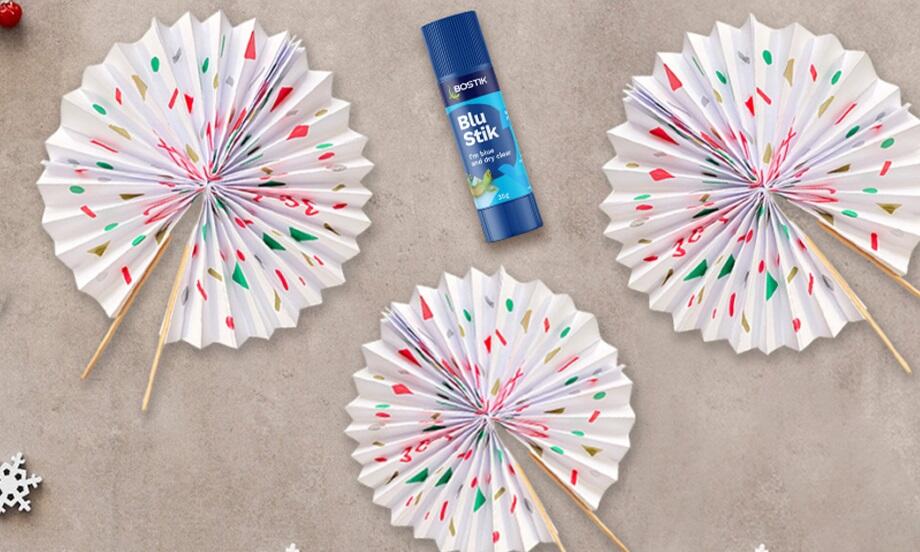
Christmas party fan
Corduroy the bear
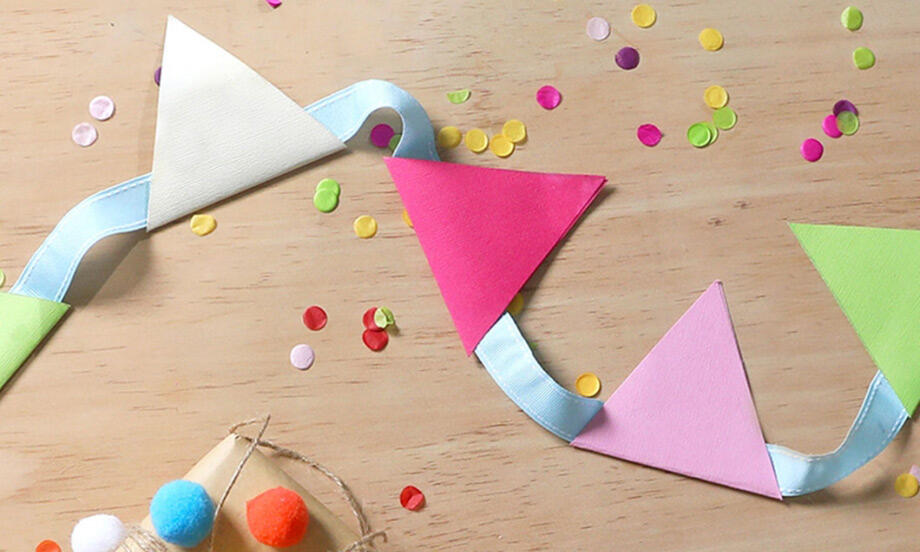
DIY bunting
DIY solar oven
DIY Stationery Holder
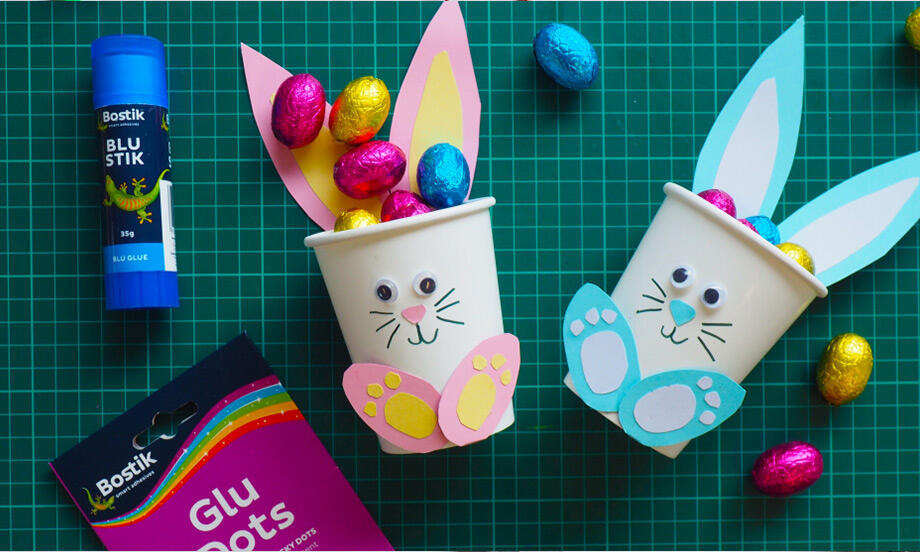
Easter cup bunnies
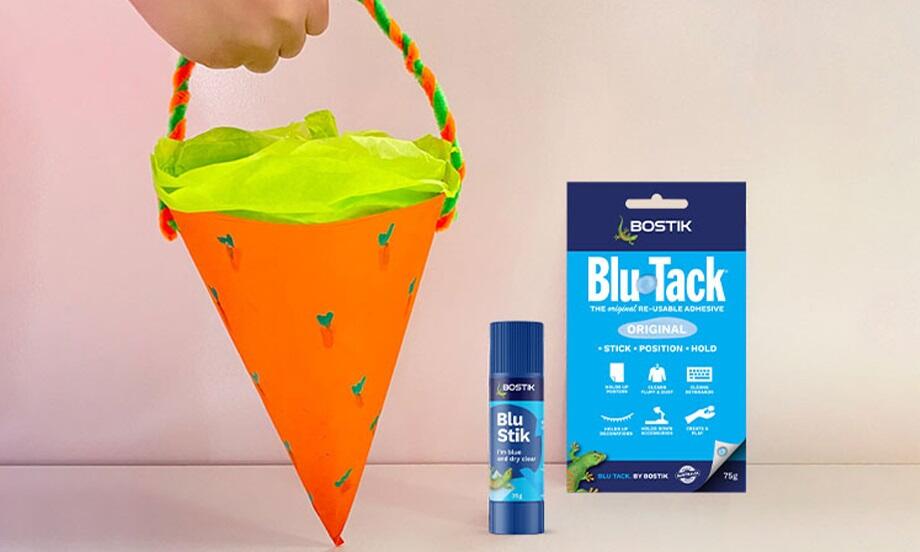
Easter Egg Basket
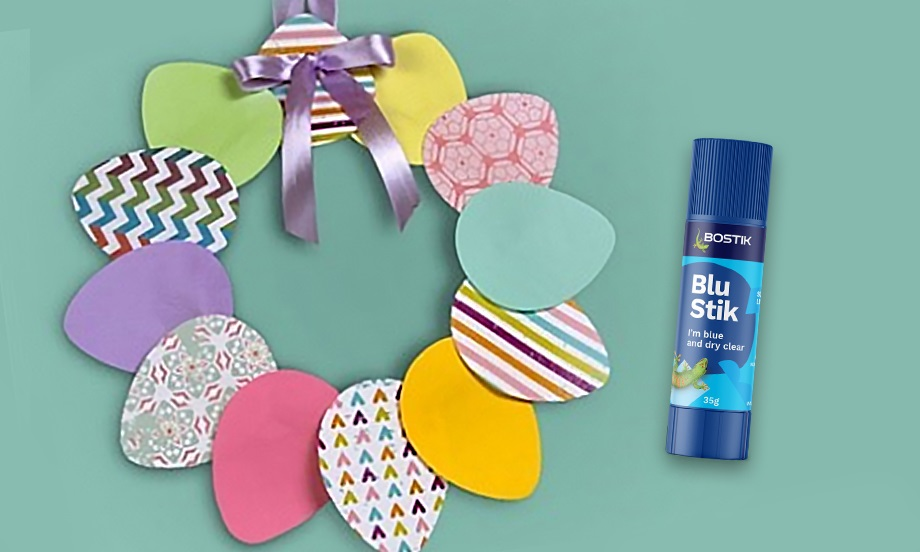
Easter Garland
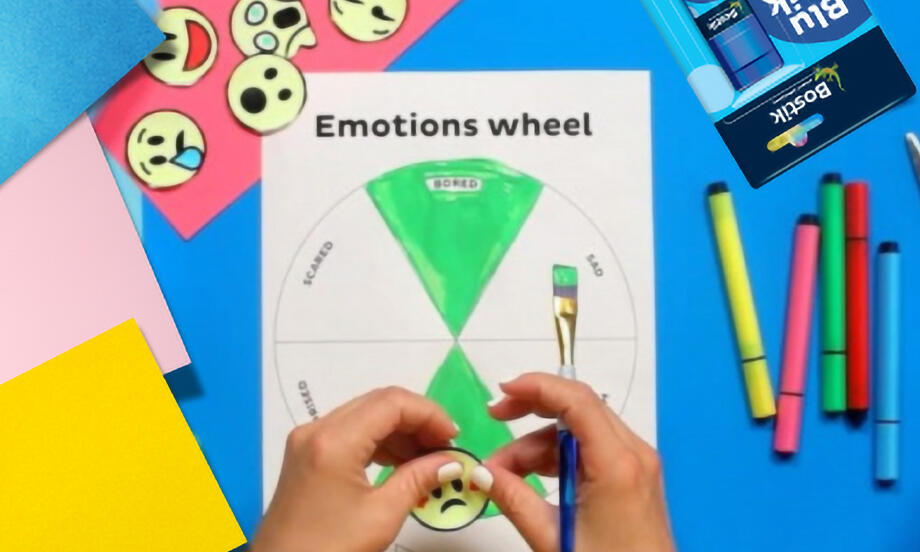
Emotions wheel
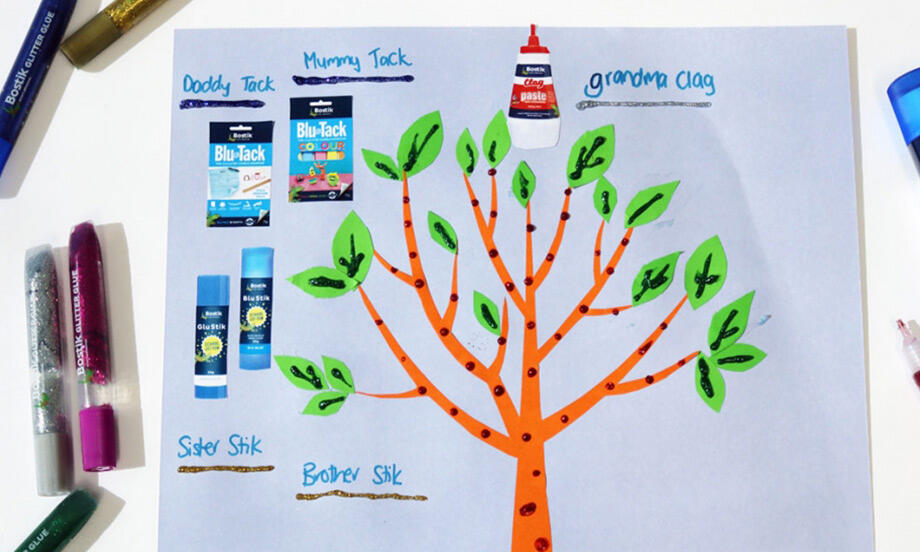
Family tree project
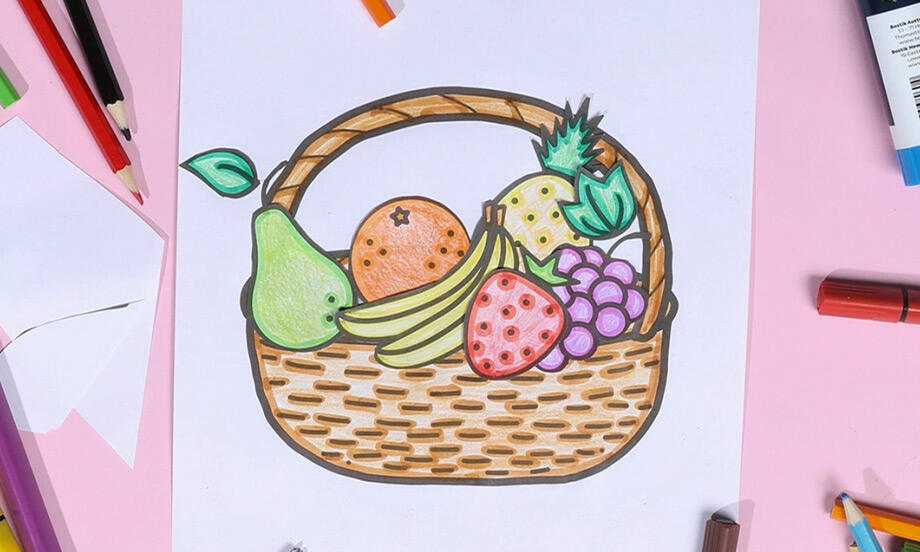
Fruit basket
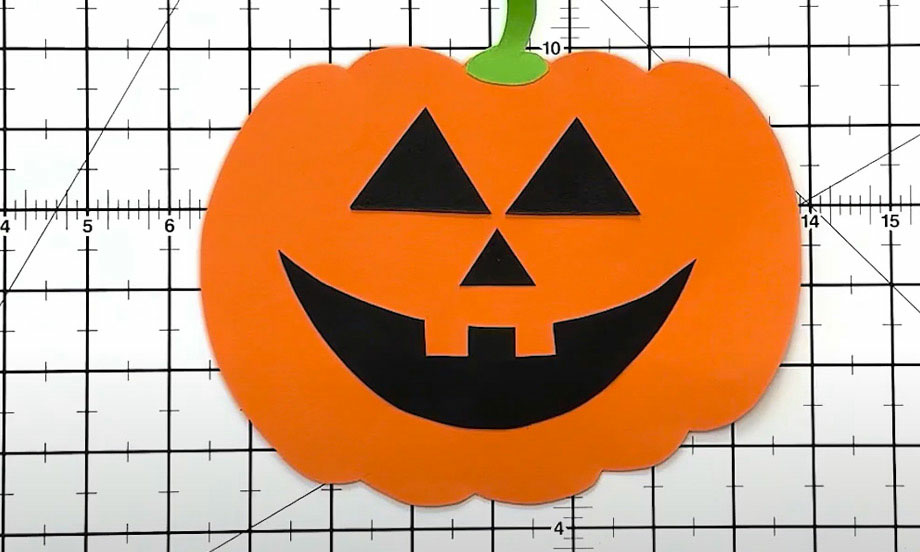
Halloween decoration pumpkin craft
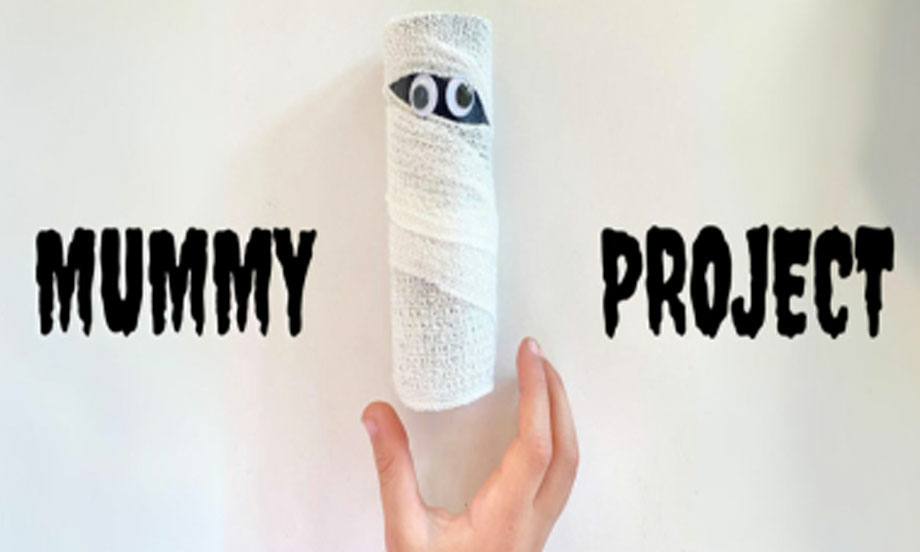
Halloween mummy
Heart tessellations
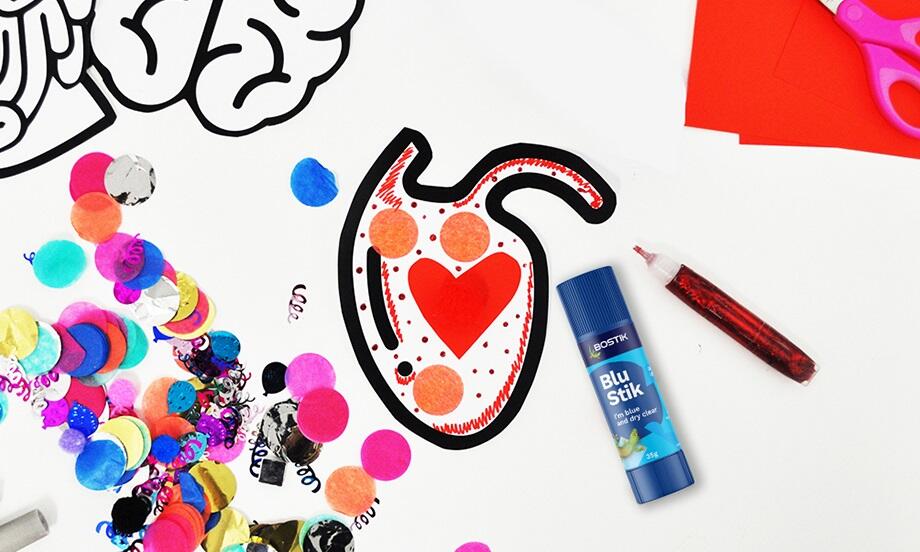
Human Body Project
Mechanical Gary Gecko
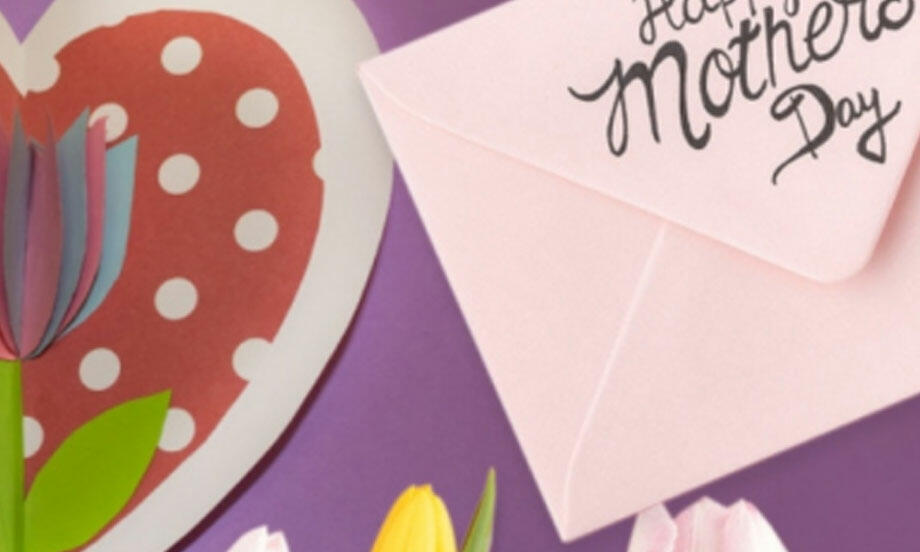
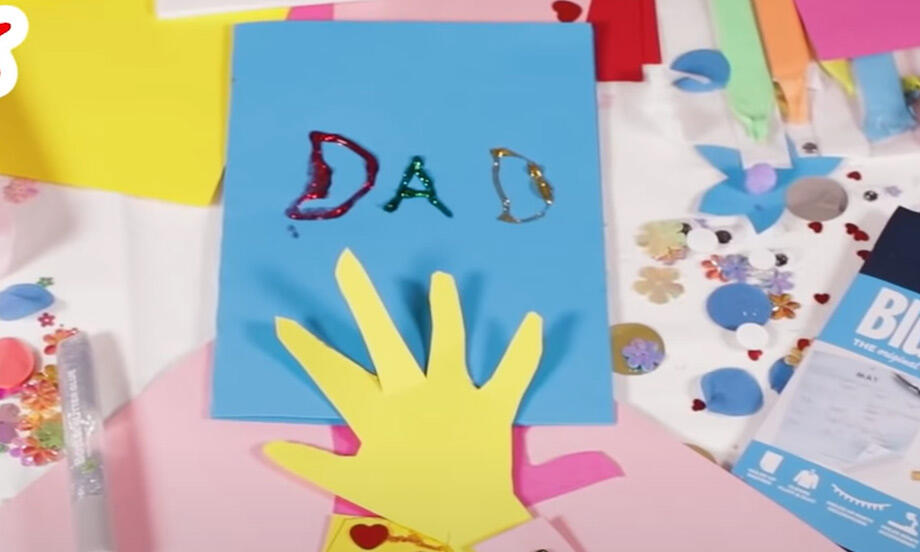
Mother's day card
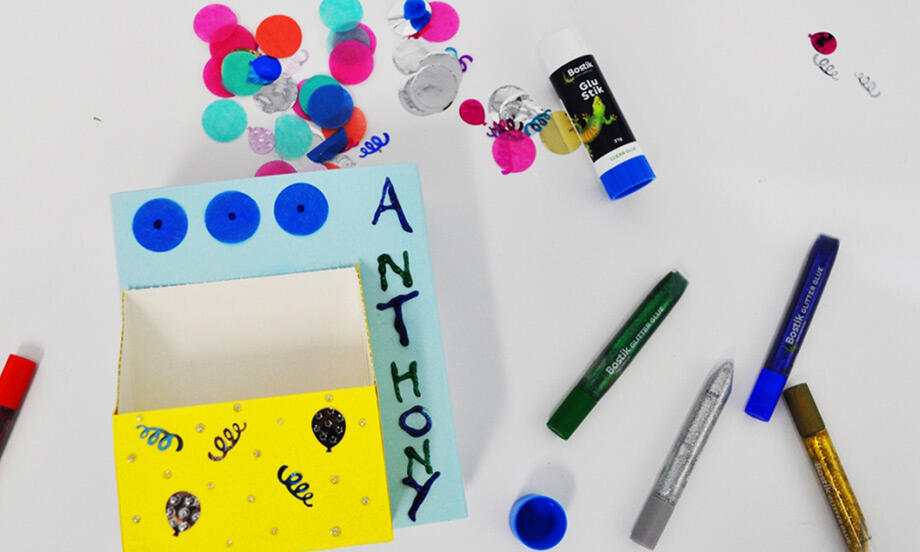
My name is
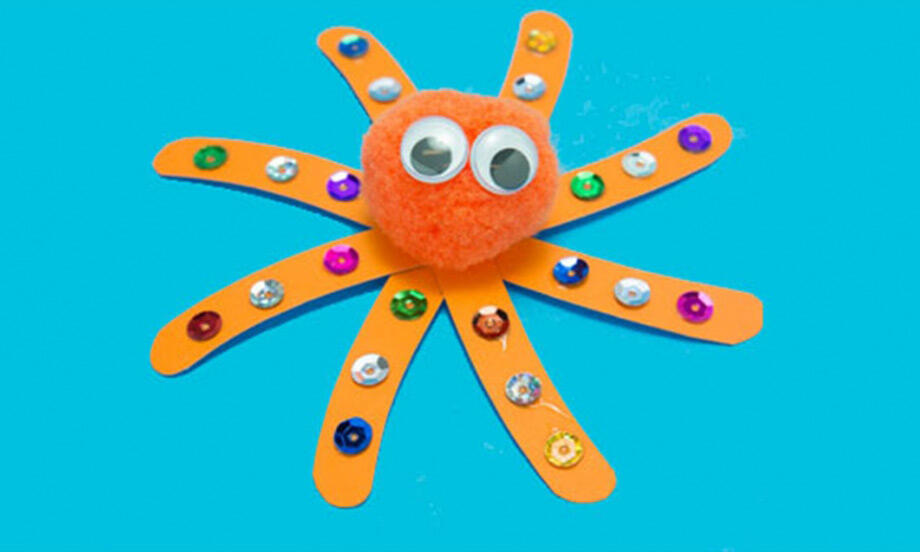
Octopus
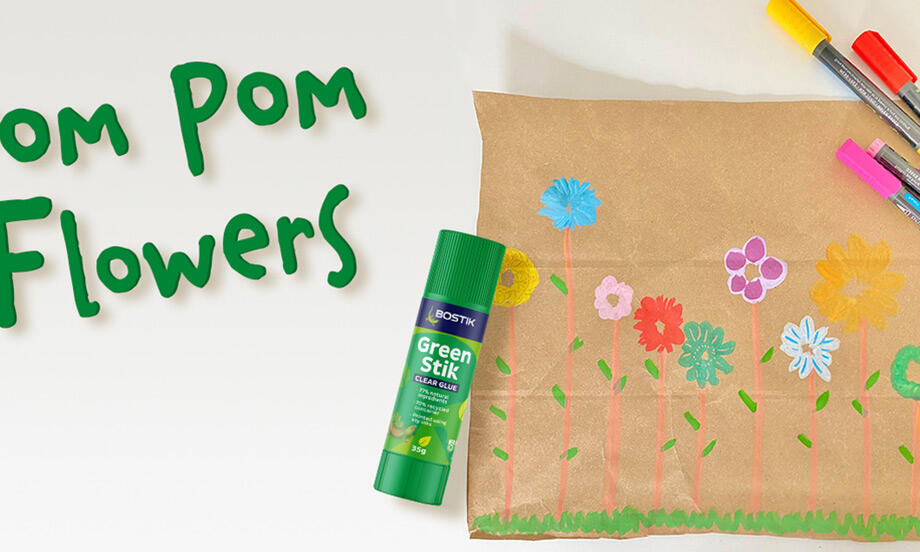
Pom Pom flowers
Round of applause card holder
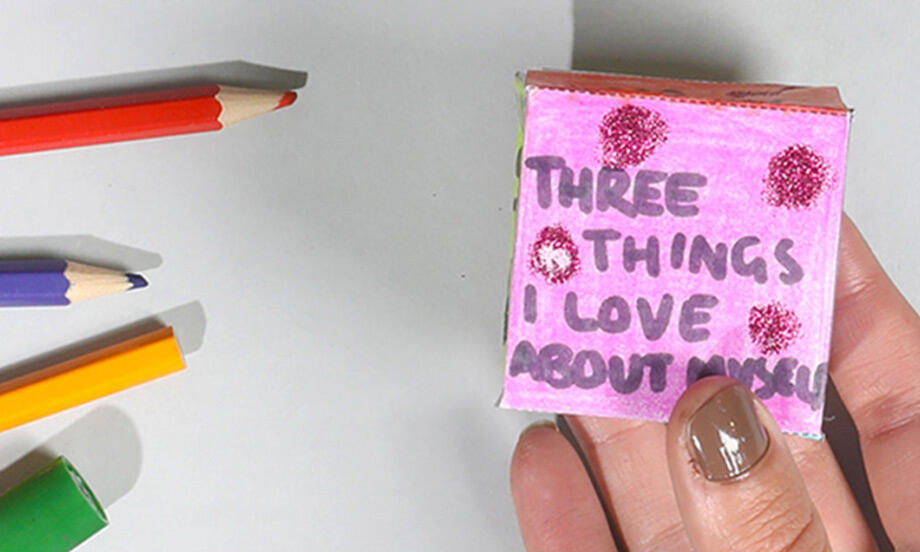
Self esteem die
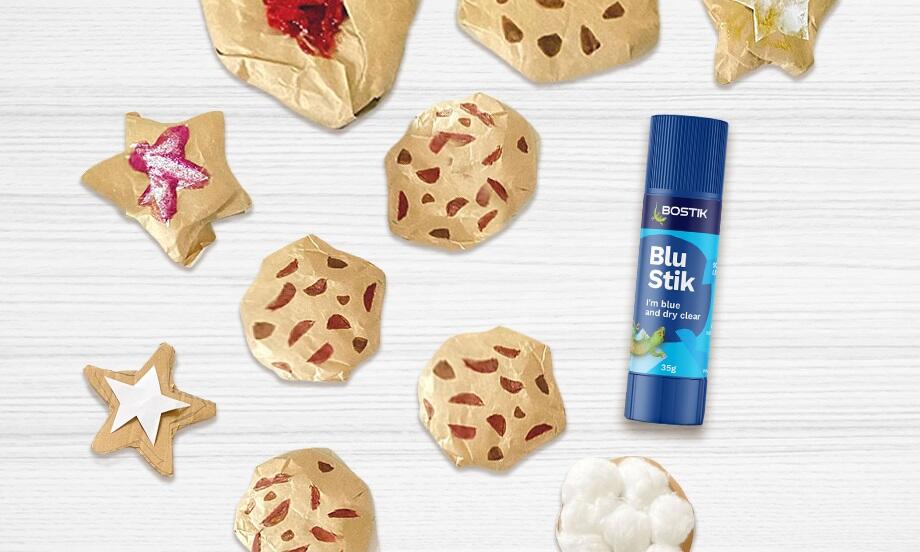
Smart cookie
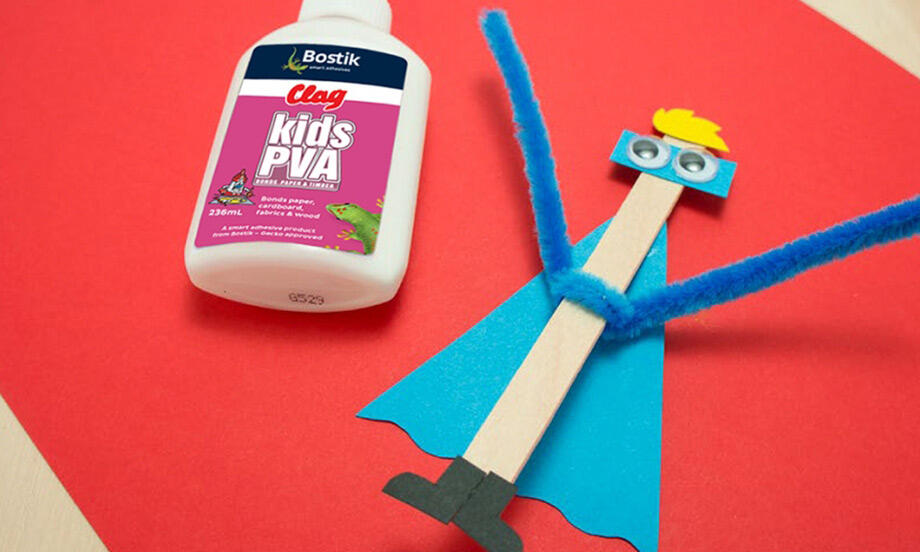
Superhero