How to make your own pendant light
Fancy upgrading your lighting quickly and easily? Discover our step-by-step on how to create a DIY pendant lamp and swap your standard table lamps for suspended showstoppers.
Pendant lamps are one of the most timeless styles to choose from for your home. Designed to elevate a living space, the hanging element effortlessly adds depth and dimension to a room and with the right bulb, you can completely change the mood of the space with minimal effort.
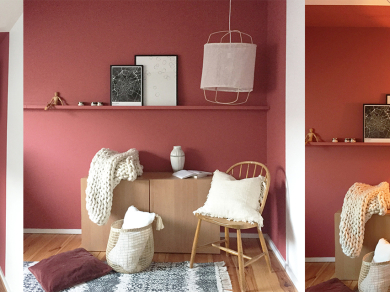
For this tutorial, we're focusing on upcycling old materials to create a neutral, boho pendant light shade that'll suit any aesthetic. Learn how to make your own pendant light in 9 simple steps.
What you will need
- 6 mm thick rattan
- Translucent fabric, such as linen
- White thread and a needle
- A pair of scissors
- A tape measure
- Bowl of water - room temperature
- 2 x small hose clamps
Instructions
Disclaimer
Please note this guide features images of an adhesive that is now discontinued, however, the step-by-step tutorial is correct to the new product.
Step 1: Cutting rattan
To create your DIY pendant light, use scissors and a tape measure to cut 4 pieces of rattan to the following sizes:
- Two pieces of about 1.4 metres: these will form the two horizontal hoops.
- Two pieces of about 1.9 metres: these will form the vertical hoops.
Step 2: Soak the rattan
Soak the rattan cane in water for 20 minutes to soften the material and gently bend it into the desired circular shape.
The thicker your rattan, the longer it will need to be soaked for. Be careful not to let the rattan soak too much, otherwise it may discolour.
Step 3: Fold the rattan into shape
While the rattan is still wet, start to fold it, taking care to be very gentle.
Step 4: Apply the glue
Apply a bead of glue on the ends of each piece and stick the ends together to create four rattan loops. Set aside to let the adhesive cure.
You will be able to reposition the materials for up to 3 minutes and the repair will be fully set within 2 hours, without the need for clamping, achieving a full strength after 24 hours
Step 5: Interlock the rattan
Next, interlock one of the vertical loops made from the 1.9m rattan cane, into the other to form a cross.
Tip
You can use a temporary adhesive such as Blu Tack® to hold the two rattan loops in place whilst you begin to fix the horizontal loops in place.
Step 6: Add the rattan loops
Then, place the horizontal loops made from the 1.4m rattan cane around this cross. This is the basis of your DIY pendant lamp.
Step 7: Keep the loops in position
Keep the loops in position using a bead of glue at each intersection and leave for the adhesive to fully cure for up to 3 minutes.
Step 8: Cover the entire rattan
Once your rattan structure is firmly stuck together, it's time to cover it with your chosen fabric. We recommend using a light linen to create a boho pendant light or choose a patterned fabric to make your DIY pendant lamp stand out and be the talking point of a room.
To create your fabric cover, start by cutting your fabric to approximately 1.4m x 1.4m. Then, place over your rattan and tie the ends above and below the structure.
Step 9: You've created a DIY pendant lamp!
Finally, use two small hose clamps to hang your light shade around a suspended bulb. We recommend ensuring the electricity is fully switched off and your light bulb is cool to touch before changing your bulb and securing the pendant in place.
Ta da! You've learnt how to make your own pendant lamp. Switch on your light and enjoy.
Popular tutorials
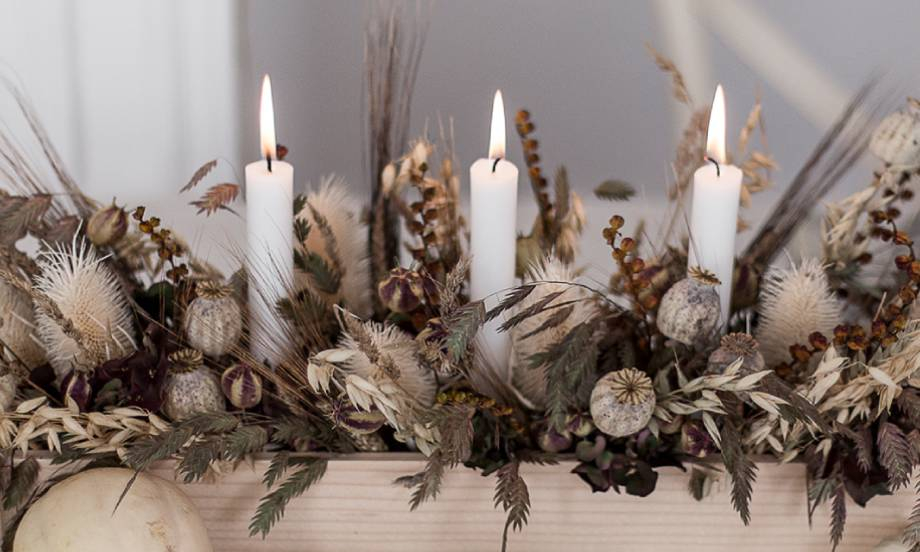
6 steps to create a DIY flower candle holder
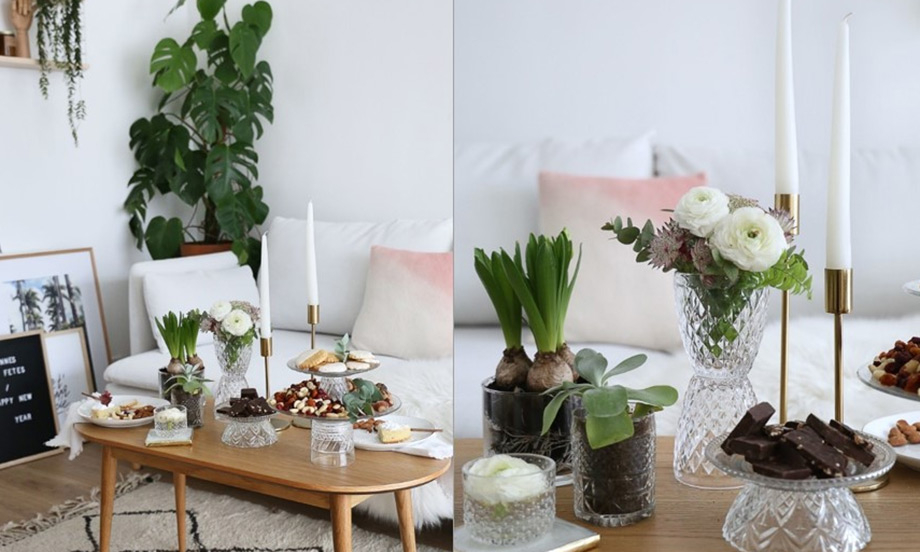
How to create a DIY cake stand or homemade vase
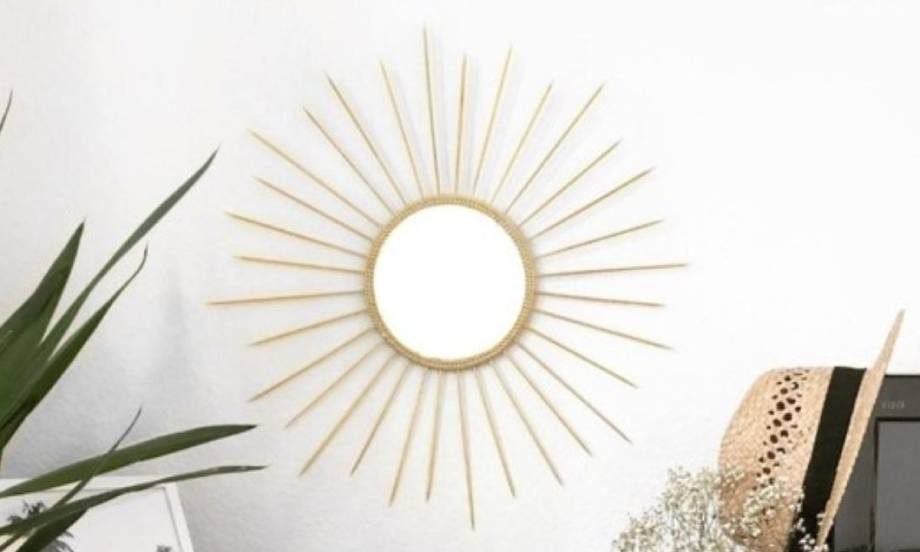
How to create a DIY sun mirror
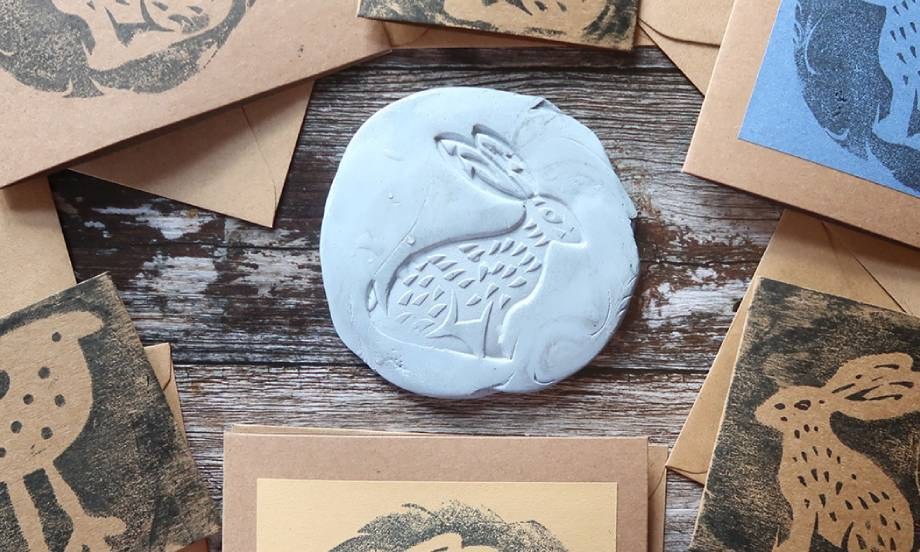
How to create reverse prints using Blu Tack®
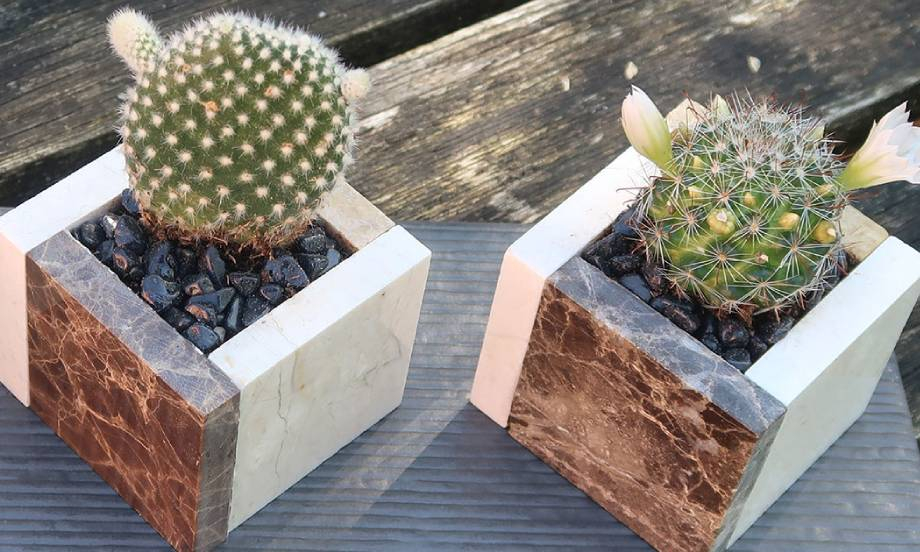
How to create your own DIY ceramic plant pots
How to make a Christmas wreath at home
How to make a DIY plant frame
