Create a simple, ergonomic, footrest, with no more nails

Elevate your seating comfort with this smart DIY Ergonomic Footrest🦶 project! Cut six wooden planks to 14 inches and shape a sturdy base from a wood block using a gentle 10° angle. Smooth all surfaces with sandpaper, then apply Bostik No More Nails to each plank’s end. Position the planks on the angled base, spacing them evenly, and let the adhesive set securely. In just about an hour, you'll have a durable and stylish footrest that encourages better posture—no nails, no fuss.

Instructions

Step 1: Measure

Measure 14 inches on the wood planks, and mark for cutting. You will need six pieces of 14-in wood for the footrest.

Step 2: Angle

For the base, mark 3 inches from the top and bottom the wood block. From each 3-inch mark, draw a line to the opposite edge of the block at a 10-degree angle.

Step 3: Cut

Guided by the markings, cut the wood planks and wood block using a saw.

Step 4: Sand

Sand the uneven edges of the sawed-off wooden pieces to smoothen the surface.

Step 5: Apply

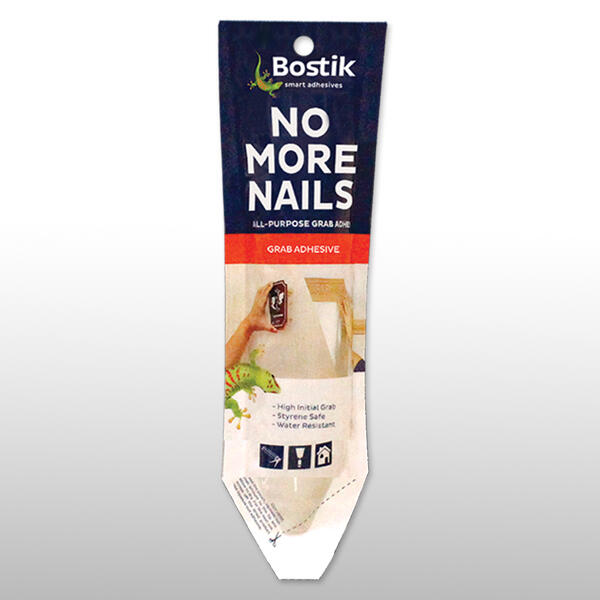
Put Bostik No More Nails on both ends of each 14-inch wood plank.

Step 6: Assemble

Place the six wood planks on the base, about 1 inch apart. Make sure the part with Bostik No More Nails attach to the diagonal edge.

Step 7: Rest

Let the adhesive set, then let your feet rest!

See all products