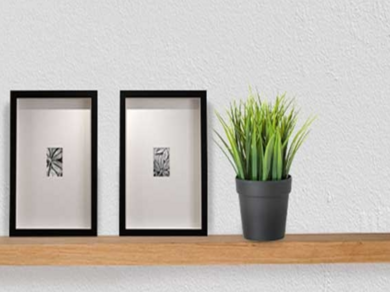
How to install floating shelves with no more nails

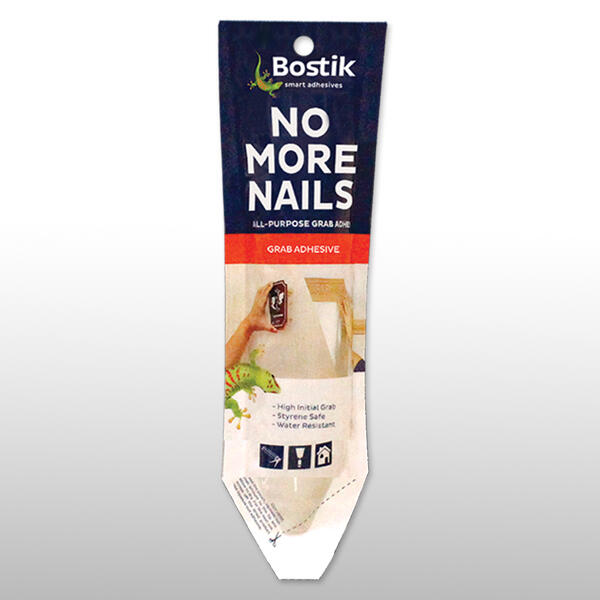
Looking to elevate your storage with a clean, modern look, without drilling or damaging your walls? Try this DIY floating shelf installation using Bostik No More Nails! Start by measuring and marking the perfect location for symmetry and balance. Then apply a generous layer of adhesive to the back edge of each lightweight shelf. Press the shelf firmly against the wall and hold until it bonds. Wait 24 hours before styling with your favorite books or décor items. It’s a stylish, secure, and renter-friendly way to showcase your pieces!  🪚

Instructions

Step 1: Measure

Identify the spot where you want to install your shelf. Take measurements to make sure that your shelf would be installed in the right place with the right symmetry.

Step 2: Apply

Apply the right amount of No More Nails to the sides where the wood be placed against the wall. Apply liberally.

Step 3: Mount

Mount the wood according to your desired placement. Wait 24 hours before you start placing your favorite trinkets. Remember to place lightweight objects only.

Tip

Sprucing up your home should be easy with No More Nails. No More Nails is available in our ecommerce stores.

See all products