Create your own decorative magnetic board

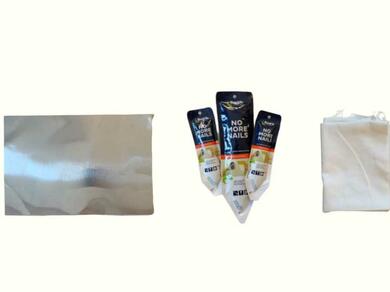
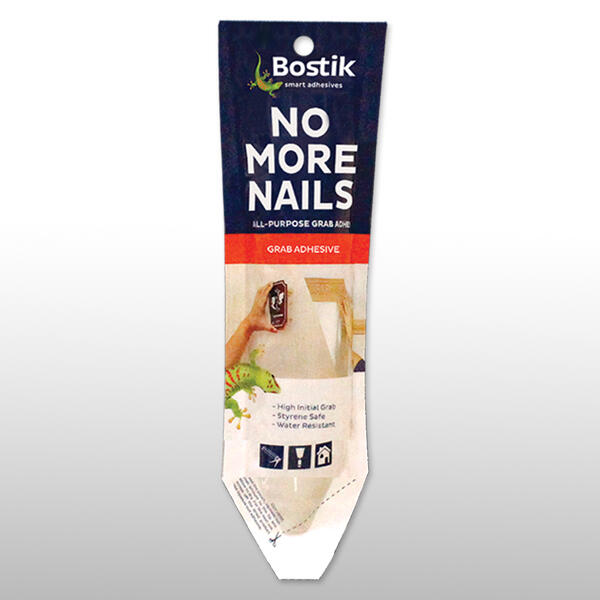
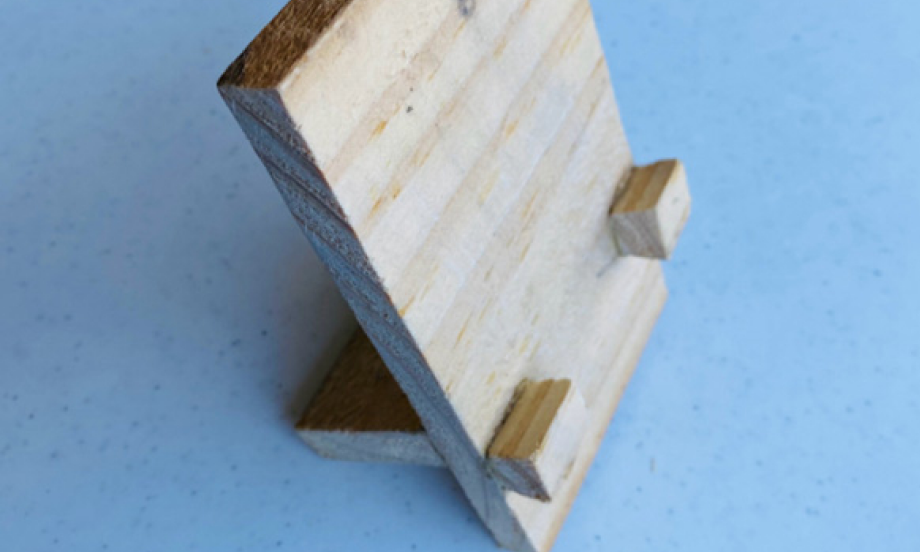
Transform any space into a chic, organized hub with this DIY decorative magnetic board! Start by measuring and cutting wooden pieces (33 × 17 cm) to form a sturdy frame using Bostik No More Nails. Cover a metal sheet with your choice of fabric using double‑sided tape for a visually appealing base. Attach the framed board to the fabric-wrapped metal sheet with adhesive, then secure it to the wall using more No More Nails. In under 30 minutes, you’ll have a functional magnetic display that’s both stylish and wipe-free!  🖼️

Instructions

Step 1: Measure

Measure the wooden pieces and cut them down to 33 cm and 17 cm, two pieces each.

Step 2: Put together

Put the wooden pieces together using Bostik No More Nails to make the frame for your board.

Step 3: Cut

Measure 18 cm x 28 cm on your cloth and cut.

Step 4: Cover

Using the double-sided tape, cover the metal sheet with the cloth, making sure the cloth is at the center of the sheet.

Step 5: Assemble

Place the wooden frame on the metal sheet using Bostik No More Nails.

Step 6: Apply

Apply Bostik No More Nails on the back of the board so you can stick it on the wall.

Step 7: Stick

Stick it on the wall, on the spot you want to conceal. With those cute travel magnets framed, there’s no more eyesore with No More Nails!

See all products